

This post may contain affiliate links. Please read our disclosure policy.
This banoffee pie recipe is a mouth-watering dessert that will have you wondering why you’ve never heard of it before. With rich flavors made from a combination of bananas and a caramelized sauce, this delicious dessert will blow your mind and satisfy your taste buds. Plus it’s the perfect summery pie that you can bring to a BBQ or enjoy by the pool!
If the flavor alone wasn’t enough for you, just wait until you feel the texture. You get three different levels of creaminess with a thick dulce de leche, a creamy layer of banana slices, and the lightness and airiness from the whipped cream. And to top it all off, all three differences in textures sit together on top of a crumbly crust to bring in the extra contrast. If you can’t tell, I’m kinda obsessed with it, and I think you will be too once you taste it.

Quick Look: Banoffee Pie
- 🍌 What it is: A classic British pie with a Biscoff crust, dulce de leche, bananas, and whipped cream.
- ⭐ Why it works: Thick dulce de leche holds its shape under the bananas, so the layers stay neat.
- 💛 Why you’ll love it: Three creamy layers on a crunchy spiced cookie crust, with barely any oven time.
- ⚠️ What to watch for: Use yellow bananas with no brown spots so they don’t turn soggy.
- 🍳 Pan notes: Made in a 9-inch pie dish with the crust pressed slightly up the sides.
- ❄️ Make ahead: Best assembled the day you serve it; it doesn’t freeze well.
Table of Contents
What is a Banoffee Pie?
Banoffee pie is a classic British dessert made with layers of sliced bananas, whipped cream, and a rich dulce de leche filling. Something similar in America to compare the flavor to would be like bananas Foster but without the alcohol. It all sits on a sweet biscuit base made from crushed cookies and melted butter. I use Biscoff cookies for mine, the same warm, spiced cookies that star in my Crumbl Biscoff white chip cookies.
The original recipe was invented by two chefs named Nigel Mackenzie and Ian Dowding at their Hungry Monk Restaurant in East Sussex, United Kingdom. The name banoffee is a mashup of the banana and toffee filling.

Key Ingredients

Here are the ingredients you will need to make this popular British dessert. Make sure to scroll down to the recipe card for the full detailed ingredient measurements.
- Biscoff Cookie Crumbs: form the pie base. You can substitute with graham cracker crumbs if you want. Have a jar of cookie butter in the pantry too? It goes straight into my cookie butter ice cream cookies.
- Unsalted Butter: binds the Biscoff crumbs together and creates a cohesive crust that holds its shape. You will want the butter to be melted.
- Dulce de Leche: acts as the decadent filling, adding a creamy and sweet flavor that complements the layer of bananas perfectly. You can make my pressure cooker dulce de leche at home or buy it in stores! Any left in the jar is perfect for my Crumbl dulce de leche cookies.
- Bananas: provide a fresh and fruity contrast to the rich dulce de leche. You will want them sliced into circles.
- Heavy Whipping Cream: forms a light and airy topping that balances the pie’s sweetness.
- Powdered Sugar: sweetens and stabilizes the whipped cream.
- Vanilla Extract: enhances the flavor of the whipped cream with a subtle note.
- Chocolate Shavings: adds a delightful chocolatey garnish and a perfect finishing touch that complements the caramel and banana flavors with a hint of richness.

How to Make Banoffee Pie
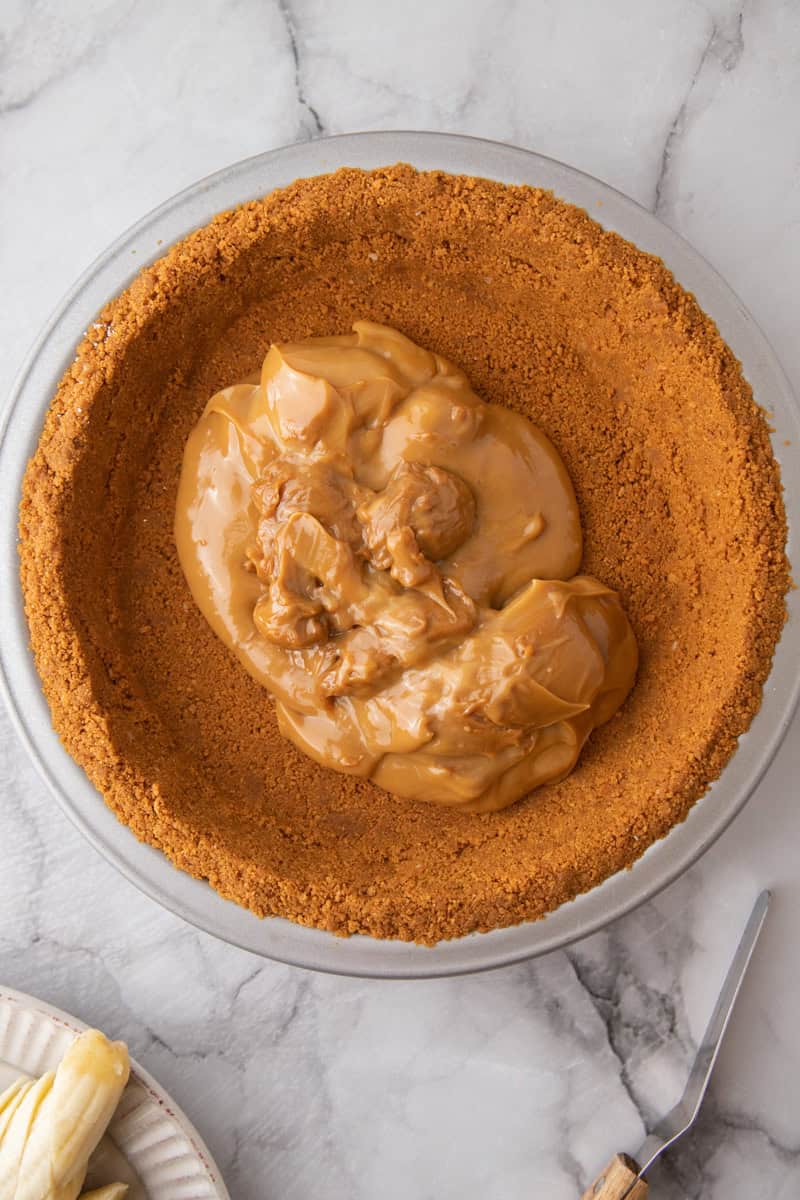
- Make the crust, then add the dulce de leche. Mix the Biscoff cookie crumbs and melted butter until the texture feels like damp sand, then press it firmly into the bottom and slightly up the sides of a 9-inch pie dish (my Biscoff pie crust recipe has all my hacks for this). Bake it at 350°F for 8 to 10 minutes and let it cool completely. Spoon the dulce de leche into the center of the cooled crust.
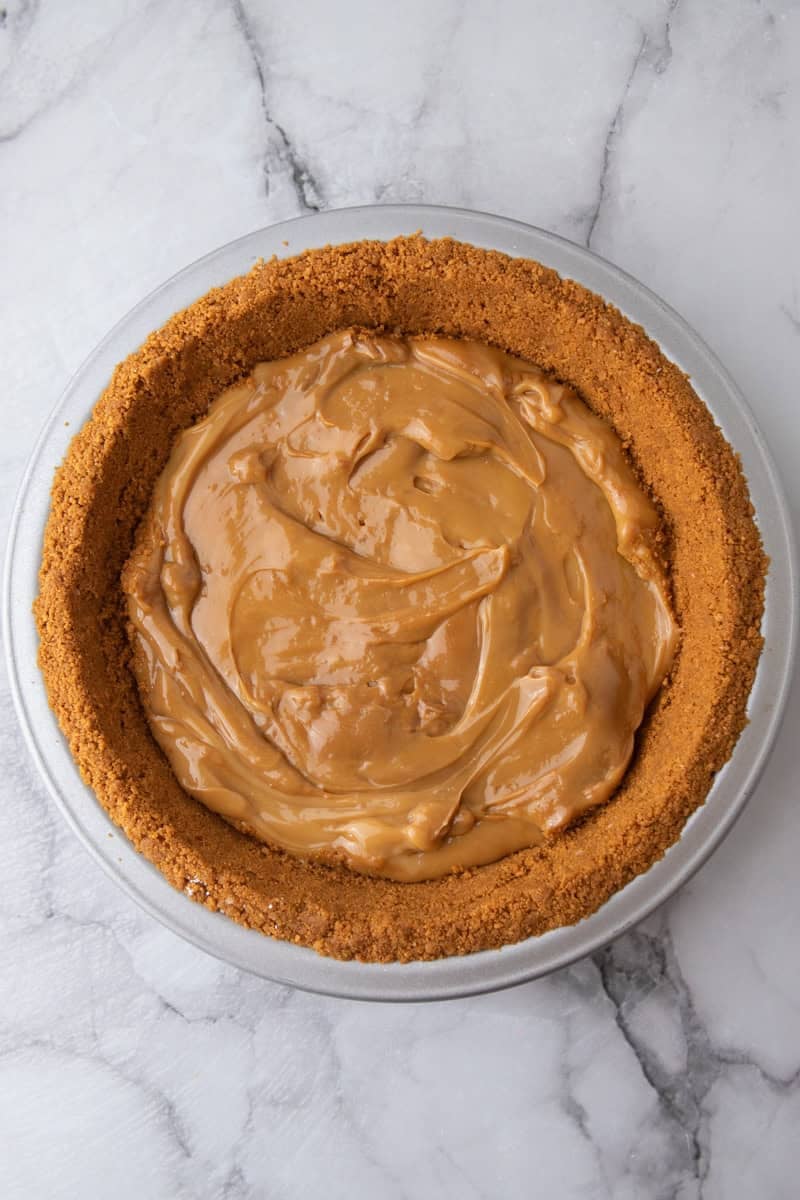
- Spread it out. Spread the dulce de leche into an even layer. The thicker the dulce de leche, the sturdier the pie, so don’t be afraid to use an offset spatula to push it right to the edges.
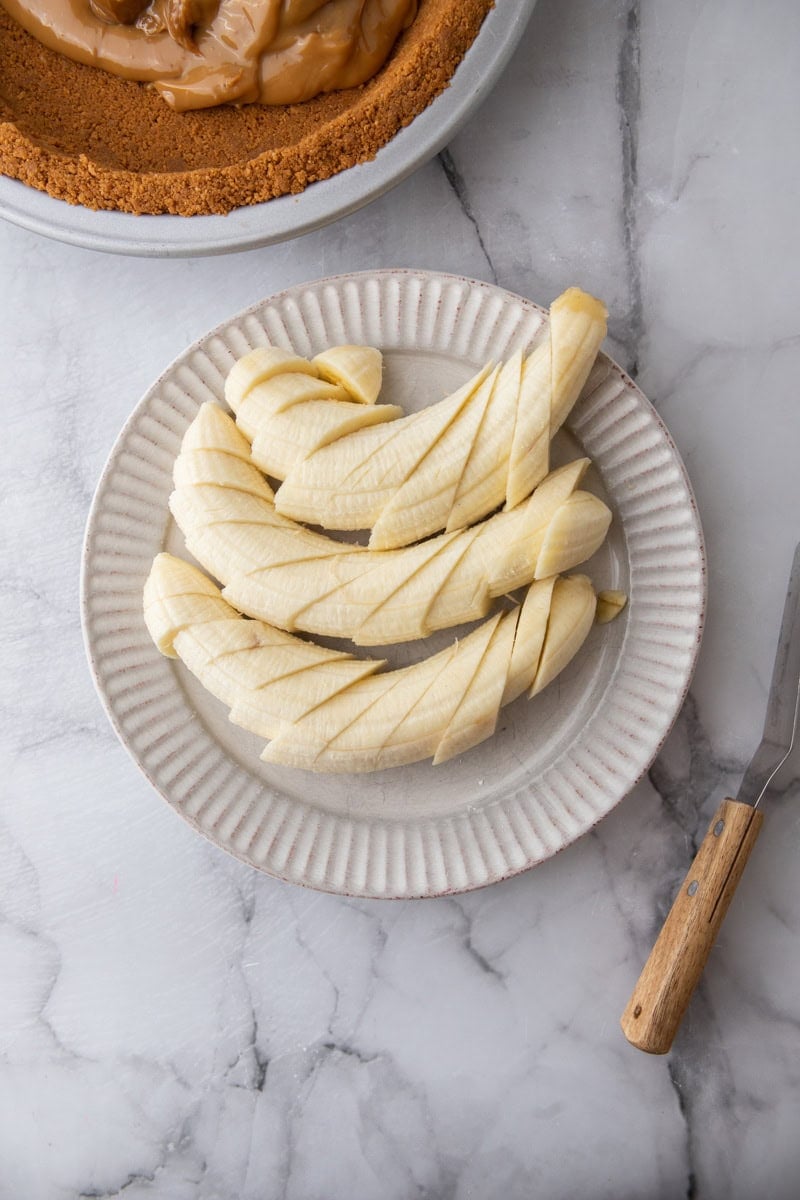
- Slice the bananas. Slice the bananas diagonally into coins. Diagonal cuts give you longer pieces that cover more of the caramel.
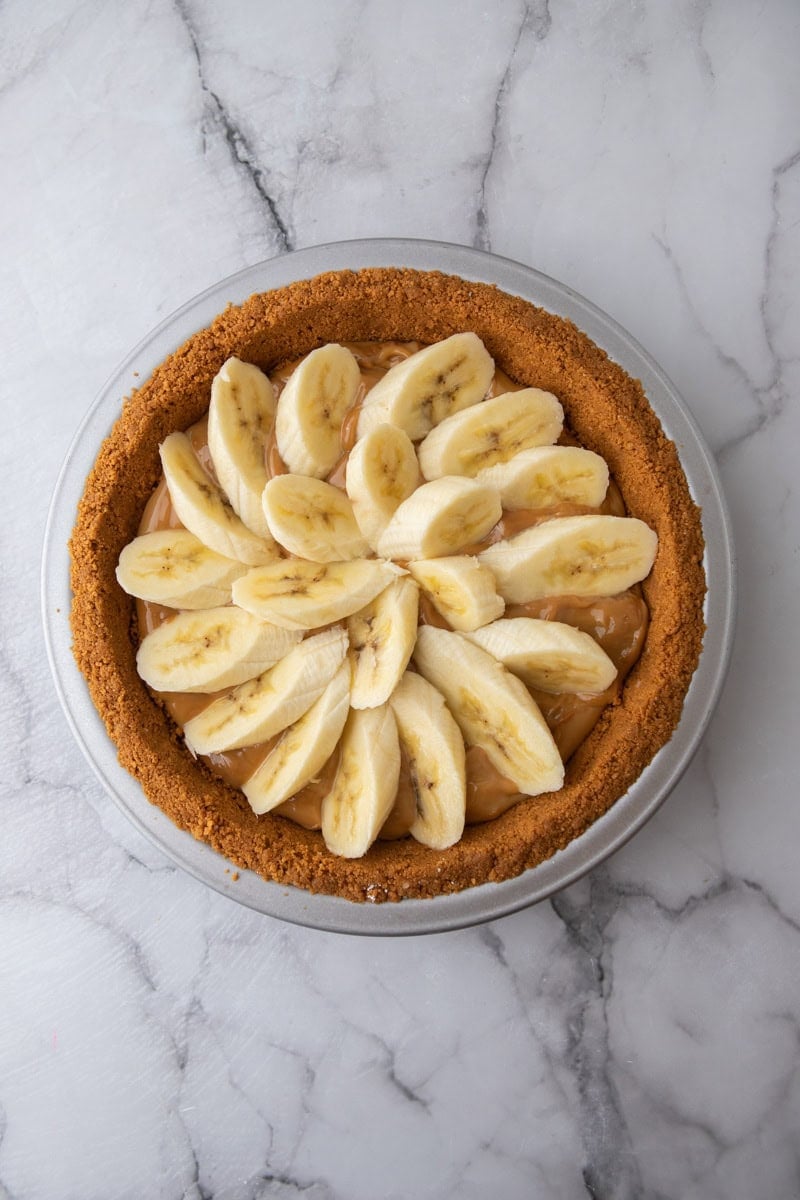
- Layer the bananas. Arrange the banana slices evenly over the dulce de leche.
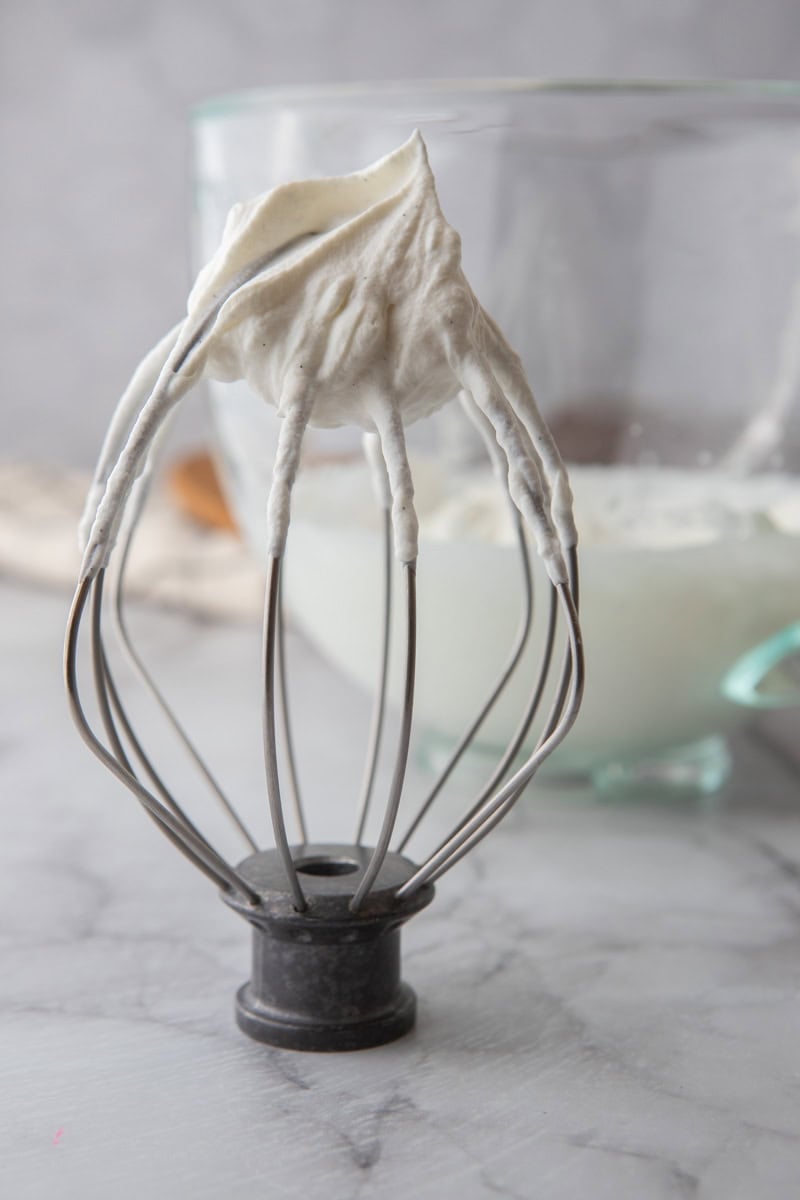
- Whip the cream. In a chilled mixing bowl, beat the heavy cream, powdered sugar, and vanilla extract with a whisk or an electric mixer until medium to stiff peaks form.
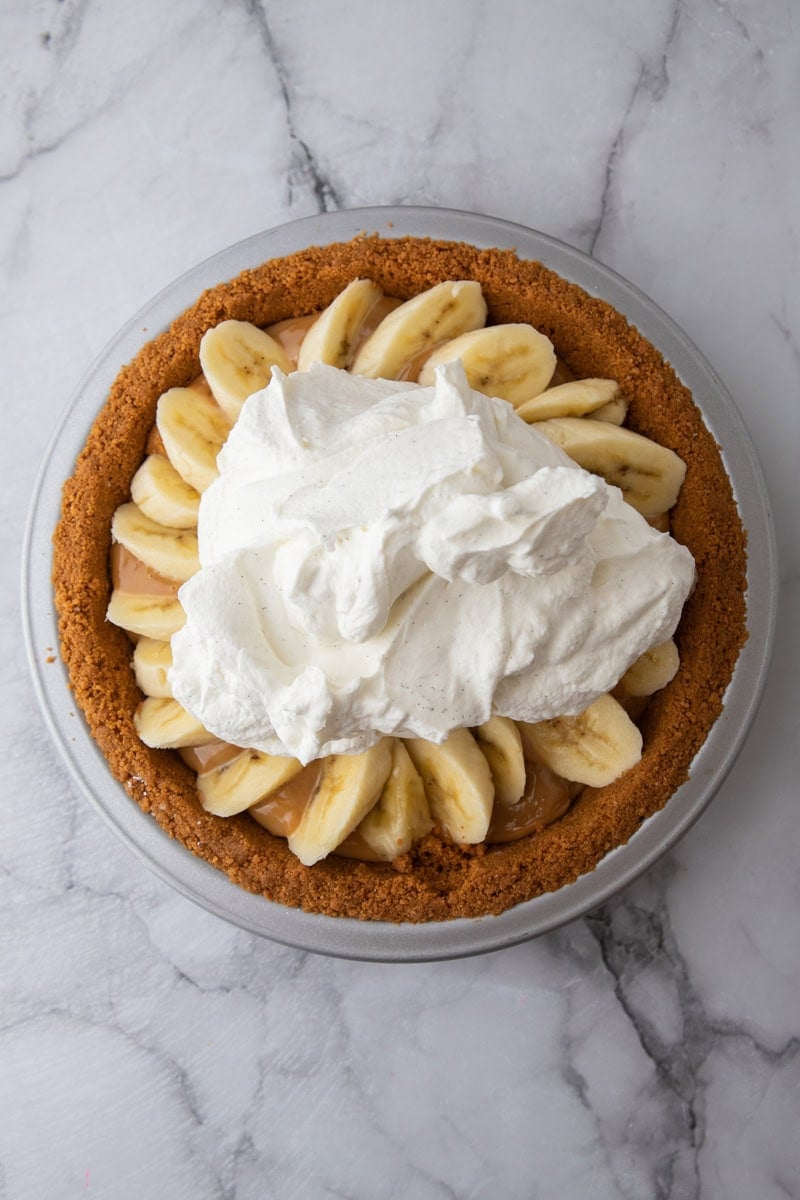
- Add the whipped cream. Spoon or pipe the whipped cream right on top of the bananas.
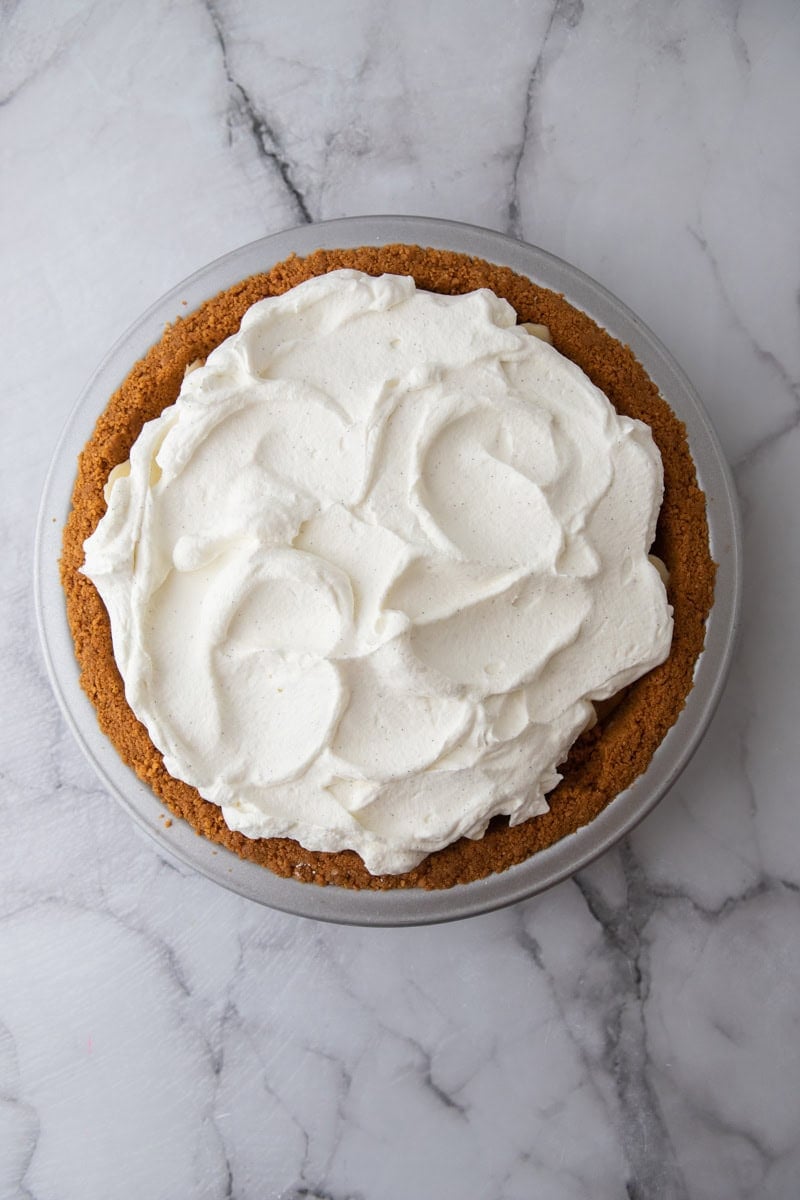
- Spread it gently. Gently spread the whipped cream out to the edges so every banana slice is covered.
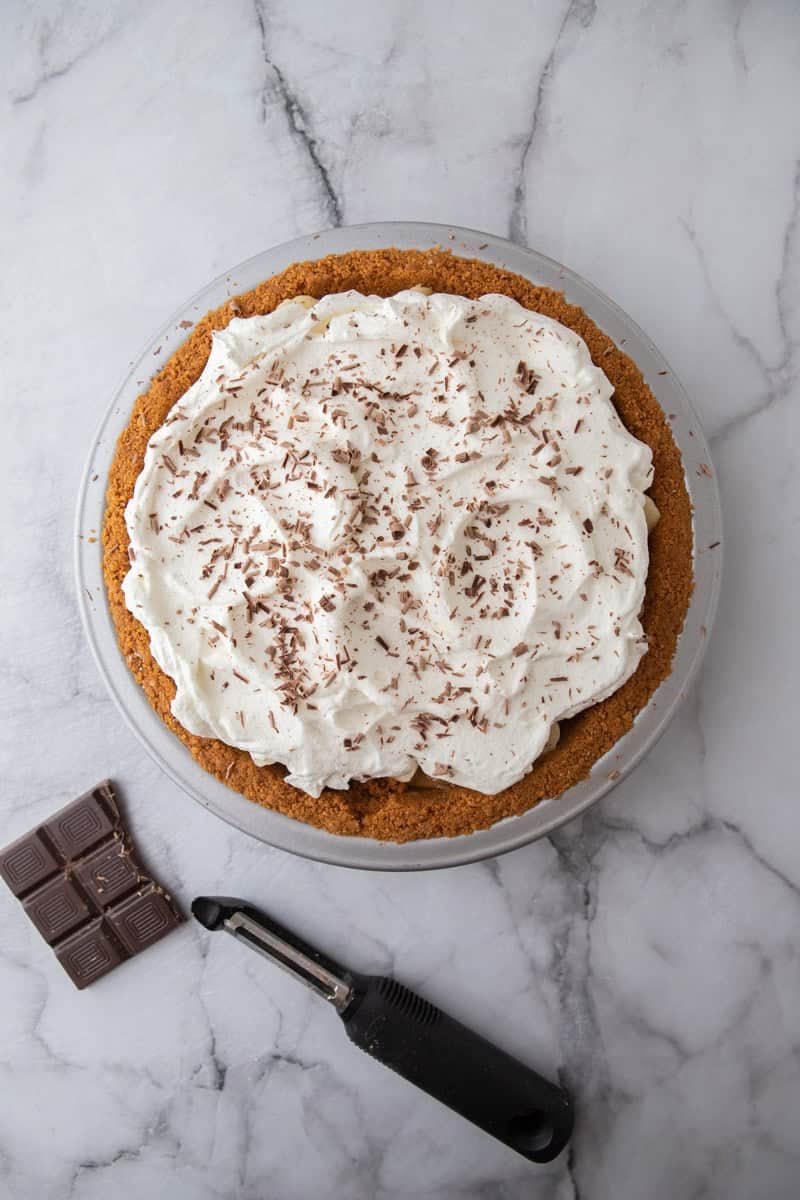
- Garnish and chill. Sprinkle chocolate curls over the top (a vegetable peeler and a room temperature chocolate bar is all you need). Refrigerate the pie for at least 2 hours so everything sets nicely before slicing and serving.

Expert Tips
- Use just-ripe bananas. Use fresh bananas instead of overripe bananas so they don’t get soggy and help the dessert last longer. You want the peels to be yellow but with no brown spots. Save the spotty, overripe ones for my brown butter banana bread instead.
- Mix in the butter while it’s warm. Warm melted butter coats the cookie crumbs more easily.
- Slice the bananas diagonally. Longer pieces cover more of the caramel layer.
- Go thick with the dulce de leche. The thicker the layer, the sturdier the pie. An offset spatula helps push it right to the edges.
- Chill before slicing. Give it at least 2 hours in the fridge so the layers set and slice cleanly.
- Make it fully no-bake. You can chill the crust instead of baking it for this pie, but it will be a little softer and more crumbly. This will make this a fully no-bake dessert for days where you don’t wanna turn on the oven, just like my no-bake key lime pie.

Why This Recipe Works
- It’s the perfect excuse to enjoy all the dulce de leche your heart desires. Still want more? My dulce de leche ice cream is next.
- This popular dessert uses only simple ingredients that you can get at all grocery stores.
- This no-bake recipe is a guaranteed crowd pleaser and a great way to impress guests at a dinner party.

Banoffee Pie FAQs
Absolutely! I only used Biscoff biscuits for this banoffee pie because their spiced flavor goes so well with the dulce de leche. But you can use a store-bought or homemade graham cracker crust instead (the same buttery one from my no-bake peanut butter pie), or any flavor for that matter.
I do not recommend using caramel instead of dulce de leche for banoffee pie because caramel is usually thinner, which compromises the pie’s structure. If you don’t have time to make dulce de leche, a store-bought can is the next best thing. Save my homemade caramel sauce for drizzling over each slice instead.
If you’re cooking your dulce de leche in a pot, you can easily flavor it for banoffee pie. Try a teaspoon or two of cocoa powder, instant espresso powder, or cinnamon for a fun twist. Heck, try it with all three! Cinnamon and dulce de leche are a dream team, the same combo hiding inside my dulce de leche stuffed snickerdoodles.
Place leftover banoffee pie in an airtight container and keep it in the fridge for up to 2 to 3 days. The longer the pie sits, the softer it will become. Unfortunately, banoffee pie doesn’t freeze well, because the banana slices turn watery and mushy once thawed.
There are two ways to make dulce de leche for banoffee pie at home. The first is to place an unopened can of sweetened condensed milk in a large pot and cover it with water, at least 1 to 2 inches above the can. Bring the water to a gentle boil, then reduce to a simmer and let the can cook for 2.5 to 3 hours, keeping the water level above the can the entire time (add more hot water as needed). Carefully remove the can with tongs and let it cool COMPLETELY before opening. Don’t skip the cooling part, or it can be dangerous. I also have a full explanation of how to make dulce de leche in a pressure cooker, which takes a lot less time! If you want to add flavors, pour the sweetened condensed milk into a saucepan or a wide, heavy-bottomed skillet and cook it over low to medium heat, stirring frequently, until it thickens and turns a deep golden color, about 30 to 45 minutes. Let it cool completely before using.

More No-Bake Pies to Try
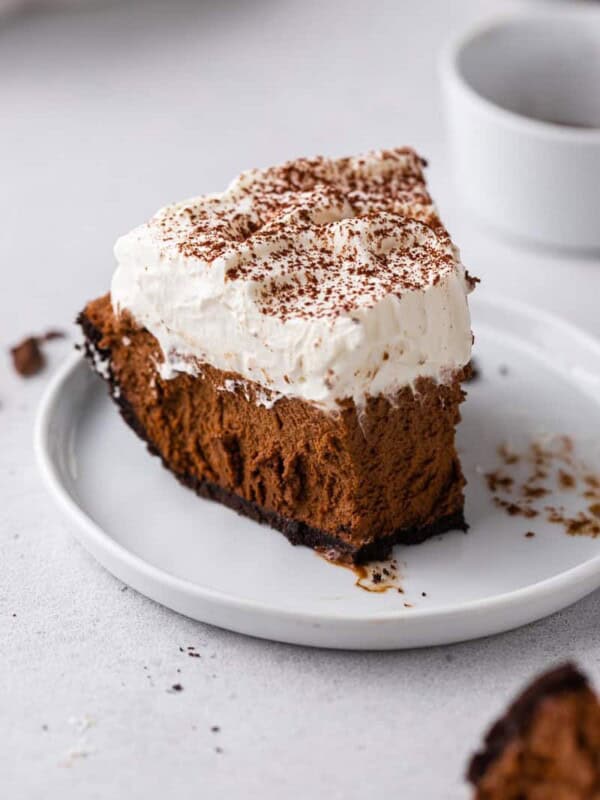


If you made this banoffee pie, I need to see that first slice! Leave a ⭐ star rating and a comment below, and tell me if you went Team Biscoff or Team graham cracker. Banana lovers, this one’s for you!!

Biscoff Banoffee Pie with Biscoff Crust
Ingredients
For the Biscoff Crust:
- 2 cups Biscoff cookie crumbs about 32 cookies
- 6 tablespoons unsalted butter melted
For the Filling:
- 14 oz dulce de leche chilled
- 3-4 bananas sliced into coins, not overripe
For the Topping:
- 1 ½ cups heavy whipping cream cold
- 1 tablespoons powdered sugar
- 1 teaspoon vanilla extract
- Chocolate shavings for garnish
Instructions
- In a bowl, mix Biscoff cookie crumbs with melted butter until the texture resembles wet sand.2 cups Biscoff cookie crumbs, 6 tablespoons unsalted butter
- Press the mixture firmly into a 9-inch pie dish, covering the bottom and slightly up the sides.
- Bake the pie crust in the oven for 8-10 minutes in a 350°F oven, while you prep the filling.
- Spread the dulce de leche over the cooled-down crust in an even layer. The thicker the dulce de leche, the sturdier the pie, so don't be afraid to use an offset spatula to spread everything on the pie crust.14 oz dulce de leche
- Arrange banana slices over the dulce de leche in an even layer.3-4 bananas
- In a cold mixing bowl, beat heavy cream, powdered sugar, and vanilla extract until medium to stiff peaks form.1 ½ cups heavy whipping cream, 1 tablespoons powdered sugar, 1 teaspoon vanilla extract
- Gently spread or pipe the whipped cream over the banana layer. Sprinkle the top with chocolate shavings for an elegant touch.Chocolate shavings
- Chill the pie for at least 2 hours before slicing to help the layers set.
Notes
• Refrigerate for up to 2 days, covered with plastic wrap.
• For best texture, assemble it the day you plan to serve it.
Nutrition
Nutrition information is automatically calculated, so should only be used as an approximation.

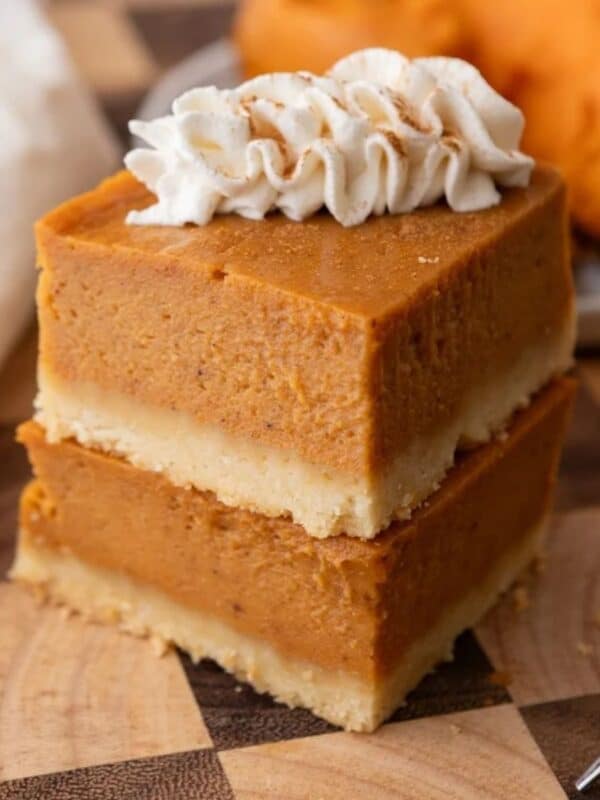
I’d recommend using bananas that are ripe but still firm. The really soft ones get mushy under the dulce de leche and don’t slice as nicely. And don’t skip the 2-hour chill before cutting! Mine held together so much better after chilling, and the Biscoff + dulce de leche + banana combination is honestly hard to beat.