This Vanilla Bean Italian Meringue Buttercream is personally one of my favorites. After making the American buttercream my whole life, making the switch to this light, silky, and smooth Italian meringue buttercream has been the decision that changed my cakes!
SIGN UP TO OUR MAILING LIST GET A FREE WEEKLY MEAL PLANNER AND RECIPE CARD!
More recipe you’ll surely LOVE!
- Small Batch cream cheese frosting
- Bakery style brownies
- The best vanilla magic cake
- Small batch coffee frosting
Hello friends,
Today I am back yet again with another recipe.
Like I told you before March and April are the Birthday months here in my household. So I decided to surprise my little sister with an awesome lemon birthday cake! I did not want to use a regular American buttercream because in my experience the flavor is not balanced at all. The sugar usually overpowers the whole thing so I decided to go a different route!
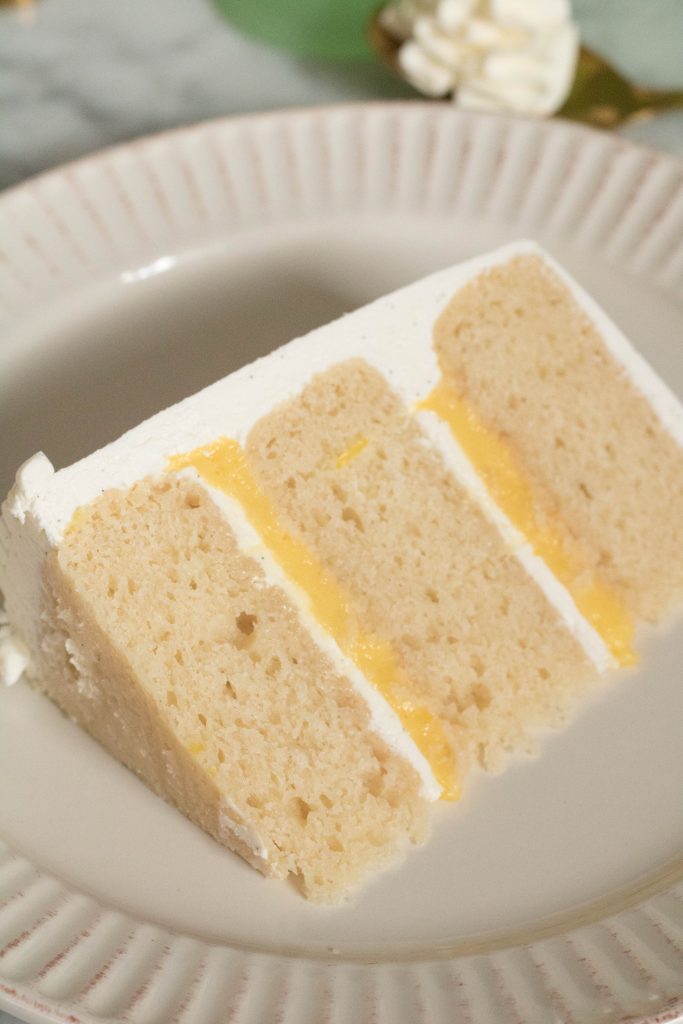
My White Cake with Buttercream frosting!
Alright, can you look at that!!
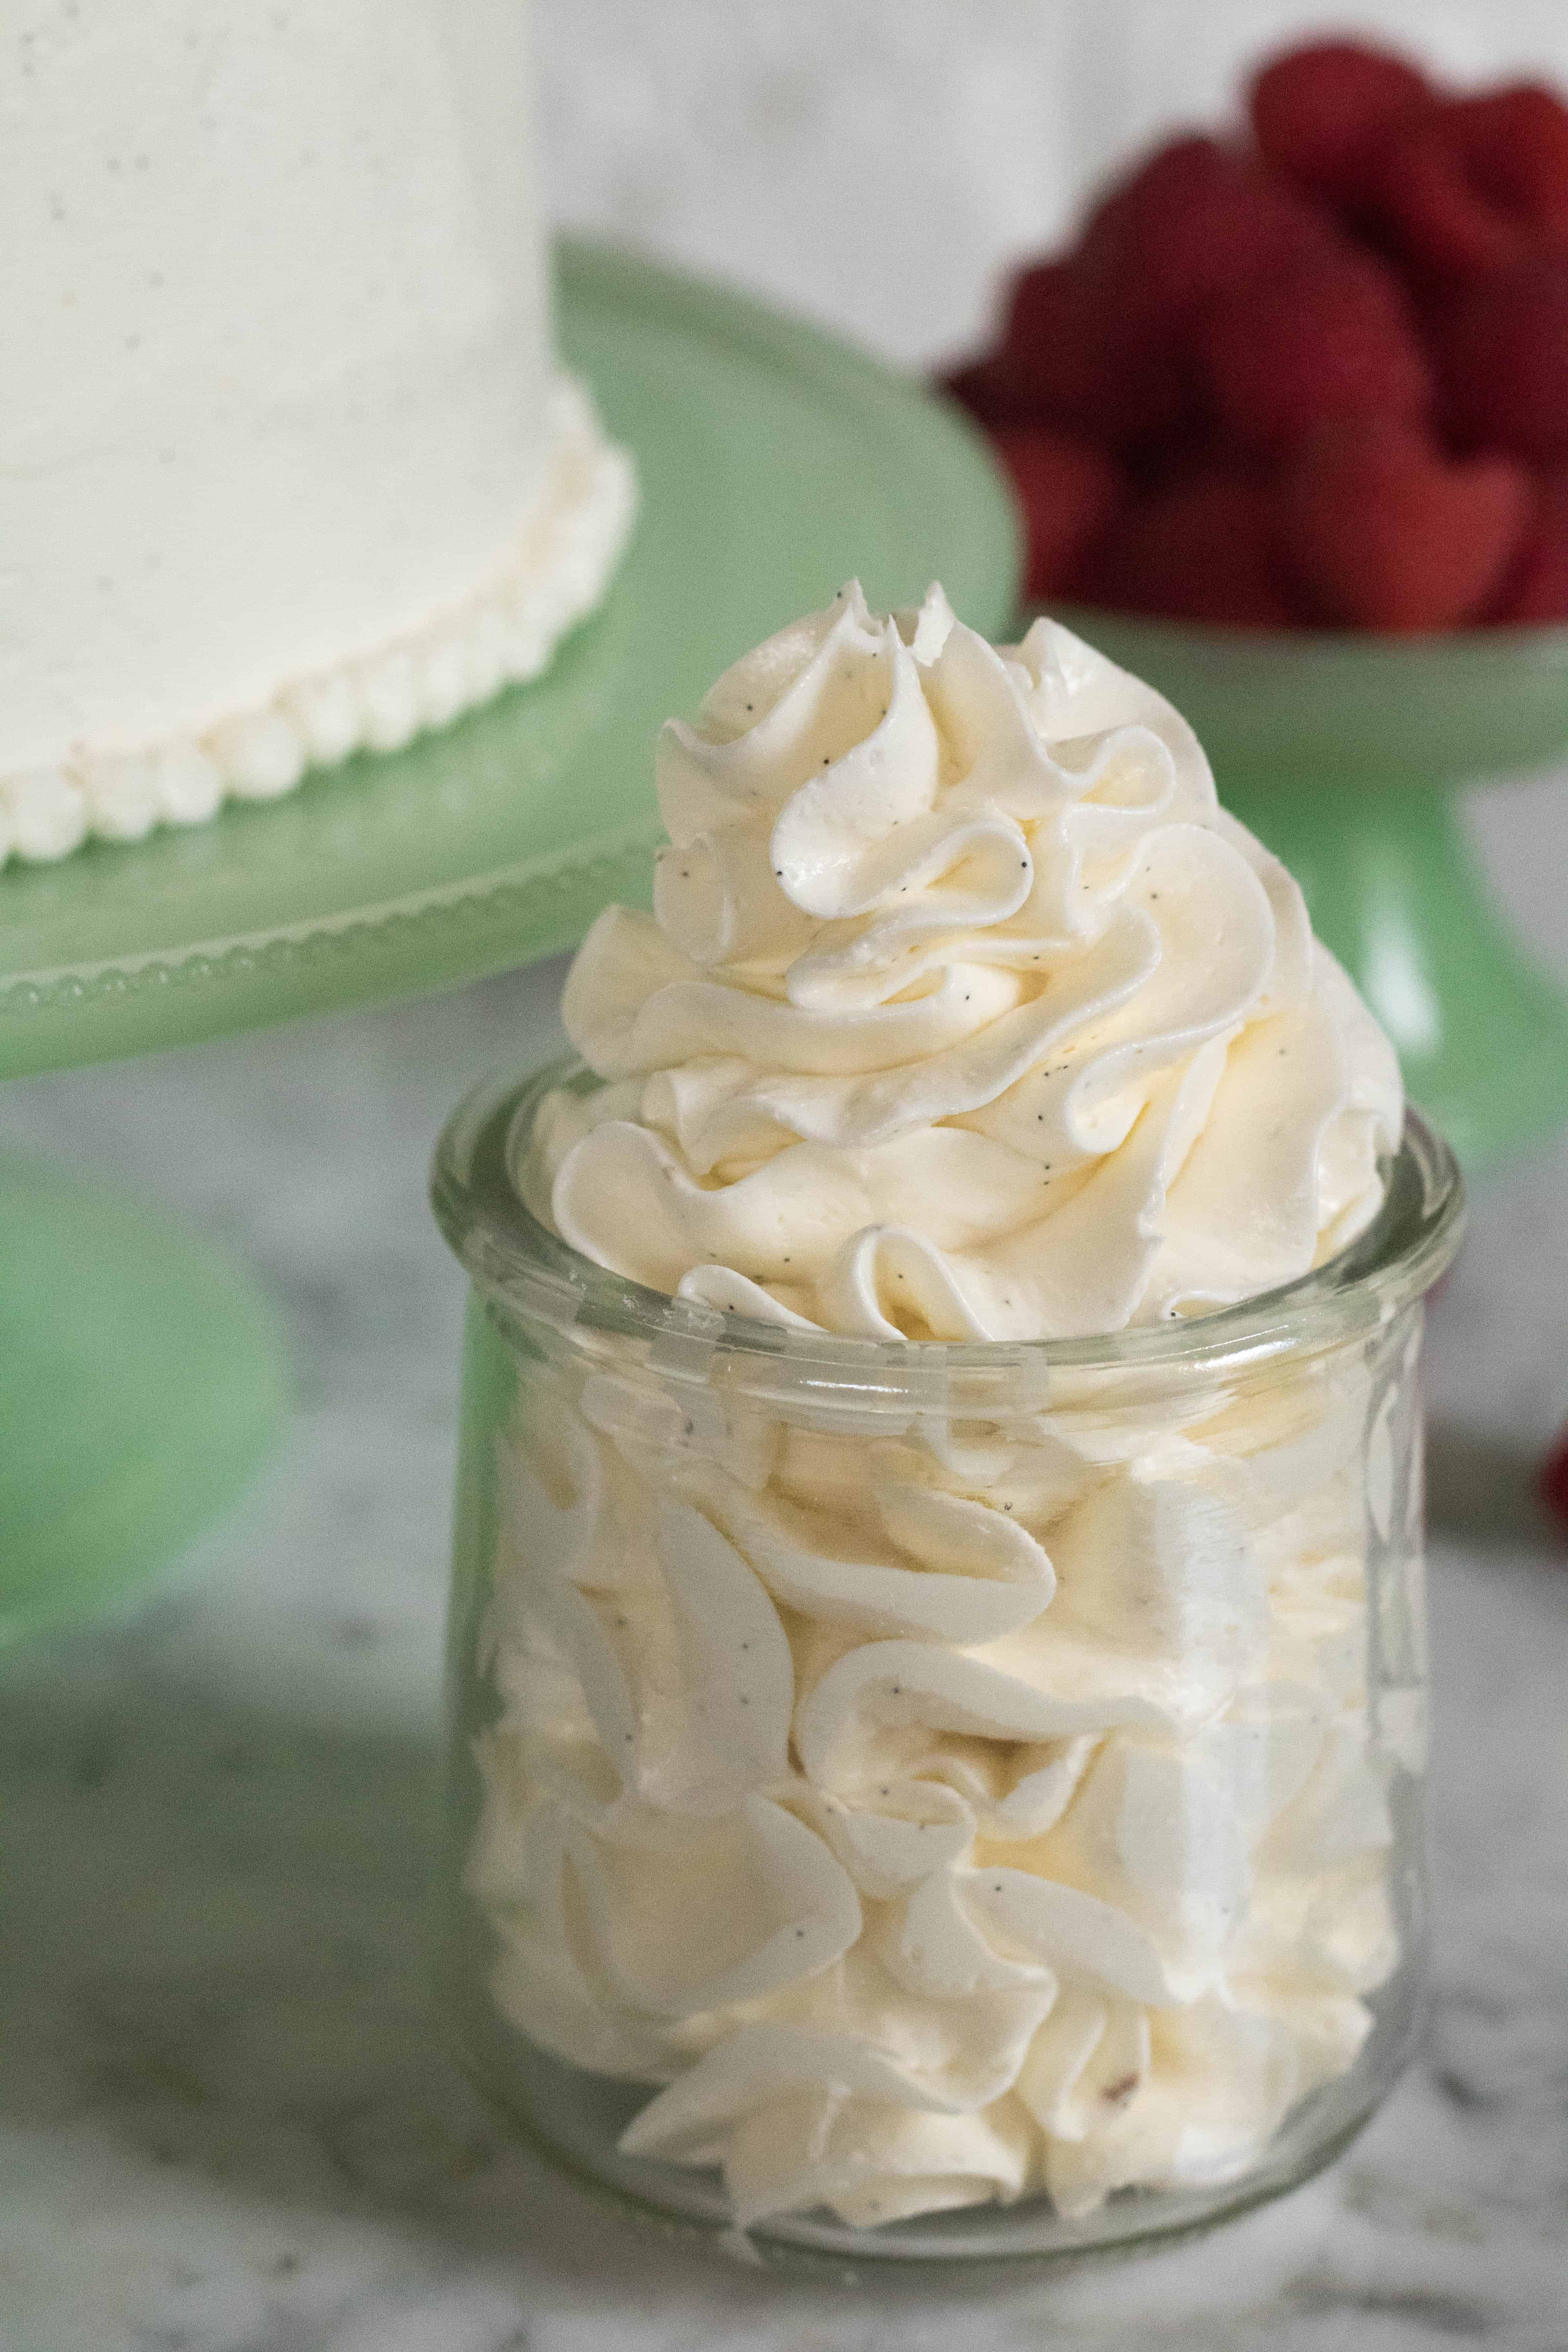
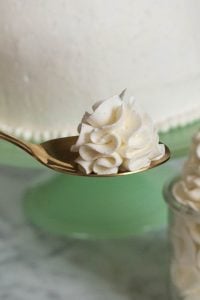
How beautiful is this lemon curd vanilla bean layered cake? I made this 6-inch cake and then covered it using this Vanilla Bean Italian Meringue Buttercream recipe here. You can clearly see the little vanilla bean specks within the frosting. Those add that extra sophisticated touch… and elevates flavor so much of course.
A very important part of layered birthday cake is the buttercream that you use. Making sure that you use top-notch ingredients as well as the right buttercream is one of the secrets to making an incredible layered cake. I will give you guys a lot more tips and tricks to succeed your layered cake in layered lemon curd vanilla bean birthday cake article.
The story of this famous white cake with Italian meringue buttercream…
So being the adventurous person that I am I decided to to try something new. Making a fancier Italian meringue buttercream (for the first time ever!!) It was a little bit scary at first because it did have many many steps, but once you start and get it done I can assure you that you will never go back to the more traditional American buttercream!
The recipe that I bring to you today is from Yolanda’s baking website “how to cake it”. This baker is very famous on Instagram and on YouTube because of all the crazy cakes that she makes. I remember watching so many of her videos on Instagram back in the day where she would make huge handbag layered cakes or big basketball or soccer balls cakes! It was so impressive.
The difference here is that I made this recipe for us people without a professional kitchen so there will be some variations within the directions! The first time trying this, I made a little mistake when following the recipe from her website. And then I realized what my mistake was and how I could fix it! Continue reading to find out what happened the first time I made her recipe…
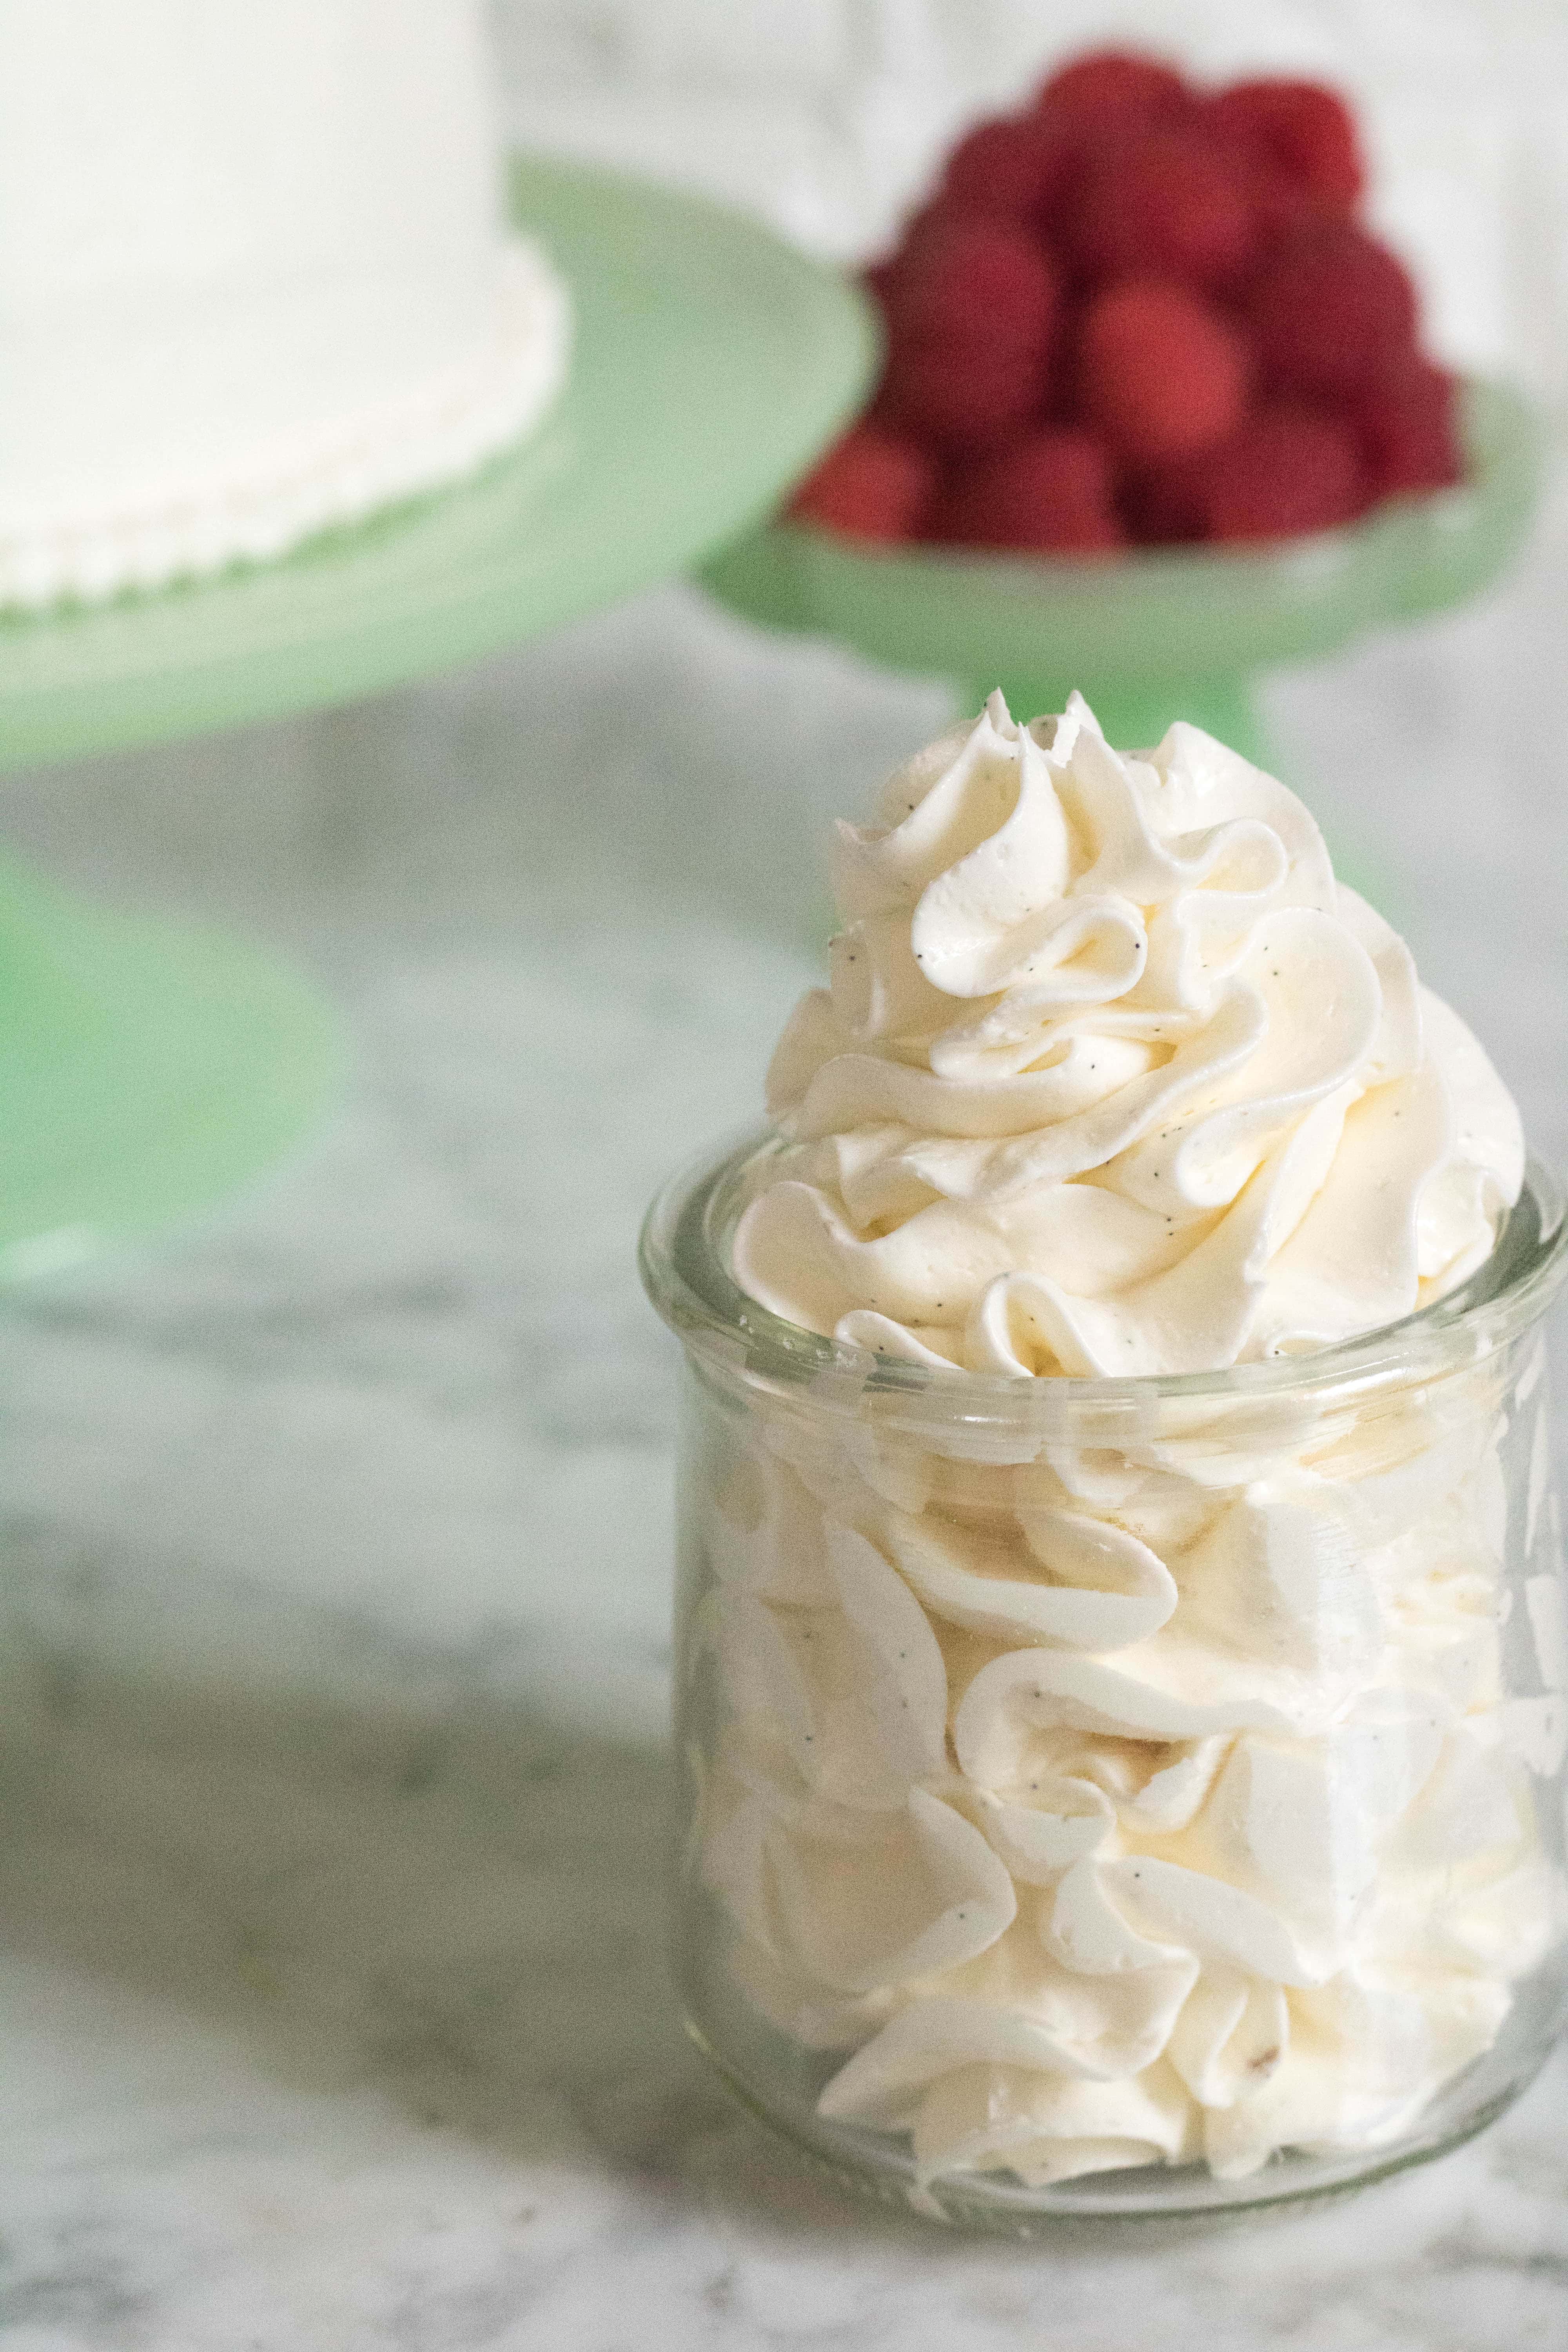
It’s not always sunshine and rainbows, but practice makes perfect when making any Italian buttercream frosting recipe…
My first time ever making Italian meringue buttercream I started by whipping up the egg whites then I added the sugar syrup into this beautiful shiny and glossy Italian meringue. I continued beating the meringue for another 15 minutes to ensure that the mixture cooled down. After this, I started adding my room temperature butter one cube at a time. And that’s when it happened… Everything collapsed. All the hard work, the patience, the 8 egg whites were ruined!
I was left with a soupy mess after I realized that the meringue hadn’t cooled down enough!! The meringue was too warm and melted the butter that I added in right away!
So one of the biggest tips when it comes to your Italian buttercream is to make sure that the meringue cools down enough before you add in your butter. You can do so by touching the exterior of the stand mixer bowl to make sure that it hit the right temperature!
Since I live somewhere pretty hot, this was a long process for me. But this little trick helped me a lot;
- Grab a couple of kitchen towels, soak them in water and then squeeze most of the water out and place them in the freezer. After a couple of minutes, they’ll be close to frozen, at this time, take them out of the freezer and wrap them around your stand mixer bowl!
- This will ensure that your mix is cooling down a bit faster!
I kept doing this until I got a perfect temperature Italian meringue to add my butter into.
You could definitely salvage the ruined buttercream and if you are curious as to how to do that look under the recipe!
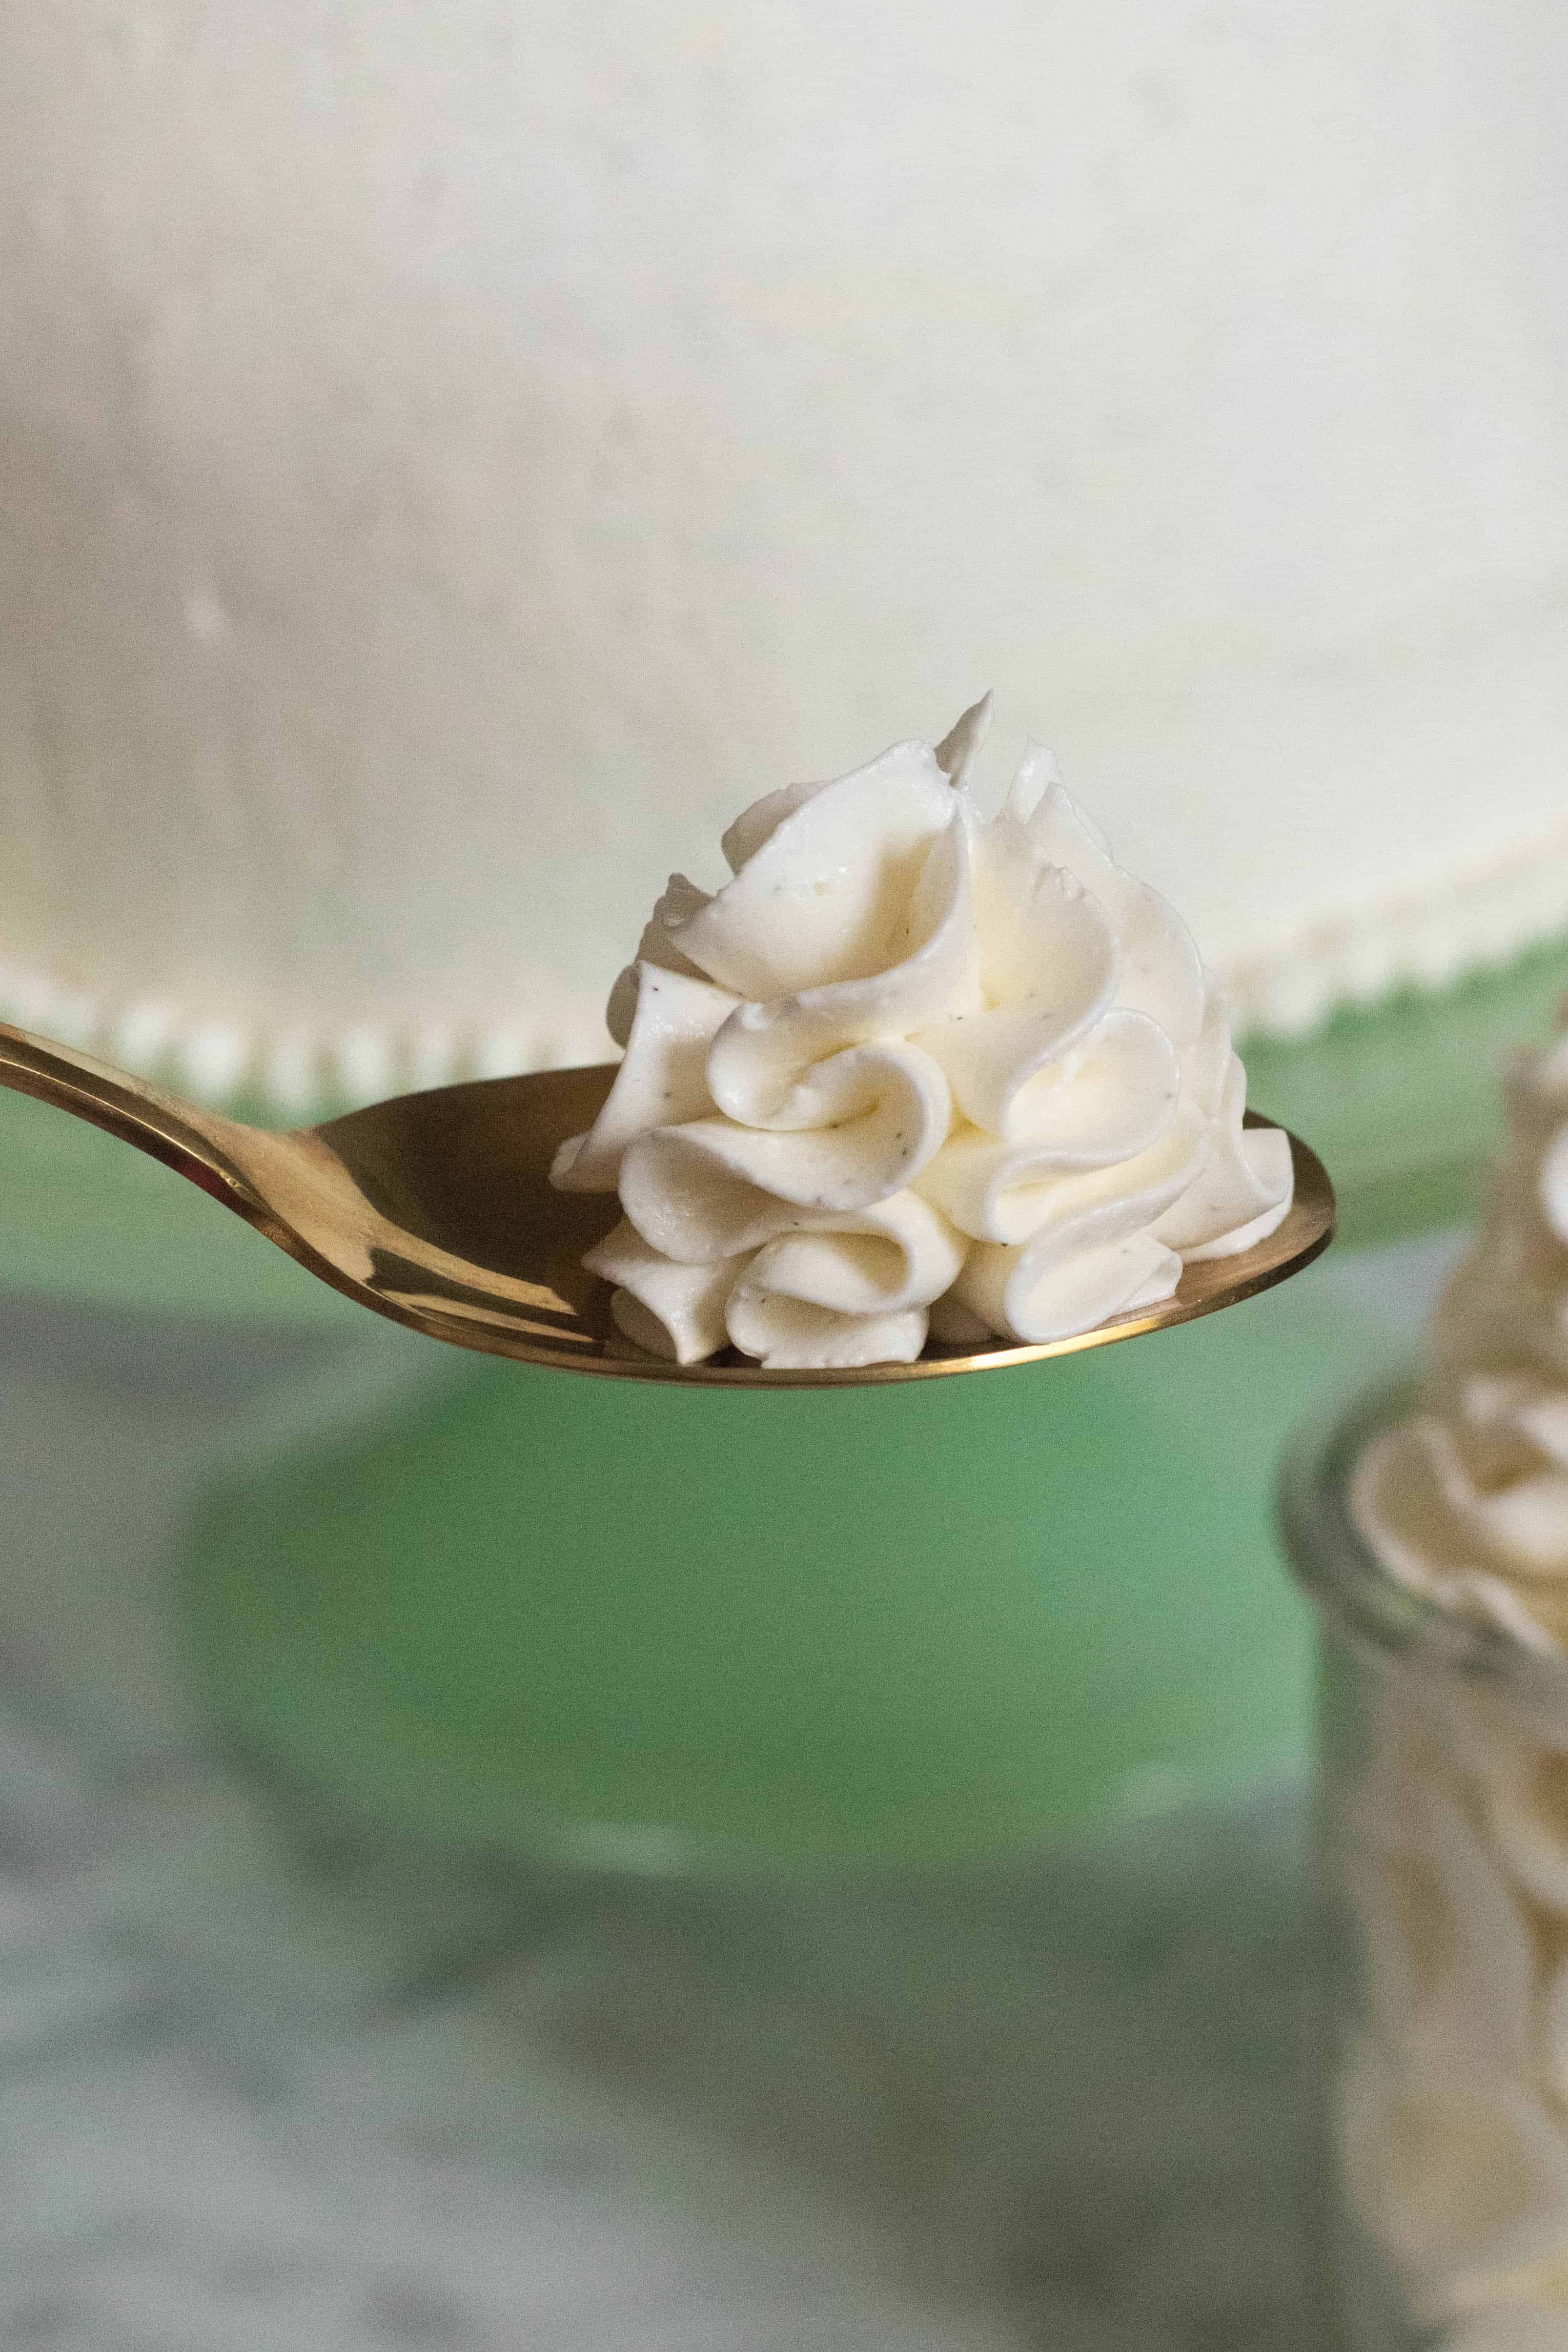
Ingredients needed to make this Italian buttercream frosting recipe
- White sugar– The white sugar is what we will use to sweeten out our Italian meringue buttercream. You will need to make a syrup using the sugar to dissolve it completely.
- Egg whites– Egg whites are what will give this Italian meringue frosting it’s meringue’y flavor. By whipping up the egg whites and adding the sugar you get that iconic meringue flavor in your cake frosting!
- Unsalted butter– Butter is another very important part in this recipe. Make sure to use very soft room temperature (but not melted) butter to recreate this Italian buttercream recipe perfectly.
- Vanilla bean – Since you are putting extra work to make this delicious Italian buttercream recipe, treat yourself by adding vanilla beans in there. The beautiful black specks in the white frosting makes this recipe that much better.
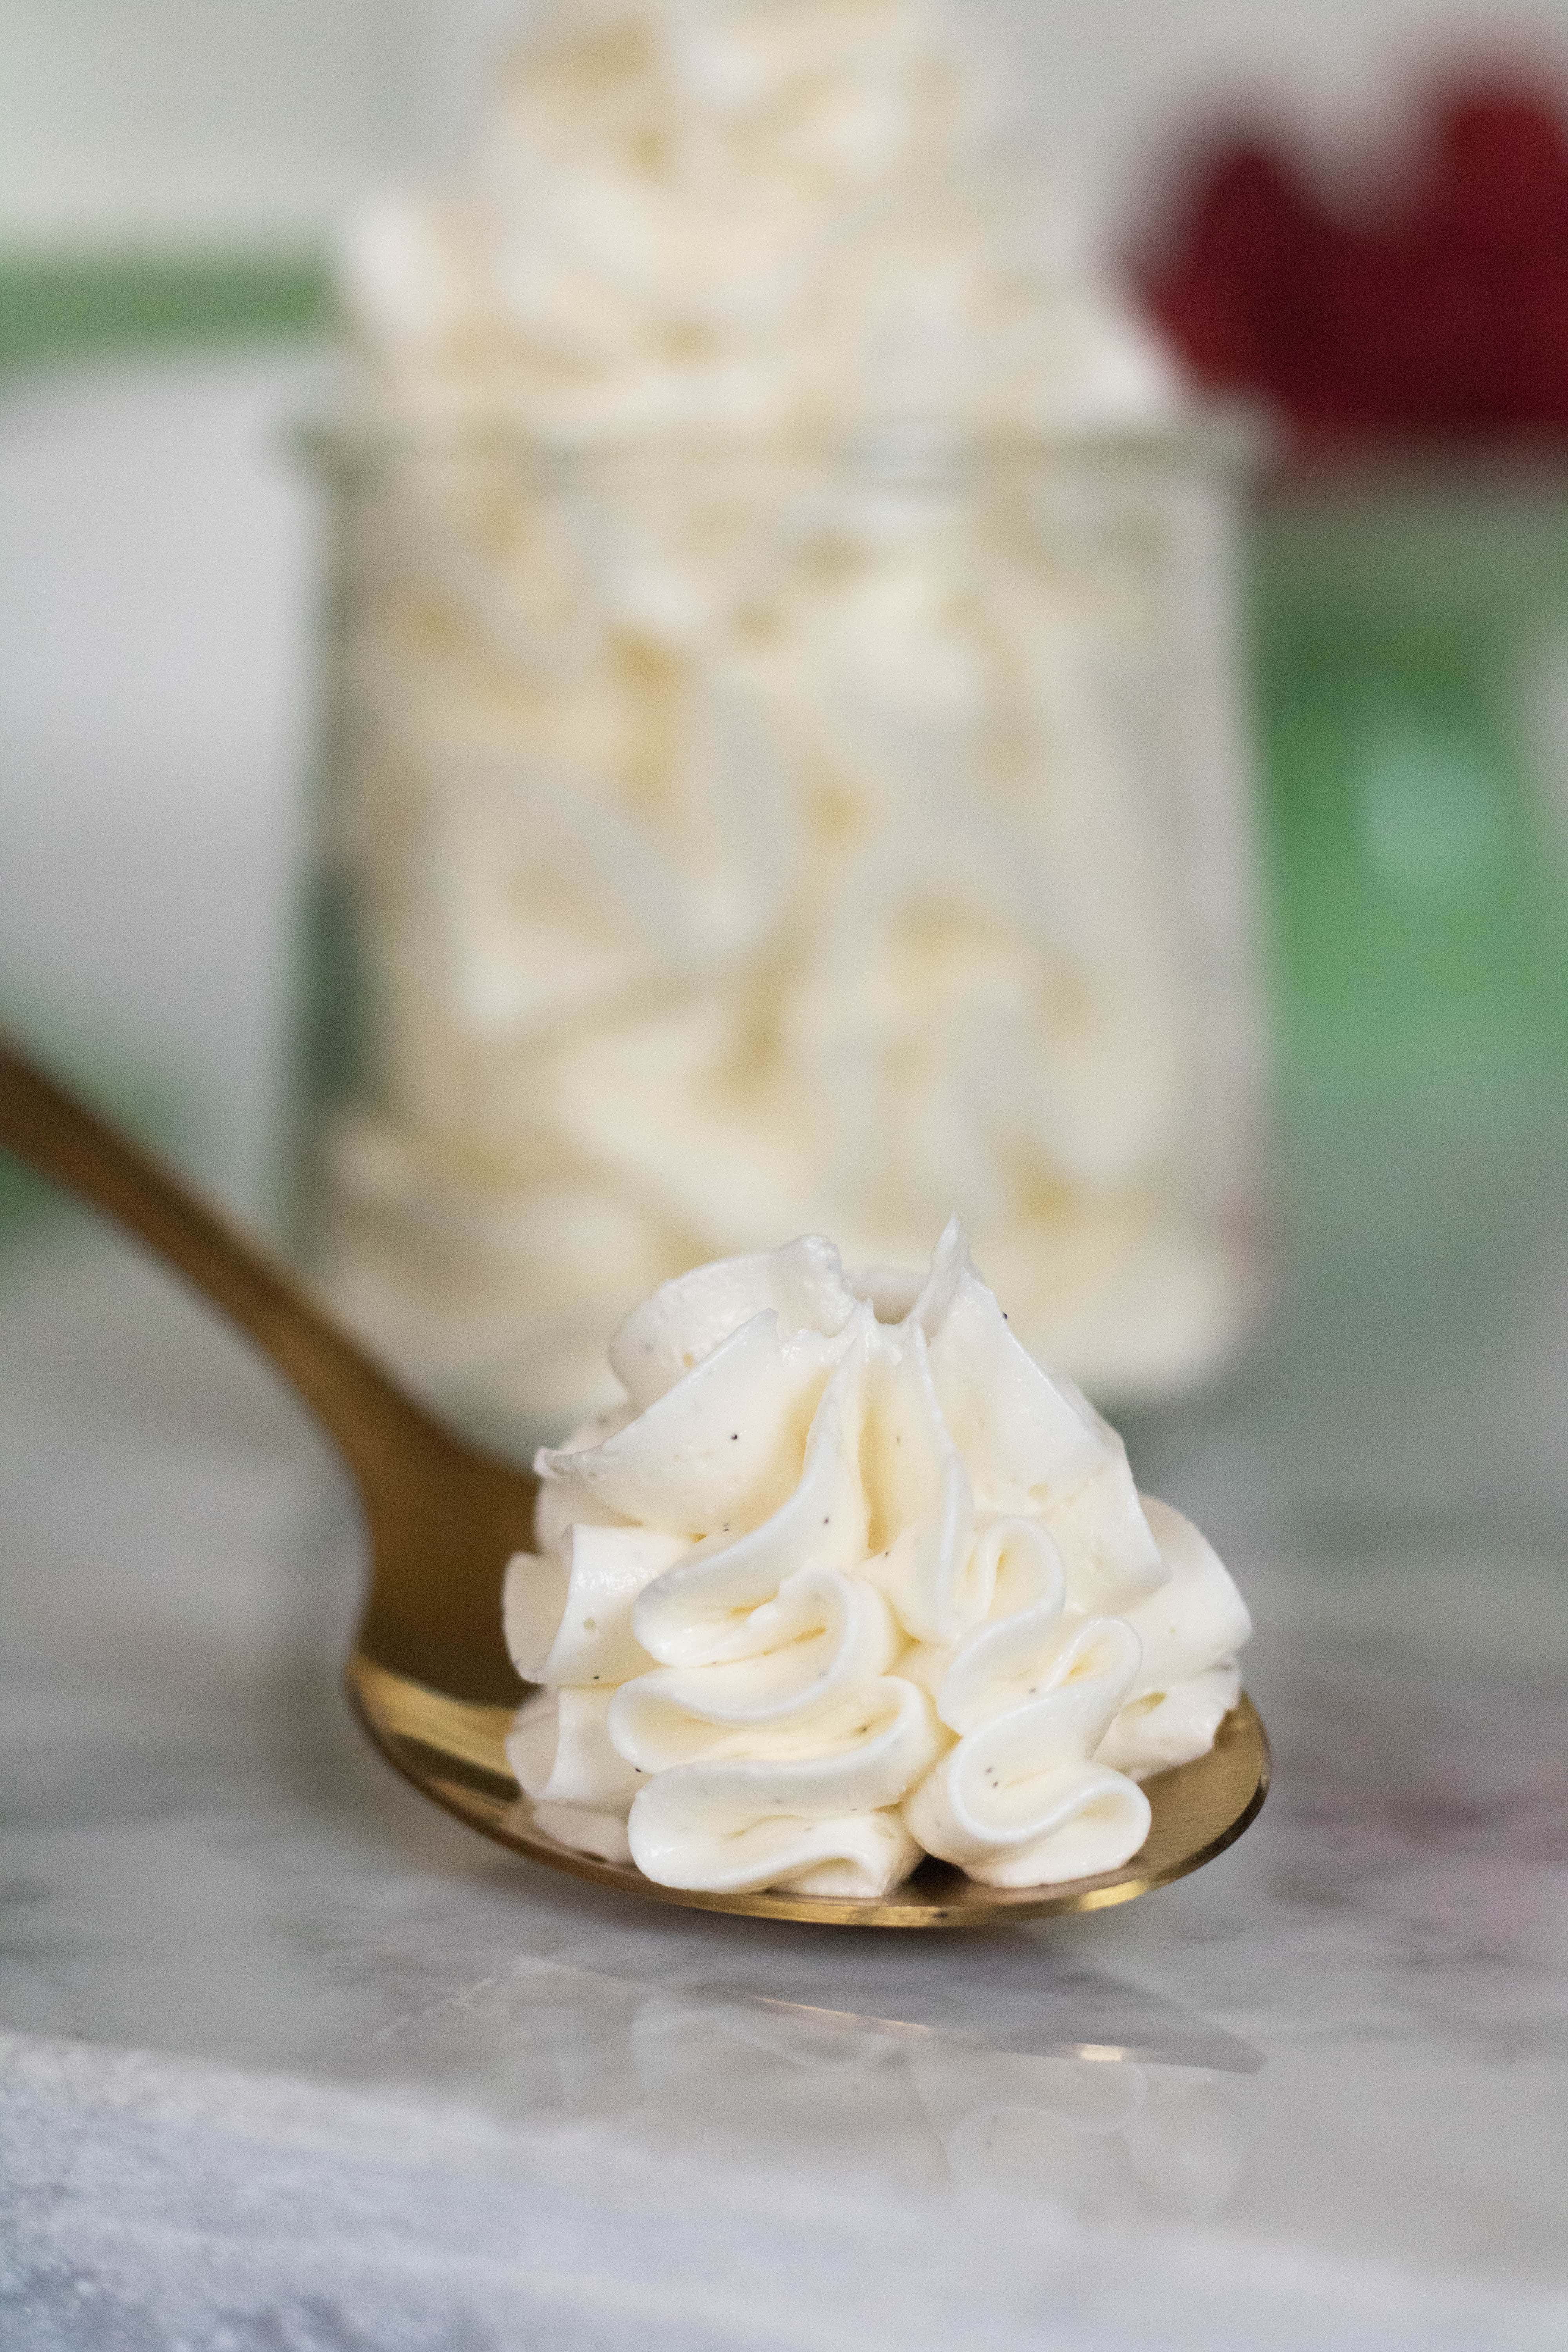
Tools you need to make Italian buttercream frosting
To make this Italian buttercream frosting you will need certain tools to make your life a whole lot easier. Below I have listed the tools you need and shared a quick link for you to get them if you don’t have them at home.
- Candy thermometer- I used an old school one but feel free to use a more high tech one too!
- Small sauce pan
- Stand mixer
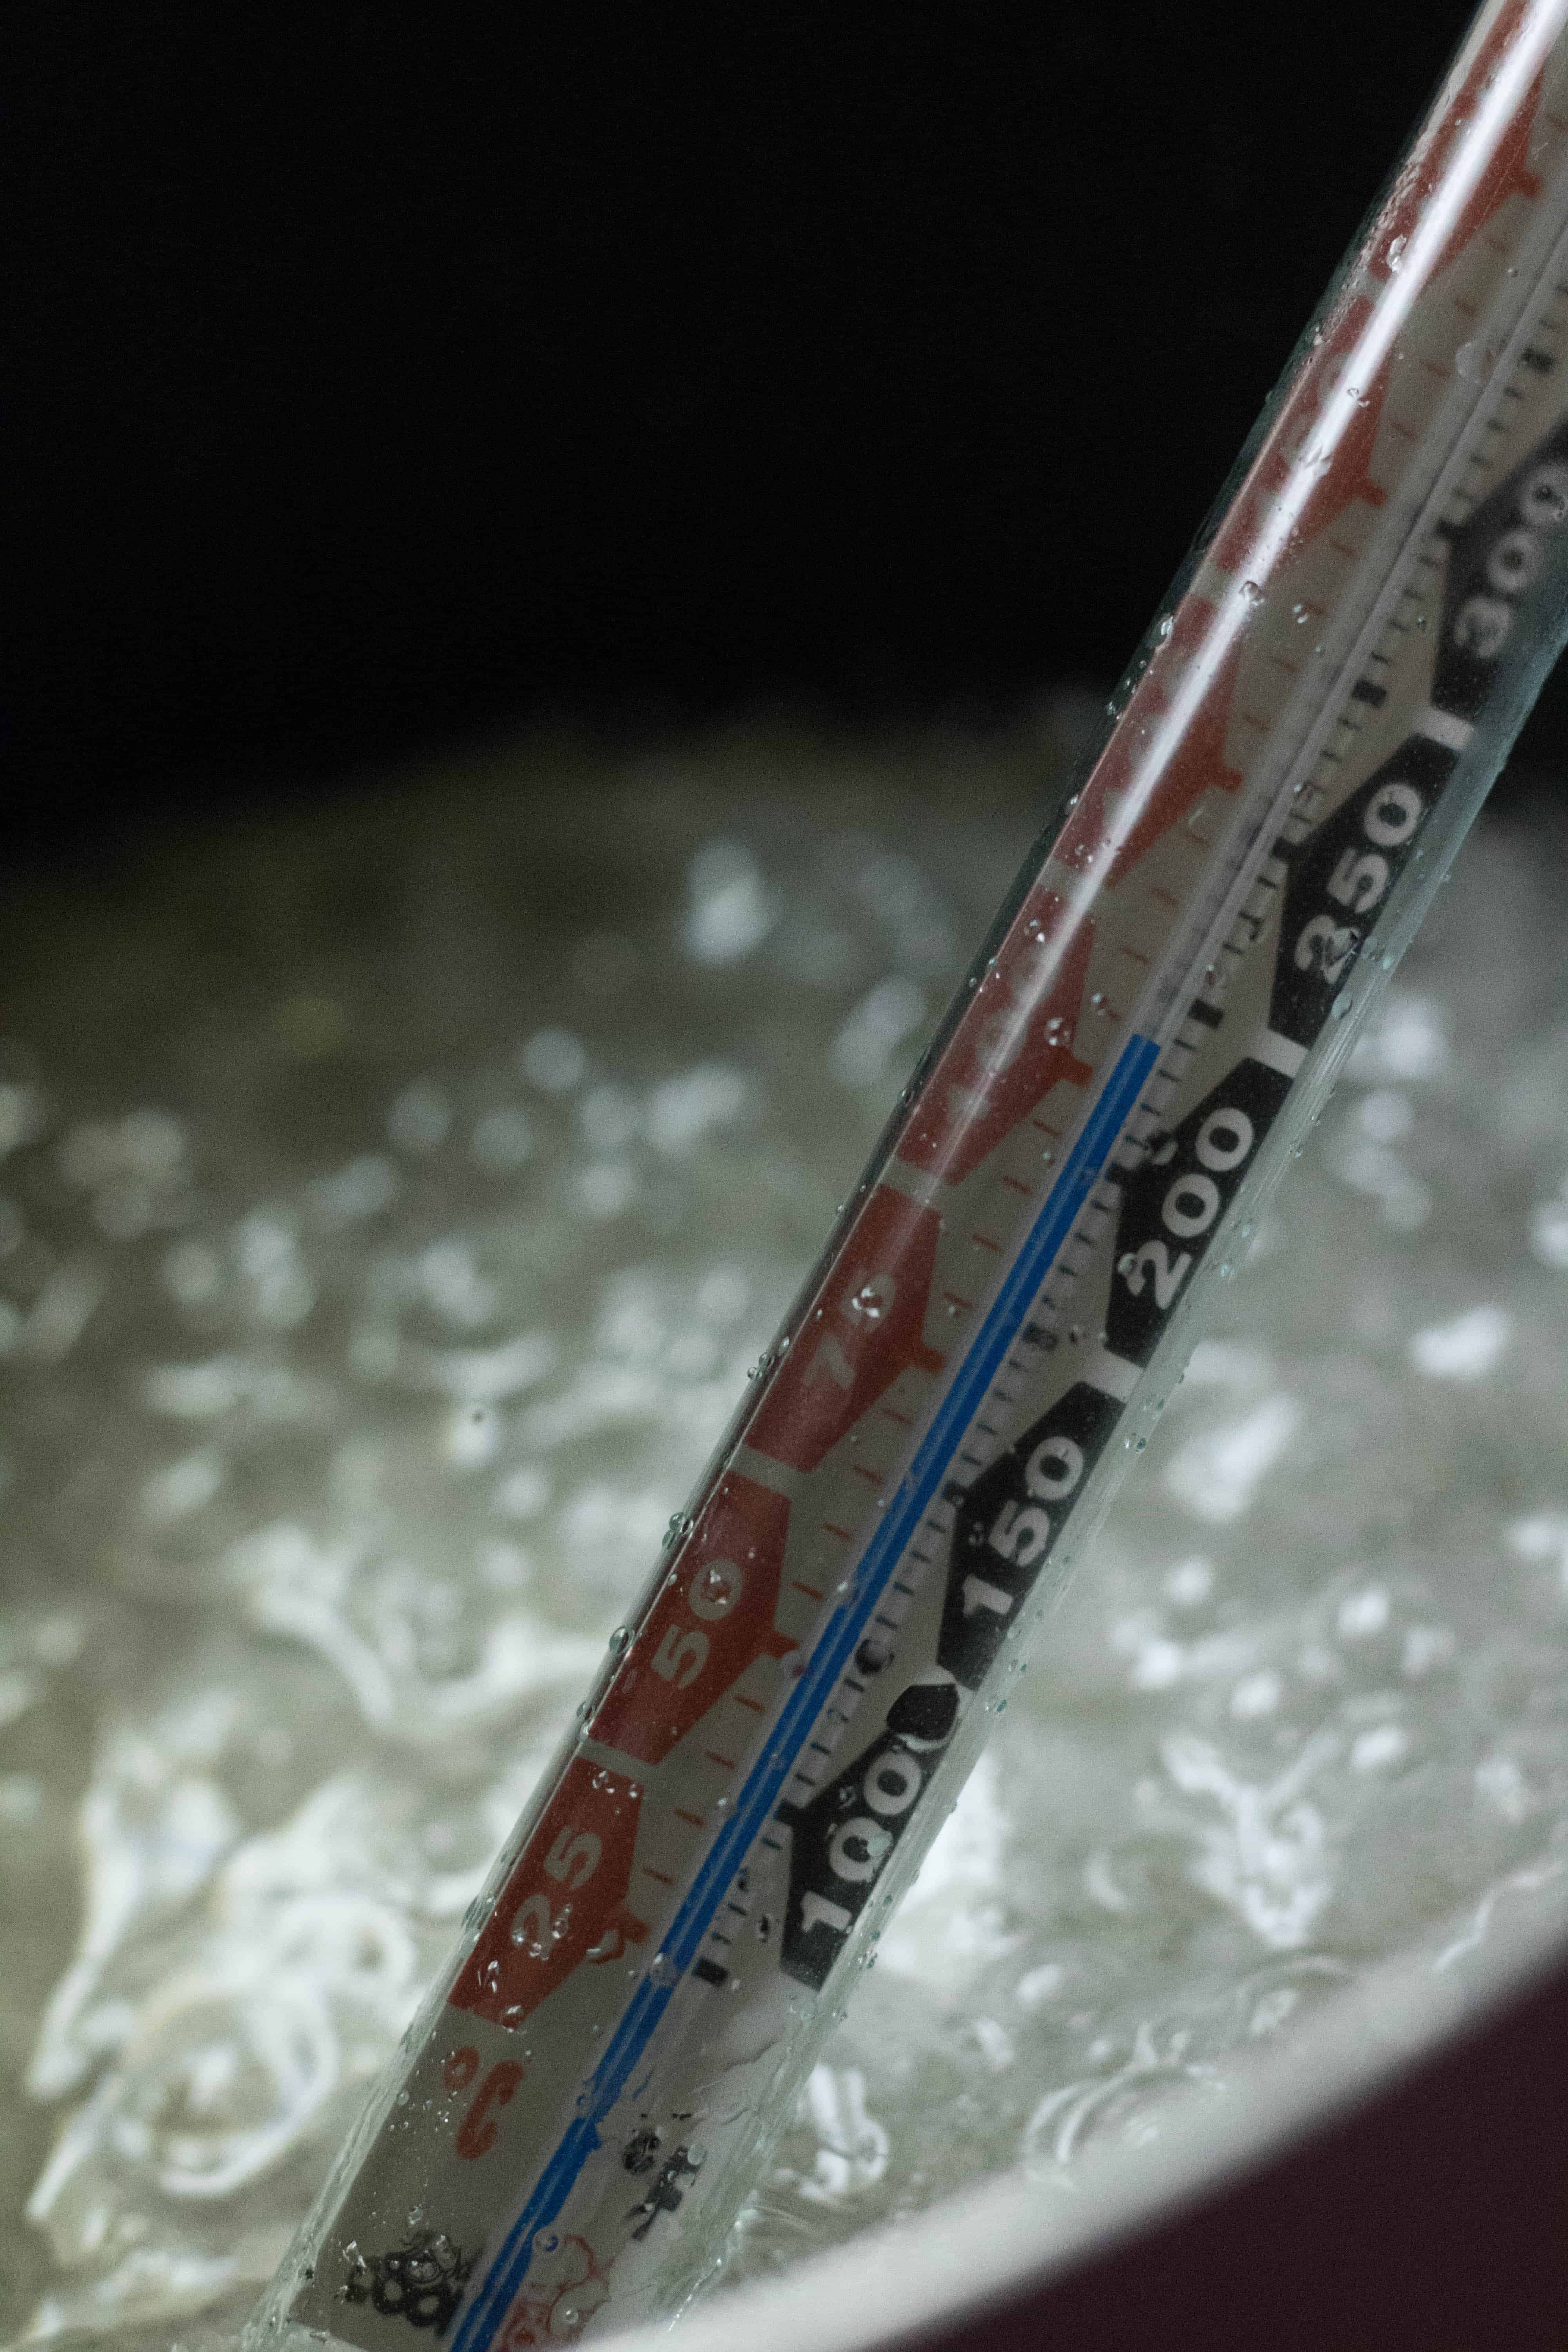
Can I make Italian meringue buttercream without a thermometer?
If you are a beginner pastry fanatic, I would definitely recommend using a candy thermometer. If you don’t have one and you really want to make this Italian meringue frosting recipe, here is a technique I learned when I was doing my pastry internship.
- Prepare a a glass of iced water and place it close to where you are cooking your sugar syrup.
- When the sugar syrup starts to bubble slowly. Use a spoon to drop some of the sugar syrup mixture into the iced water. (the way I used to do it at the pastry shop was dip my finger in the ice cold water for 10 or so seconds. Then quickly touch the sugar syrup then dip my finger back in the iced cold water) I don’t recommend using this technique because I don’t want anyone to risk getting burn.
- After dropping the sugar in the ice cold water, one of three things happened:
- The sugar dissolves- If the sugar dissolves, it means you have to cook it a little more.
- The sugar forms a soft ball that feels like sap – This is the perfect consistency. When the sugar is soft and malleable but still forms a ball you know it is ready to add into the egg whites.
- The sugar forms into a hard ball– If the sugar forms a hard ball, you have overcooked your sugar and you might need to start again.
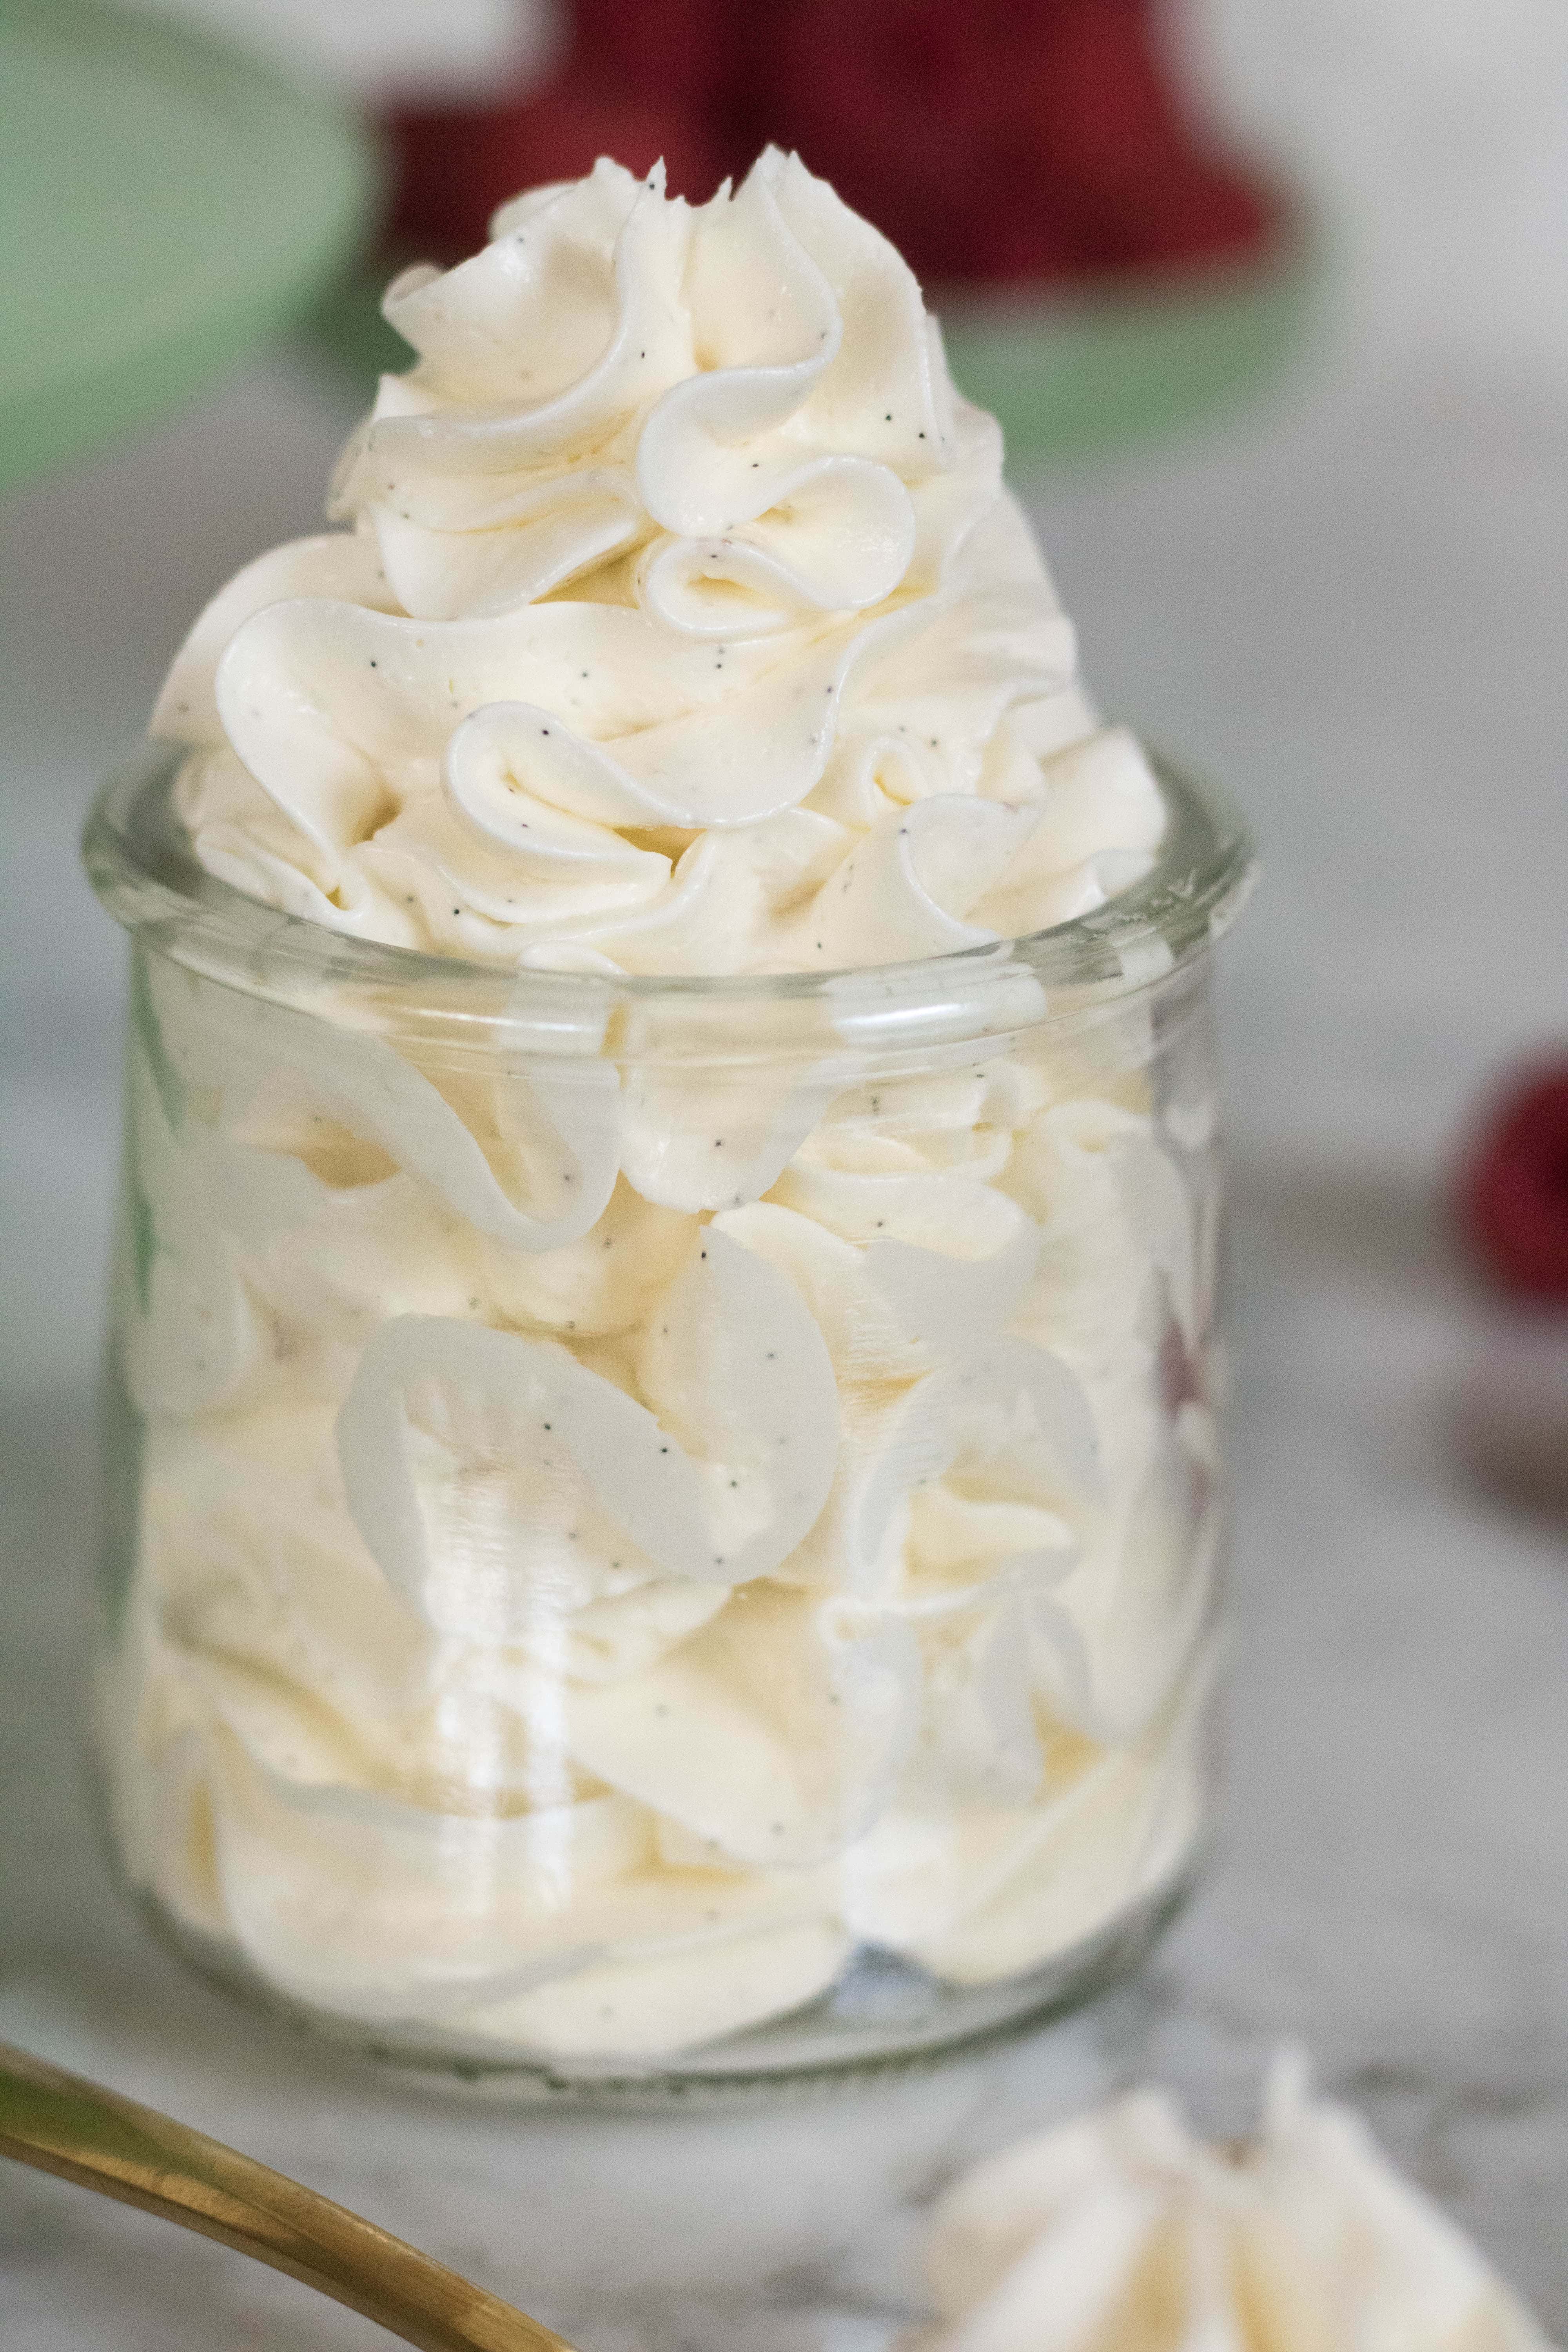
Tips for making the best Italian buttercream recipe!
- Room temperature ingredients- It is very important to use room temperature ingredients in this Italian buttercream recipe ( butter and eggs)
- Clean your mixing bowl- As you may or may not know, any leftover fat in your egg whites will stop them from becoming light and fluffy. So before starting this recipe make sure that you clean the mixer bowl very well. Clean it until there is no fatty residue. Make sure that there is no egg yolk in your egg whites too! Egg yolk also contains a lot of fat and will keep your meringue from rising.
- Keep a close eye on your sugar- The sugar cooking process might seem long at first. But it does heat up fairly fast at some point. Once it reaches 245F keep a close eye on it to make sure that you don’t overheat it.
- Slow and steady beats the race- When adding your small pieces of butter to the whipped egg whites, do so slowly. Wait until the previous piece of butter is completely incorporated before you add in the next piece. This will ensure that everything is getting mixed in evenly.
How to salvage ruined buttercream
If your Italian meringue is too warm, adding the butter will create a soupy mess. I did it and It allowed me to learn a few tricks:
- Place your meringue in the fridge or the freezer to allow it to cool down
- Whip after it cools down and started adding the rest of the room temperature butter
- These steps will fix your buttercream, but It will never taste as good as it would’ve if it was done the first time. So if you could redo it I would stronger suggest that!
When I tried salvaging my failed Italian buttercream the next day (Strictly for experimental purposes haha!) I noticed some differences between the one that I got done right the first time and the one that I had tried to salvage the next day.
- The color was leaning a lot more towards the yellowish white than that beautiful bright white buttercream.
- The flavor was completely different, even though I used the same amount of sugar. The failed batch tasted a lot less sweet. It also had too much butter flavor and not enough Italian meringue flavor. The second Italian meringue buttercream that I made tasted like a light and delicious meringue.
IF YOU MADE SOMETHING FROM LIFESTYLEOFAFOODIE, I WOULD LOVE TO SEE ALL YOUR CREATIONS AND KNOW HOW EVERYTHING TURNED OUT! SO DON’T FORGET TO LEAVE A COMMENT BELOW AND FOLLOW ALONG WITH ME ON INSTAGRAM, PINTEREST, AND FACEBOOK.
Vanilla Bean Italian Meringue Buttercream recipe
If you tried this vanilla Italian meringue buttercream and absolutely loved it make sure to give it a 5 star review! It would mean the world to us 🙂
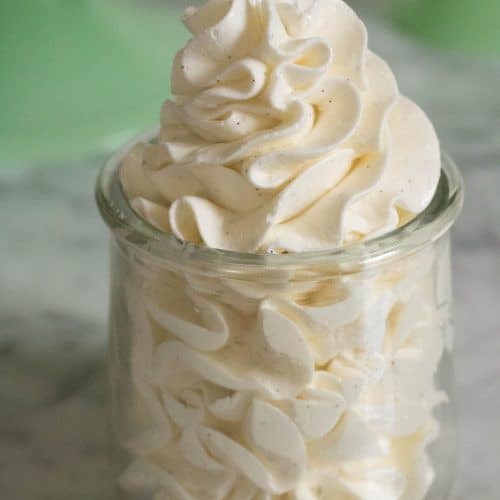
Vanilla Bean Italian Meringue Buttercream
Ingredients
- 1 ¾ cup white granulated sugar
- 8 large egg whites
- 4 sticks unsalted butter, cut into small sized pieces, at room temperature (very important!)
- A whole vanilla bean
Instructions
- First, start by placing the sugar and ½ cup of water in a small saucepan. Place the pan over medium heat and bring the sugar mixture to a boil.
- While the sugar syrup is heating up, put the egg whites in your stand mixer fitted with a whisk attachment
- Using a candy thermometer check the temperature of the sugar syrup from time to time, when the syrup reached 235F, begin to whip up the egg whites on medium high speed. Whip the egg whites until they reach a stiff consistency.
- When the syrup reached 250F, remove the pan from the heat and with the mixer still running, pour the syrup slowly into the stiff egg whites. Pour the syrup in a thin stream between the wide of the bowl and the whisk attachment.
- Continue whipping the meringue at high speed, it will become thick and glossy. The bowl will also no longer be warm on the outside (VERY IMPORTANT) this could take anywhere between 15 to 45 minutes depending on where you live. It is imperative that the stand mixer bowl you are using is not hot to the touch anymore.
- With the mixer still running, add the butter one piece at a time. Make sure to wait until the pieces of butter are well incorporated before adding any more butter to the mix. Scrape down the bowl from time to time to ensure a homogeneous mixture.
- After you’ve added all the butter, add the scraped vanilla beans and continue whipping the mixture for another 3-5 minutes for that thick and smooth consistency.
Notes
- Make this ahead of time to let all the flavors infuse.
- This recipe can be stored 2-3 days at room temperature, 2 weeks in the fridge, 2 months in the freezer If you store this in the fridge or freezer you will need to bring it back to room temperature before reusing!
- Take it out several hours before using and let it get to room temperature. After that, put it in your stand mixer with a paddle attachment and beat on medium-low. This will make it look as if it is broken and curdled but no worries this is normal. Just let it continue doing its thing. After a little while turn the speed up to medium high and it will mix out smoothly!
Nutrition
Products I love
This article may contain some affiliate links, meaning, at no additional cost to you, I will earn a commission if you click through and make a purchase
Here are some recipes that might interest you:
- Small Batch Cream Cheese Frosting
- No sugar added healthy banana bread
- Sweet potato fudge brownies
- Easiest Cake truffles! No more leftover cake waste.
- The Best Vanilla Magic Cake
As always, make sure to follow me on Instagram at @Chahinez_tbt and Pinterest. And if you try this recipe out let me know how you like it :)! Have an awesome day and make sure to pin this for later



Sarah
Delicious! Pairs so wonderfully with chocolate cake. I always get compliments about it being so tasty and not too sweet.
Chahinez
Thank you so much!
Mel
Hi! I look forward to trying this buttercream. Question, can we use pasteurized egg whites?
Thanks!
Chahinez
You sure can!
Denise Simpson
Thank you for the Buttercream recipe – I had a mishap with the times in the directions. I let it sit for a while, it separate and curled. Then I decided to mix again and after 30 minutes it became silky! Success!
.
Chahinez
Glad to hear it worked out for you!
Trish
There are so many variations on how many egg whites butter snd sugar to use in different recipes. Some with 8 egg whites snd 6 sticks butter. Why is there such a variation and how goes it impact the icing? I made yours snd it is awesome btw just curious on the differences
Chahinez
Hi Trish! Great question, there are variations because it depends on the texture or flavoring for that specific recipe. 🙂
Dee Miner
This is now the frosting I use for all my cakes. It is a long process and I find closer to 1.5-2 hours start to finish. If I add the butter any quicker there’s always issues. I get so many requests for this frosting. I make a cassata cake and the creaminess of this frosting pairs beautifully.
Chahinez
I love to hear that!! It’s so much better than American frosting!
Sarah
I made this for the first time yesterday for my son’s birthday cake. I put it fridge as we didn’t get to it last night, but we had it today and the frosting is hard and very buttery. should I have let it sit and come to room temperature or did I do something wrong?
Chahinez
Yes,it is made with butter so the butter will naturally harden, you have to allow it to sit at room temp for a little bit to soften.
Lari
Hi, I am making a fresh strawberry cake for an auction. I would like to use this frosting, adding strawberry purée that has been cooked down. Any idea when to add, and how much? Would I still use the vanilla bean? Thanks-your photos are gorgeous!
Chahinez
That sounds so good! You can add the reduced strawberry puree at the end and then mix again. Try adding 1/4 cup to start, mix, taste and see if it needs more. If you need as it needs more add 1-2 tablespoons at a time until you reach the desired frosting flavor.
Thank you so much much for the kind words, Lari!
Hope this helped 🙂
Deeksha Pathak
What a beautiful presentation!!! I loved your photography a lot, those tiny specks of vanilla bean…. lovely!
Lifestyle of a Foodie
You are too sweet! Thank you so so much 🙂
indianeskitchen
This must be fabulous with the actual vanilla bean….YUM!
Camila Hurst - Pies and Tacos
Love the vanilla bean speckles!! So yum!!!
Lifestyle of a Foodie
Thank you so much! ❤️