This post may contain affiliate links. Please read our disclosure policy.
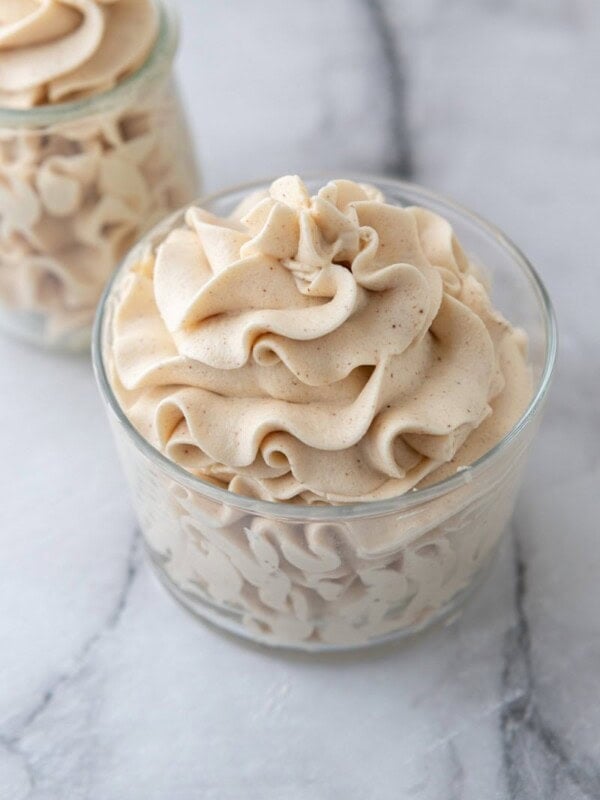
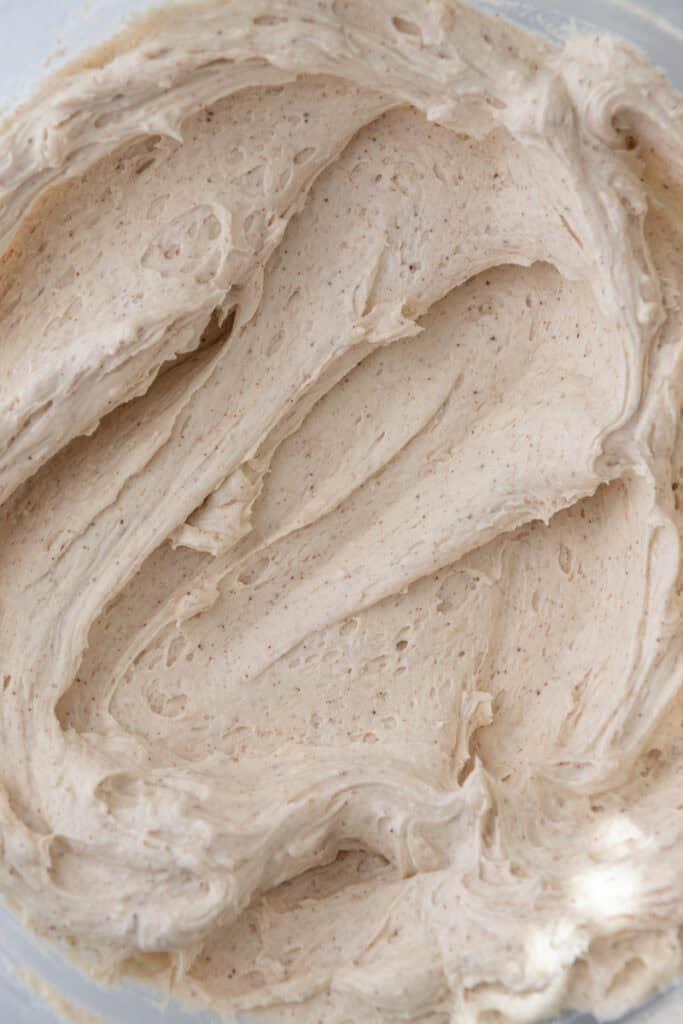
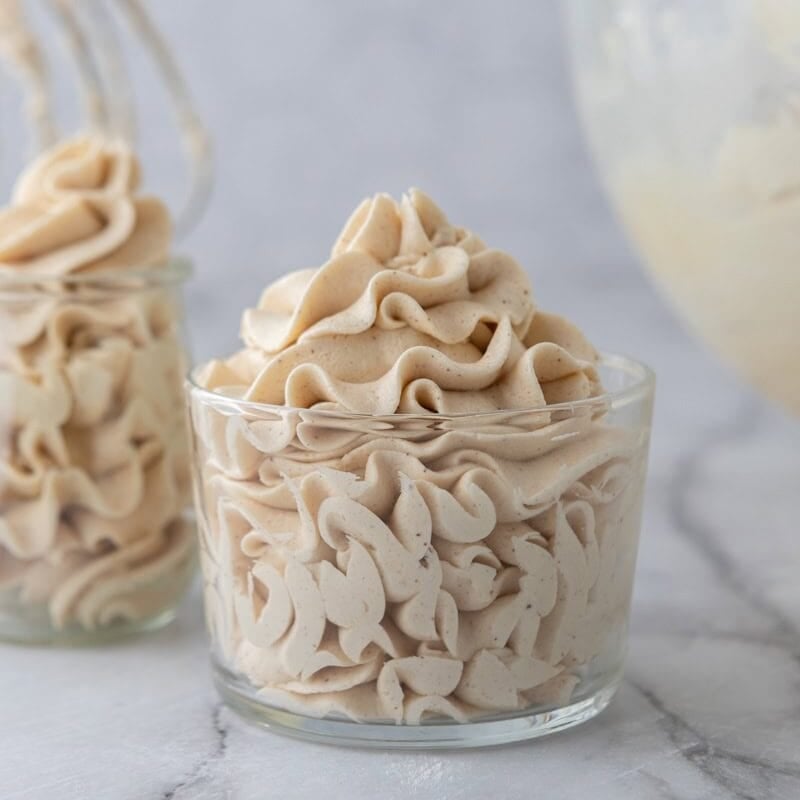
This brown butter frosting is the nuttiest, most flavorful buttercream you’ll ever make, and it only takes 10 minutes. Whether you call it brown butter frosting, brown butter icing, or brown butter buttercream, it all comes down to one thing: regular butter transformed into something deeply toasty, caramel-y, and impossible to stop eating straight off the spoon.
I love throwing this on top of a simple vanilla cake, carrot cake, or even a batch of brownies (Kyle’s personal favorite and honestly I can’t blame him). Once you try it, regular buttercream is going to feel very boring.
Since you are here and discovering your newest favorite recipes, check out these Brown Butter Chocolate Chip Cookies, these Brown Butter Blondies, or these Brown Butter Pistachio Cookies.
Let’s Chit Chat
I came up with this recipe because I was genuinely tired of making the same cream cheese frosting and vanilla buttercream over and over again. With my pastry background, I knew brown butter was already a game-changer in cookies and blondies, so why not frosting? The first time I whipped this up and spread it on a warm pan of brownies for Kyle, he took one bite and said “this is it, this is the one.” That was enough for me. I’ve been making it ever since and it genuinely goes on everything in this house.
The trick that took me a few tries to figure out: you have to chill the brown butter until it’s solid but still slightly soft, not rock hard, not melted. That texture is what gives you a fluffy, pipeable buttercream instead of a greasy, dense one. Once I nailed that, this recipe became foolproof.
Table of Contents
- What is Brown Butter?
- Ingredients for this brown butter frosting recipe
- What Makes This Brown Butter Buttercream Different From Regular Buttercream?
- How to make this rich brown butter frosting recipe
- Tips and Tricks for the Best Results
- Why do you need to make this recipe?
- Frequently asked questions – FAQ
- Brown Butter Frosting Recipe
What is Brown Butter?
Browned butter is just regular butter that undergoes a cooking process that turns the milk solids into deep golden brown flecks and develops a nutty aroma and flavor. As it cooks, the water evaporates, and the Maillard reaction occurs as the milk solids chemically change and become little brown bits at the bottom of the pan. You’ll see it foam and sizzle, and then it will start to smell warm and toasty. The browning process of butter adds complexity to the taste and gives it a caramel flavor.
Ingredients for this brown butter frosting recipe
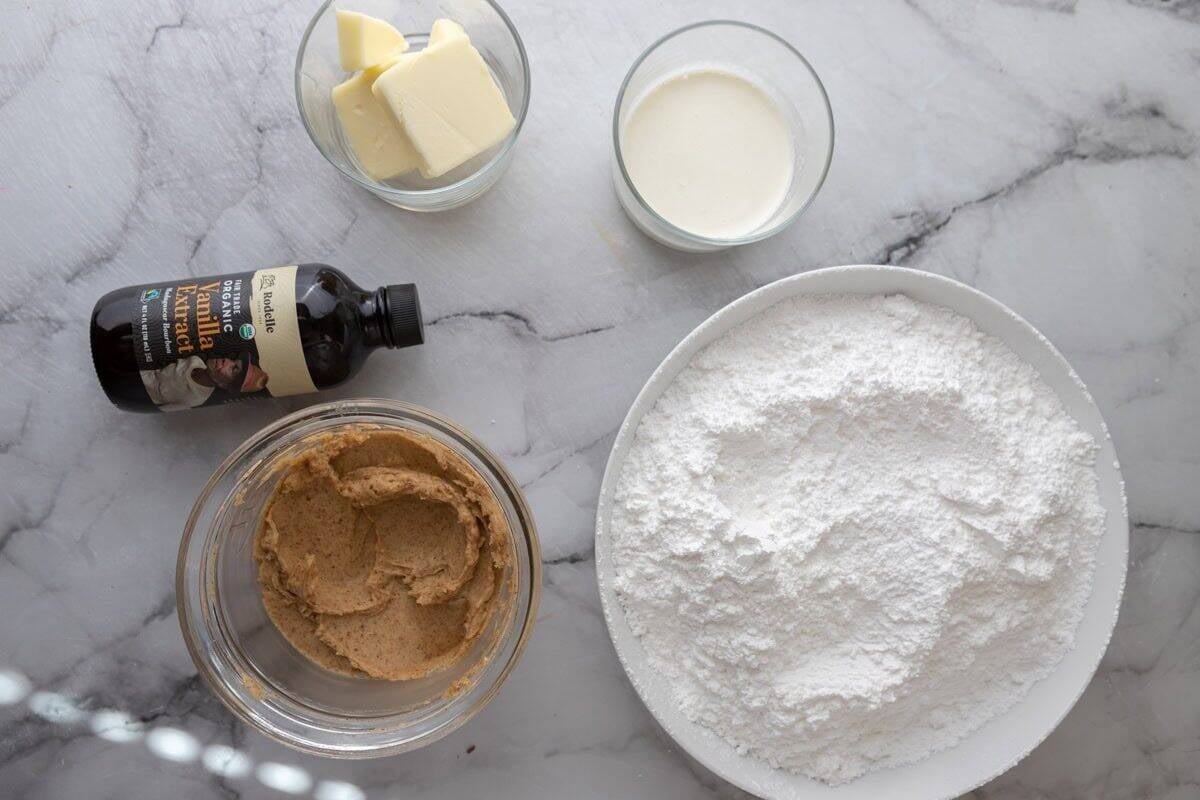
Here are the ingredients you will need to make this brown butter buttercream frosting. Scroll down to the recipe card at the bottom of the page for the detailed ingredient measurements.
- Unsalted Butter: is the star of the frosting that gets altered to set it apart from regular buttercream. You will need to measure out two separate amounts.
- Powdered Sugar: sweetens the frosting and gives it structure.
- Cold Heavy Cream: adds creaminess and helps thin the frosting to your desired consistency.
- Vanilla Extract: enhances the overall depth and nutty flavor.
- Salt: balances the sweetness. We use unsalted butter instead of salted butter so that we can add the salt in separately and control the amount better.
What Makes This Brown Butter Buttercream Different From Regular Buttercream?
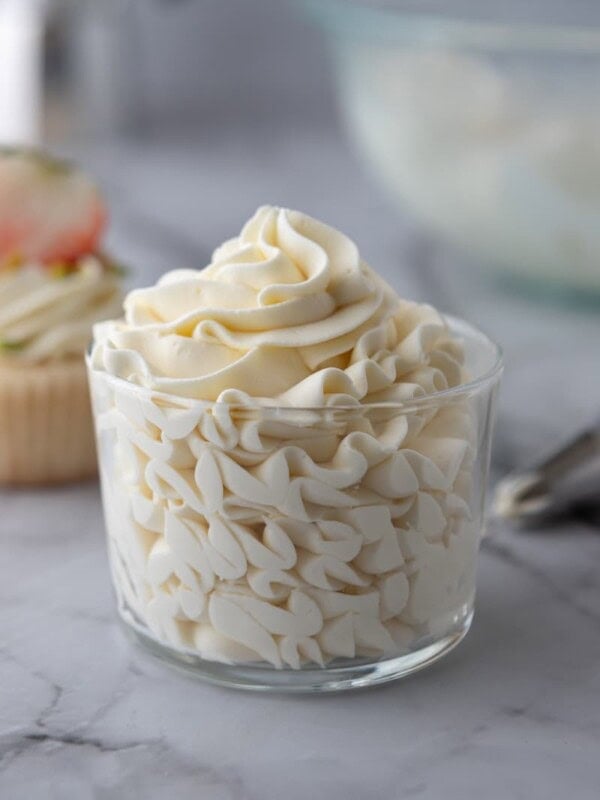
Regular buttercream is made with plain softened butter, it’s sweet, creamy, and reliable, but it’s not particularly interesting. Brown butter buttercream takes that same base and adds a whole new dimension. By cooking the butter until the milk solids toast and turn golden, you develop a deep, nutty, almost caramel-like flavor that plain butter simply can’t replicate. The result is a frosting that tastes complex and bakery-worthy with very little extra effort.
How to make this rich brown butter frosting recipe
This is how you can make the best brown butter buttercream icing. Make sure to scroll down to the recipe card at the end of this post for the prep time, total time, and full step-by-step instructions!
- Melt butter in a small saucepan over medium heat. As the butter melts, stir frequently as it foams and begins to brown. Once the butter browns, remove it from the heat and transfer it to a heat-safe bowl. Let the butter cool at room temperature, then refrigerate the cooled brown butter until it firms up.
- You can also cool the butter by stirring it continuously in an ice water bath for 5-10 minutes.
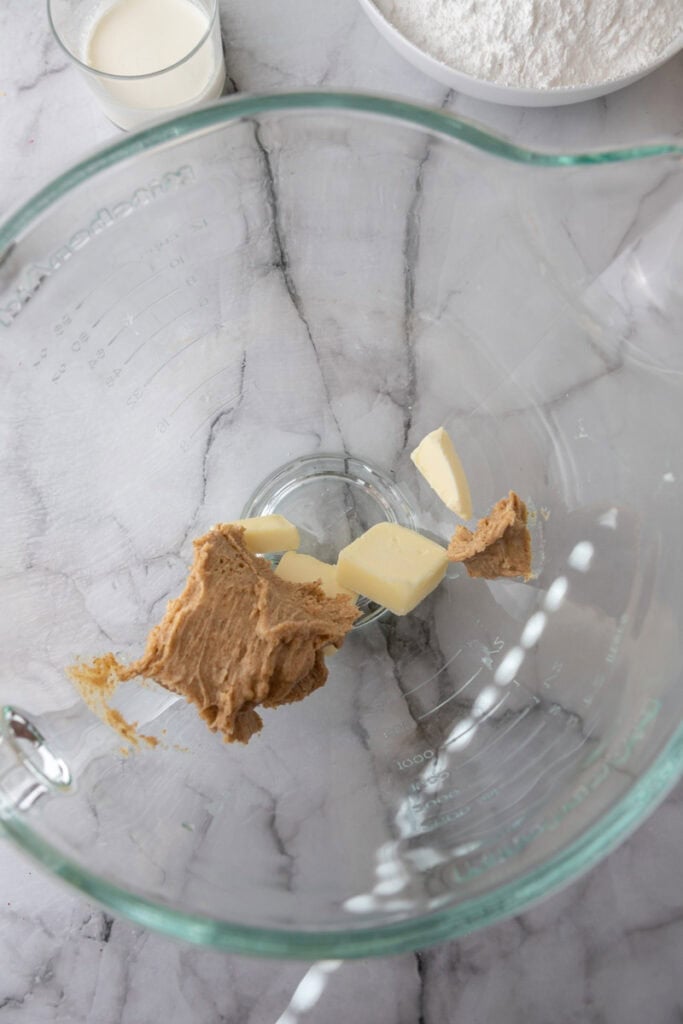
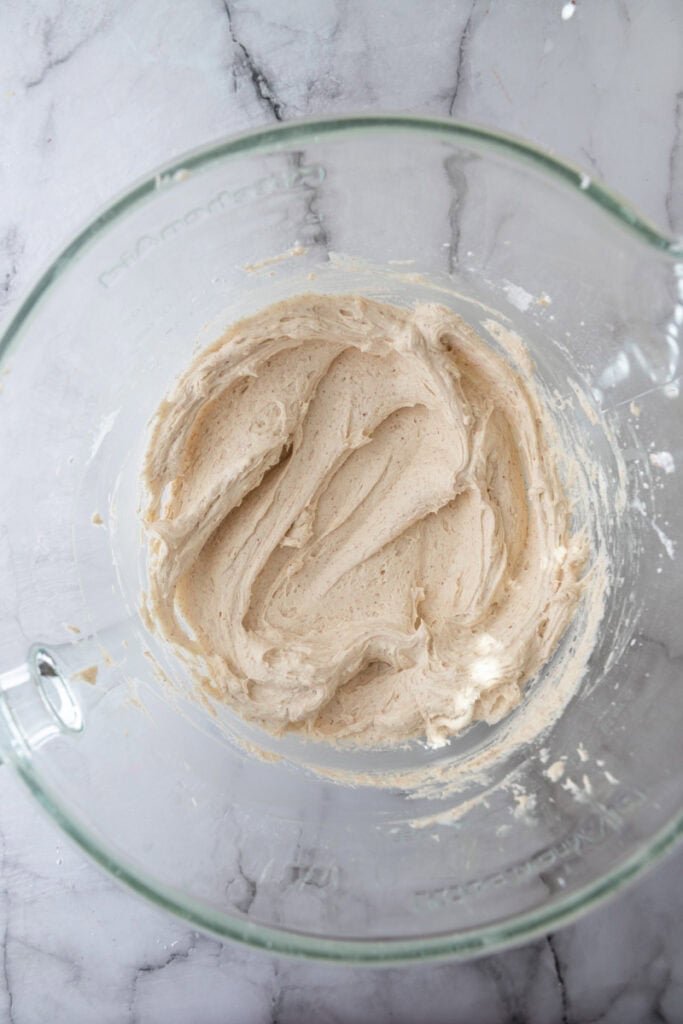
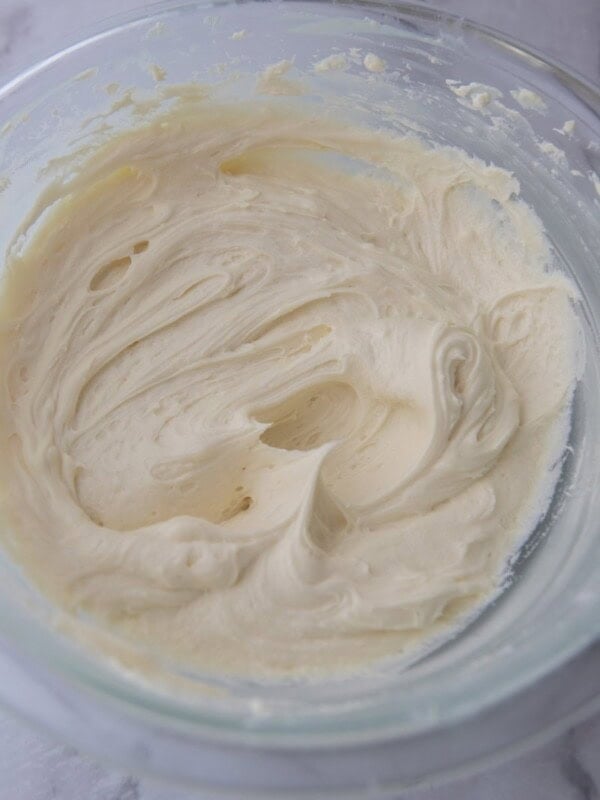
- In a large mixing bowl, beat the chilled browned butter and the softened regular butter together using a hand mixer or in the bowl of a stand mixer on medium-high speed with a paddle attachment until the mixture is light, fluffy, and smooth.
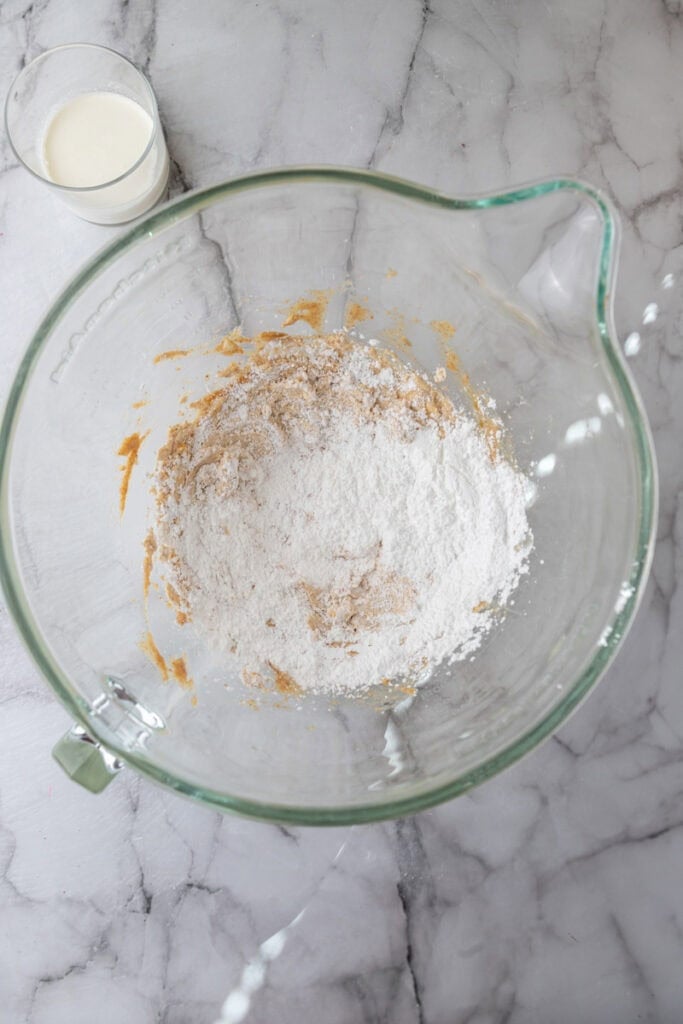
- Slowly add the sifted powdered sugar to the brown butter mixture with the electric mixer on low speed until fully incorporated. Stir in the vanilla extract and salt.
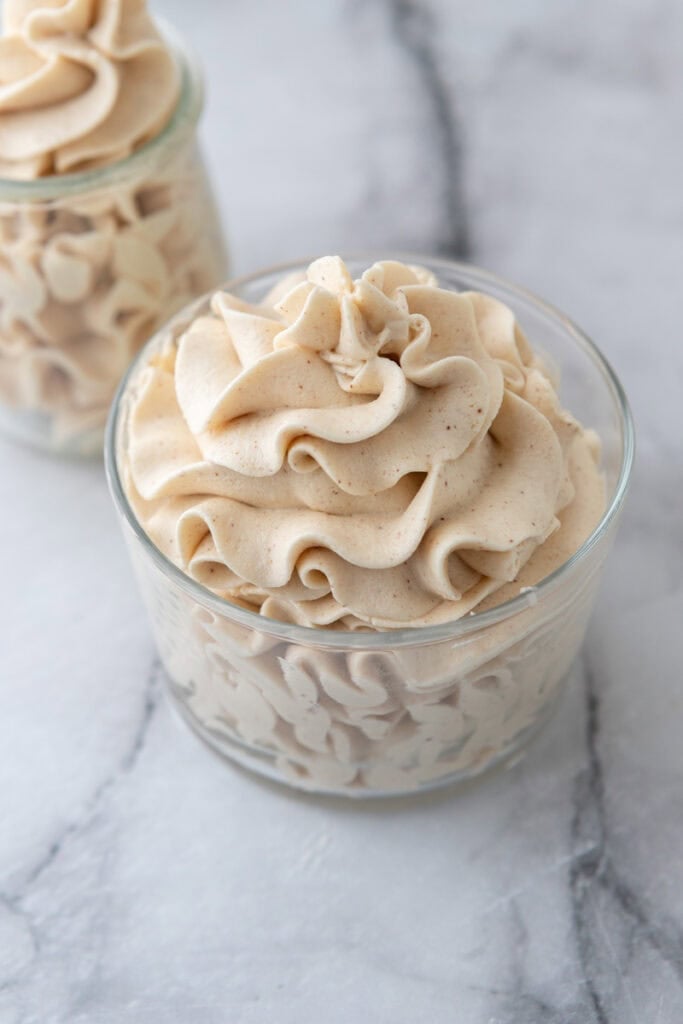
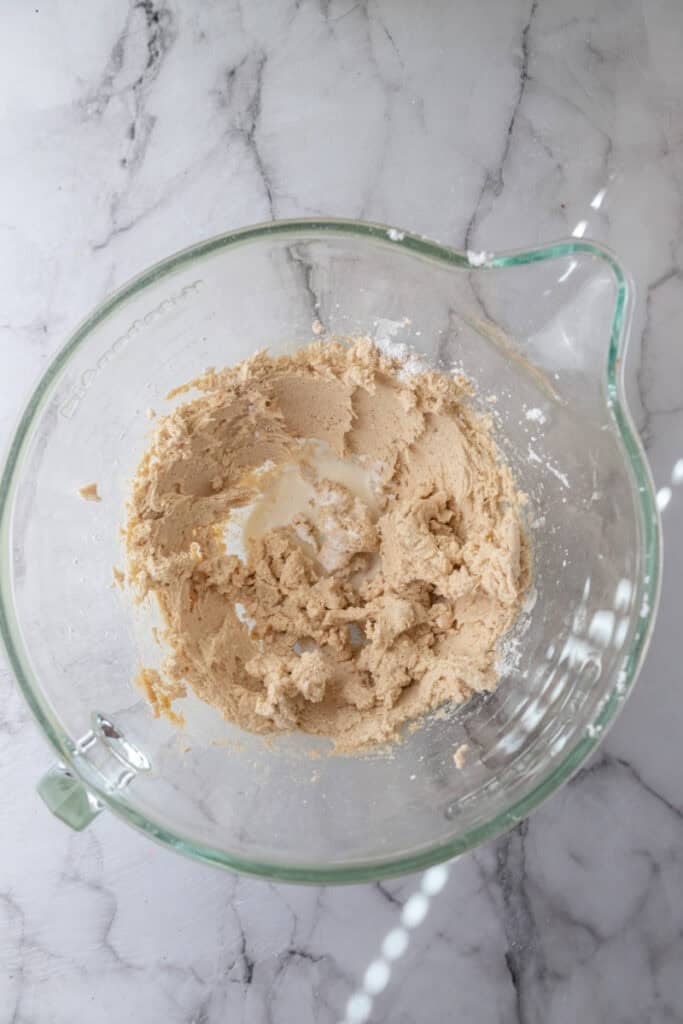
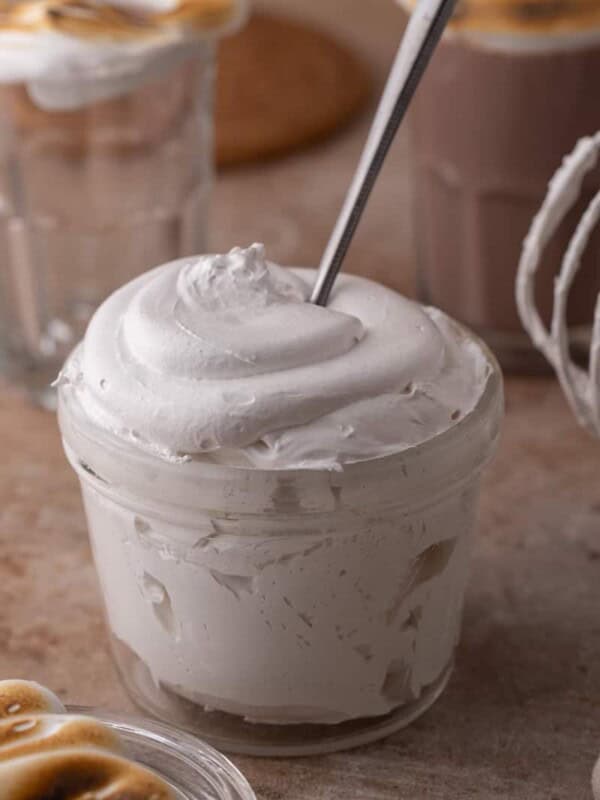
- Pour the cold heavy cream into the large bowl a tablespoon at a time until you get the right consistency, whipping at medium speed until the frosting is fluffy and spreadable. If the frosting feels too thick, add more cream as needed. For a thicker consistency, mix in a bit more powdered sugar.
- I like to use this flat beater to reduce the amount of bubbles in the icing.
Tips and Tricks for the Best Results
- Sift your powdered sugar to prevent lumps and ensure an ultra-smooth finish.
- Make sure your heavy whipping cream is cold to help keep the butter stable while mixing.
- Brown butter can go from perfect to burnt very easily. Watch it closely as it cooks, stir constantly, and look for the golden color. Once it smells nutty, it’s done.
Why do you need to make this recipe?
- This easy recipe only requires basic ingredients that you can find at any grocery store.
- The rich nuttiness of brown butter adds a distinct flavor boost to whatever you put it on.
- As soon as you try it for the first time, you’ll never use another frosting recipe ever again.
Frequently asked questions – FAQ
Brown butter frosting, also called brown butter icing or brown butter buttercream, is a buttercream-style frosting made by first browning the butter on the stovetop before whipping it into a fluffy icing. Browning the butter develops toasty, nutty, caramel-like flavors that make this frosting taste far more complex than a standard vanilla buttercream.
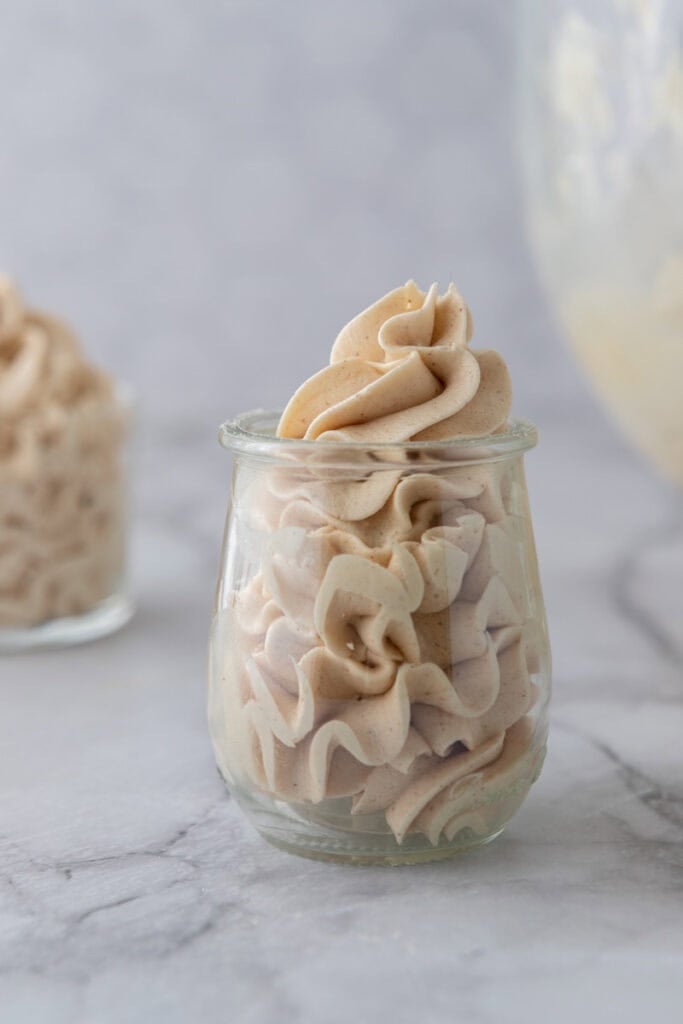
Yes, brown butter frosting, brown butter icing, and brown butter buttercream all refer to the same thing. The name changes depending on who’s making it, but the recipe and technique are identical. Some bakers prefer “icing” for thinner applications and “frosting” for thicker, fluffier versions, but in this recipe the texture is thick and pipeable, making it work either way.
Regular buttercream is made with plain softened butter and has a neutral, creamy sweetness. Brown butter frosting starts with butter that’s been cooked until the milk solids toast and turn golden brown, which adds a deep, nutty, almost toffee-like flavor. The process takes an extra 10–15 minutes but the payoff is a frosting that tastes completely different from anything you’d buy at a store.
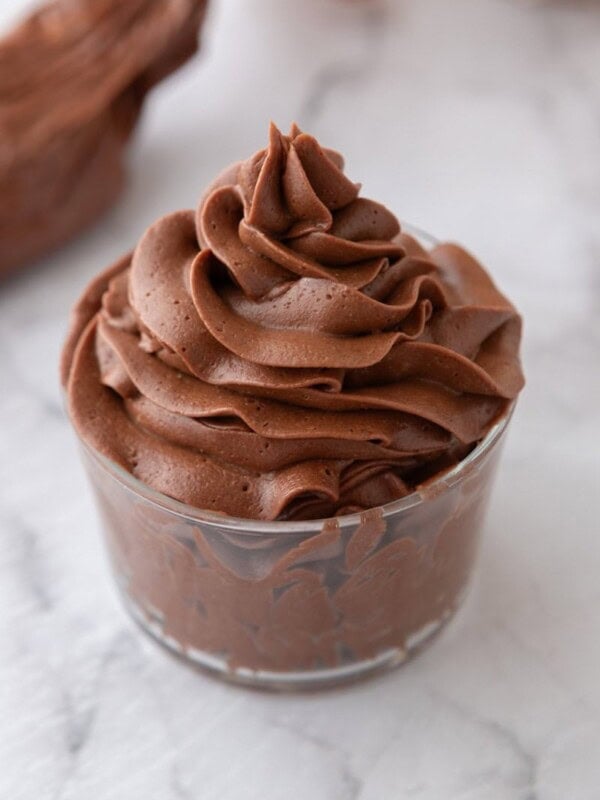
Absolutely, and honestly, this might be the best use for it. The nutty, toasty flavor of the brown butter pairs perfectly with the deep chocolate of a fudgy brownie. Kyle would argue this combination is better than any frosted cake, and after testing it many times in this house, I’m starting to agree. Spread it thick on a just slightly warm 9×13 pan of brownies and let it set slightly before cutting.
Not quite. Brown butter (also called beurre noisette) is butter that’s been cooked just until the milk solids turn golden and smell nutty, the goal is a toasty, caramel-like flavor. Burnt butter has gone too far: the milk solids turn dark or black and the flavor turns bitter and acrid. If your butter smells sharp or unpleasant, start over. Properly browned butter should smell warm, nutty, and almost like toasted hazelnuts.
Stored in an airtight container in the fridge, this frosting keeps for up to 3 days. If you want to keep it longer, you can freeze it for up to 3 months in a freezer-safe bag or container. In both cases, let it come fully to room temperature before re-whipping, this step is important, otherwise the texture won’t come back properly.
It’s honestly very versatile and goes well with most flavors. Simple and basic desserts like a chocolate cake or vanilla cupcakes would benefit from this. Fall desserts like a pumpkin cupcake or pumpkin bundt cake would taste great with it. Even carrot cake or banana cake works too. Try it with any flavor of cake batter you can think of and I’m sure it would taste delicious!
My husband’s favorite though, this luscious frosting on a homemade batch of fresh brownies!
If the butter turns too dark or smells burnt, it’s best to start over. Burnt butter will give the frosting a bitter taste rather than a toasty, nutty one.
You might be able to brown vegan butter, but it depends on the brand and what it’s made from. Some vegan butters will just melt and sizzle while others that are formulated with plant-based proteins or added solids might brown slightly and give you a more flavorful effect. Overall, it simply won’t be the same as the dairy version unfortunately.
After doing a lot of research, I saw that the Violife Vegan butter browns fairly well, so try that if you need a dairy-free option. Mix in coconut cream instead of whipped cream to get the icing light and fluffy.

Brown Butter Frosting Recipe
Equipment
Ingredients
- ¾ cup unsalted butter browned and cooled to solid
- ¼ cup unsalted butter softened
- 3 cups powdered sugar sifted
- 5-6 tbsp heavy cream COLD, adjust for consistency
- 1 tsp vanilla extract
- ¼ tsp salt
Instructions
- In a saucepan over medium heat, melt ¾ cup unsalted butter and cook, stirring, until it turns golden brown and smells nutty. Remove from heat and pour into a heatproof bowl. Let it cool at room temperature, then chill until solid but still soft (about 1 hour).You could also place the brown butter in a bowl then place that in an ice batch stirring continuously until it solidifies. This would take about 10 minutes or so.¾ cup unsalted butter
- Using a hand or stand mixer, beat the browned butter and softened butter together on medium-high speed until light and creamy (about 2 minutes).¼ cup unsalted butter
- Gradually add the sifted powdered sugar, beating on low until combined. Add vanilla extract and salt.3 cups powdered sugar, 1 tsp vanilla extract, ¼ tsp salt
- Add heavy cream, 1 tablespoon at a time, beating on medium-high speed until smooth, fluffy, and pipeable. If the frosting is too thick, add a little more cream; if too thin, add more powdered sugar. I like to use a flat beater with the silicone attachment for this step to reduce the bubbles in the icing.5-6 tbsp heavy cream
- Use immediately or store in the fridge for up to 3 days. If chilled, let it soften slightly and re-whip before using.
Notes
- 12–18 cupcakes
- One 9×13-inch cake
- Or one 2-layer 8 or 9-inch cake (lightly frosted)
Nutrition
Nutrition information is automatically calculated, so should only be used as an approximation.
This looks absolutely delicious! Eager to try it on carrot cake cookies!
Let me know when you do try it!!