
This post may contain affiliate links. Please read our disclosure policy.
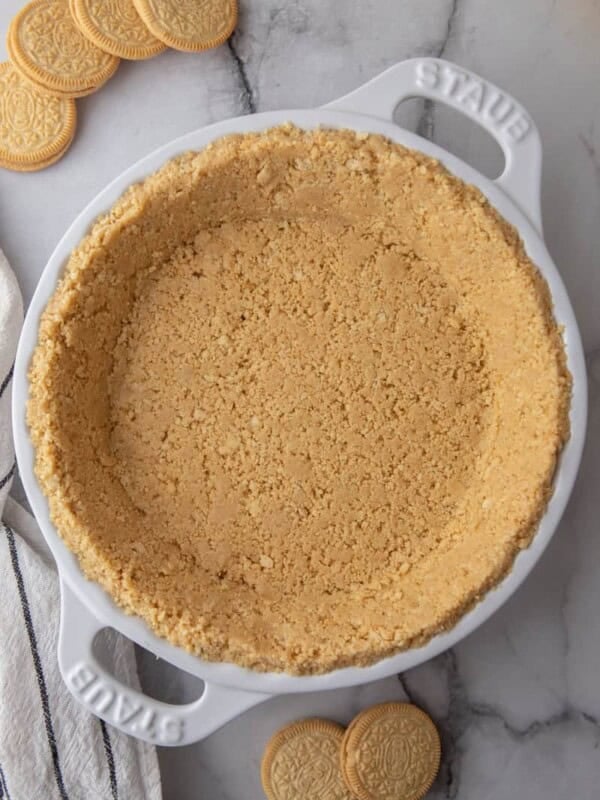
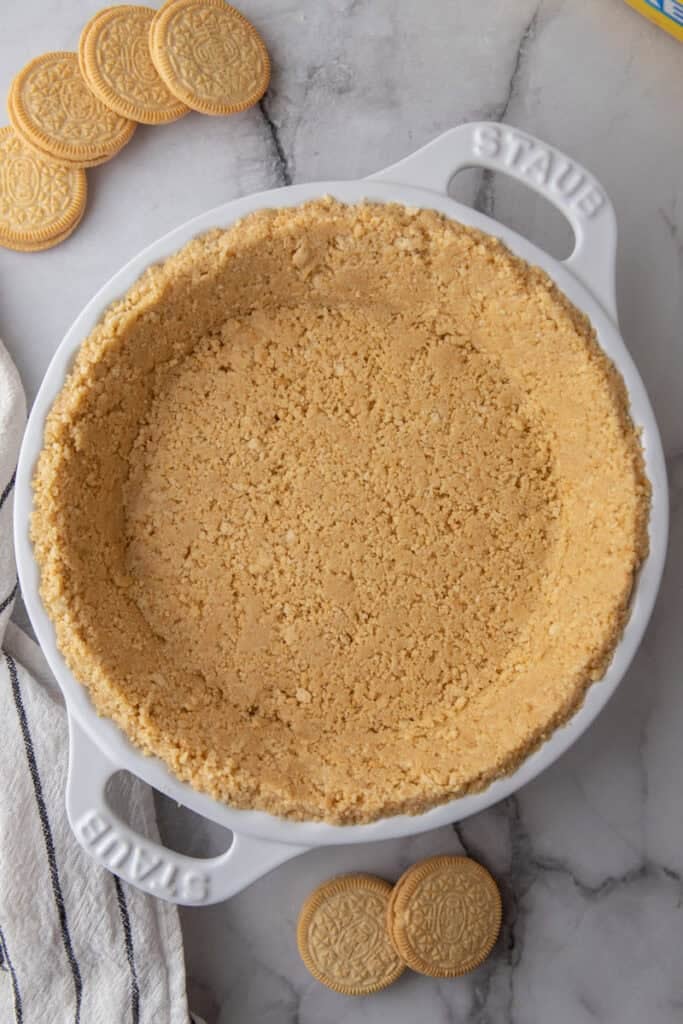
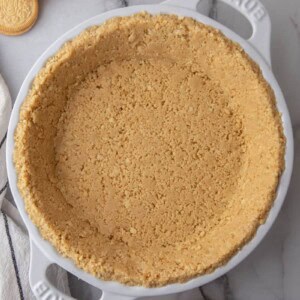
This golden Oreo pie crust recipe is a delicious pairing for all of your pies and cheesecakes. It’s buttery, sweet, and super crunchy! Made with just two ingredients, this recipe is super easy to make and provides a nice change from the regular sandwich cookie.
Using an Oreo chocolate sandwich cookie crust has become a classic in American dessert recipes. Whether paired with a chocolate creme pie or a delectable cheesecake, it always adds a little extra flair than a standard shortbread or graham cracker crust. But have you ever tried using golden Oreo cookies?! The way that regular Oreos are packed with uniquely delicious chocolate flavor (that’s what makes my classic Oreo pie crust so good), these golden cookies are the same but bursting with vanilla.
And if that wasn’t enticing enough, this golden Oreo dessert crust is insanely easy to make. Unlike other recipes that make you scrape out the cream filling and just use the cookie part of the Oreos, this recipe uses the whole Oreo cookies with the filling still inside, so you can save yourself time and still enjoy that delicious creamy center.

Key Ingredients
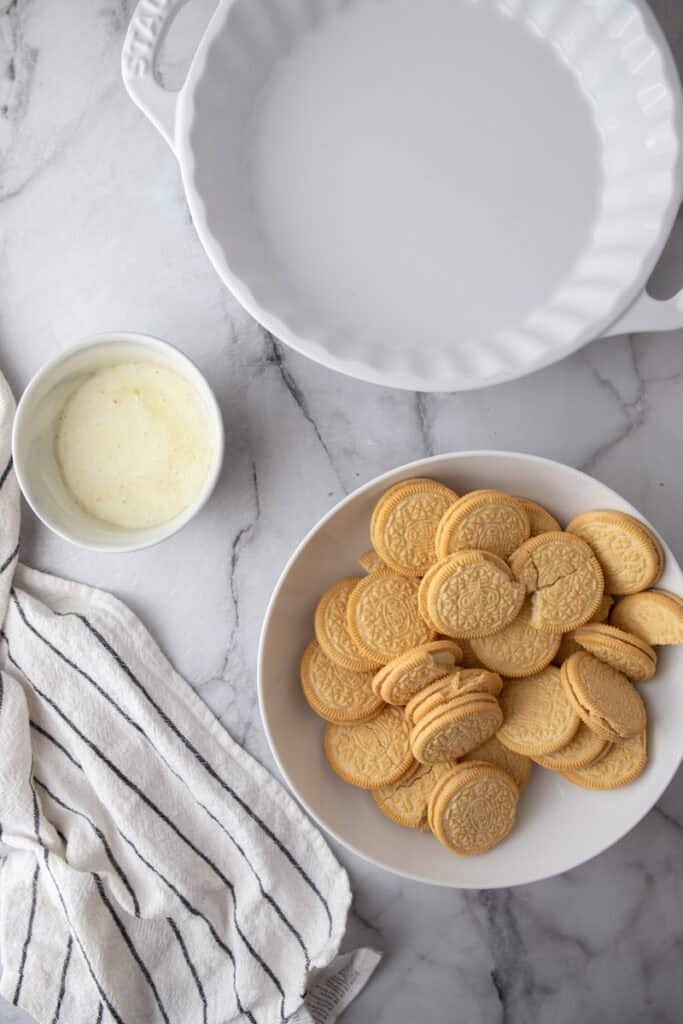
Here are the ingredients you will need to make this homemade Oreo crust. Scroll down to the recipe card at the bottom of the page for the detailed ingredient measurements.
- Golden Oreos: These vanilla flavor Oreos provide a unique twist to a childhood favorite cookie and turn into a delicious crust.
- Unsalted Butter: Melted and warmed, the butter coats the chopped Oreos and allows them to stick together.
How to Make a Golden Oreo Pie Crust
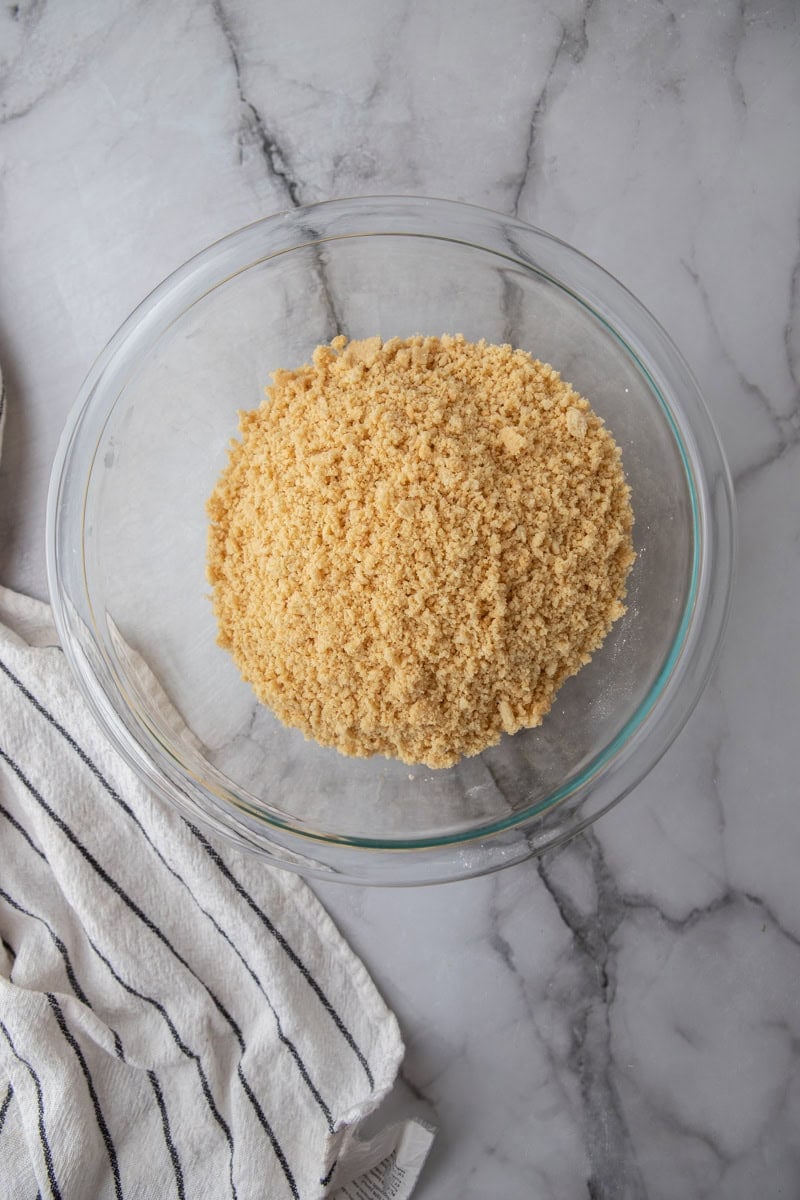
- Crush the cookies. Pulse the golden Oreos, filling and all, into fine crumbs in a food processor. No food processor? Seal them in a plastic bag and crush them with a rolling pin until they look like sand.
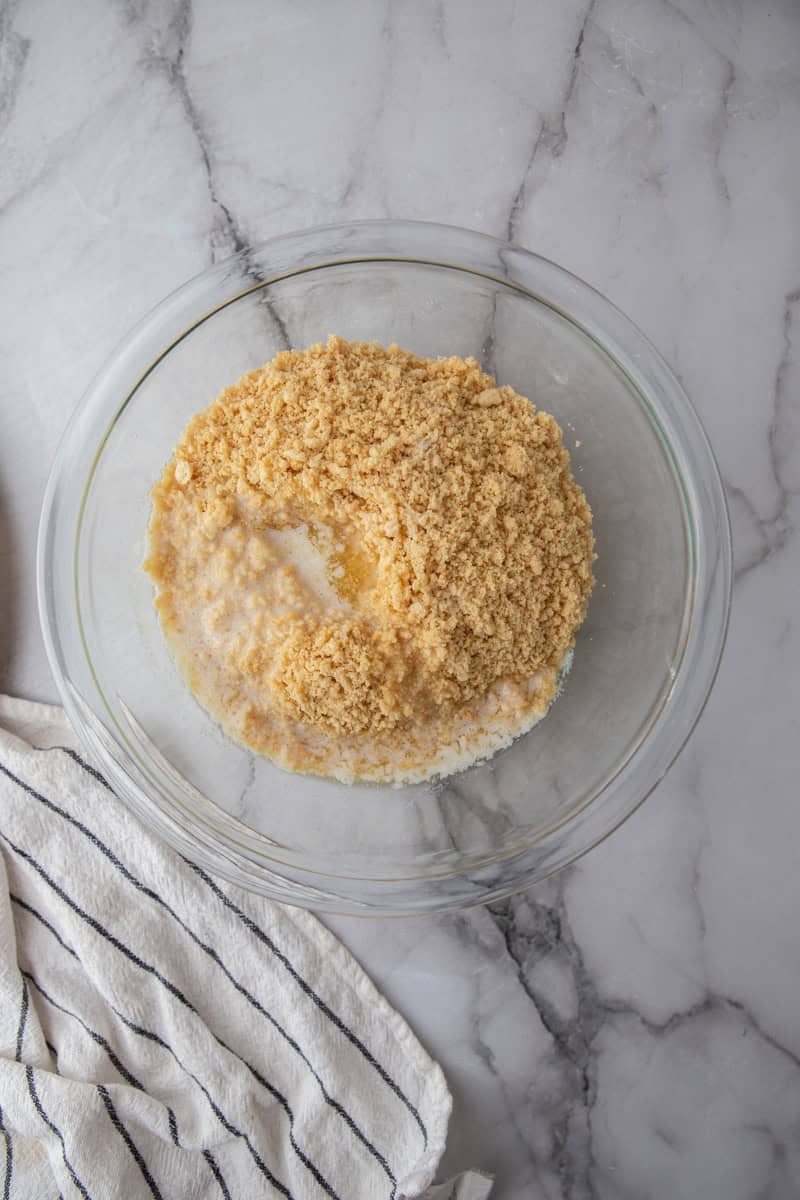
- Add the butter. Pour the melted butter over the crumbs.
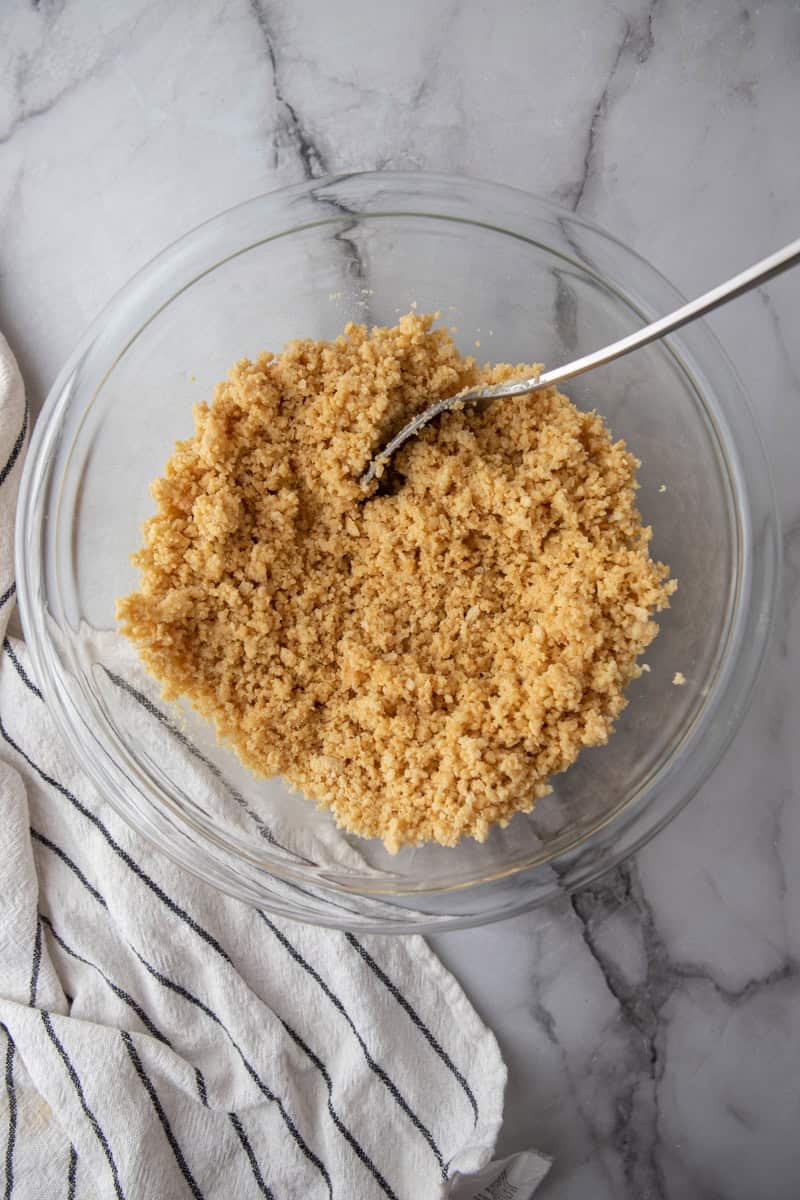
- Mix. Stir until the crumbs are fully combined and evenly moistened, like wet sand.
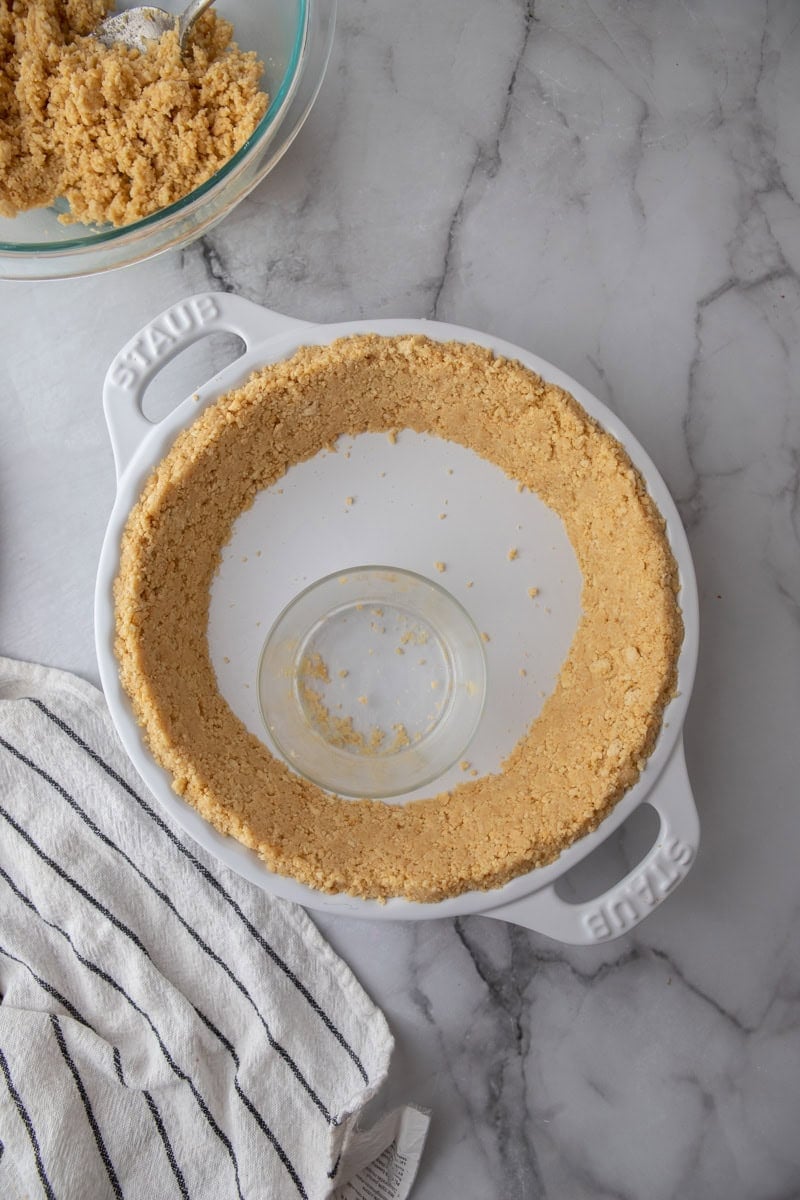
- Press up the sides. Pour about 2/3 of the mixture into a 9-inch pie plate and press it firmly up the sides with the back of a spoon or the bottom of a measuring cup.
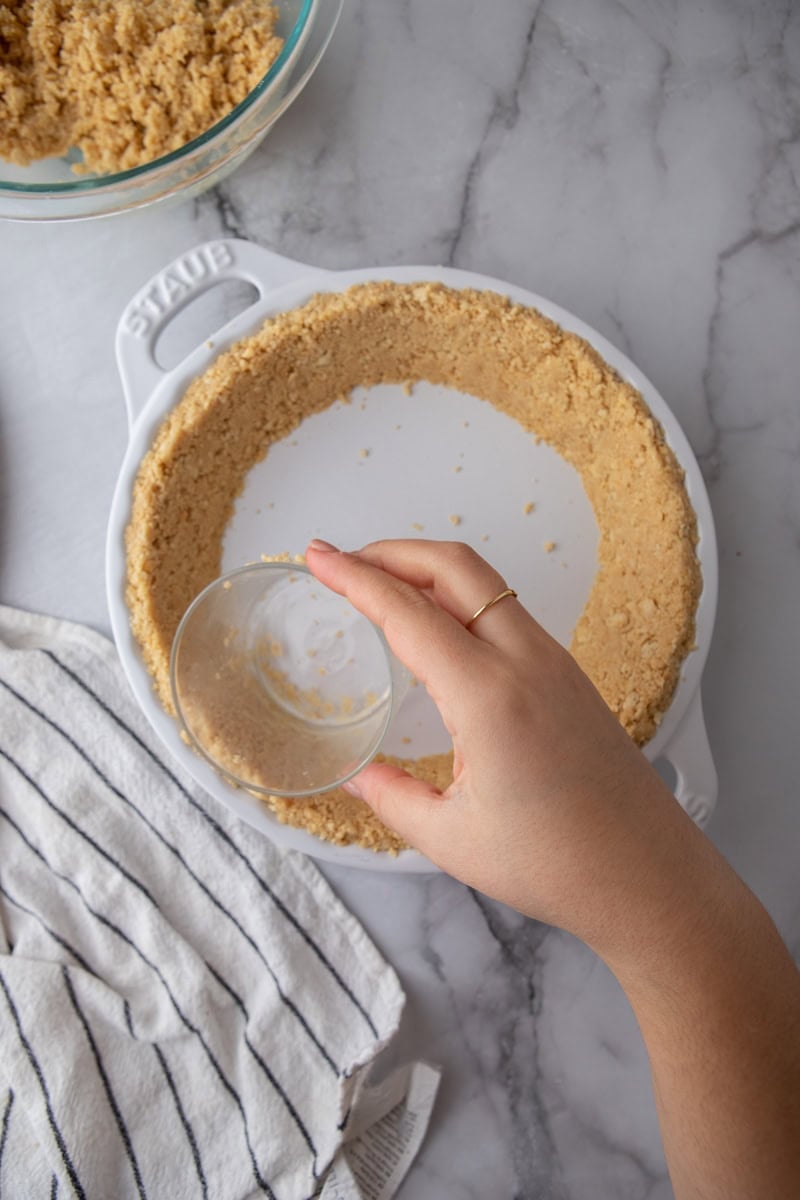
- Press the base. Add the rest of the crumbs and press them into an even layer on the bottom.
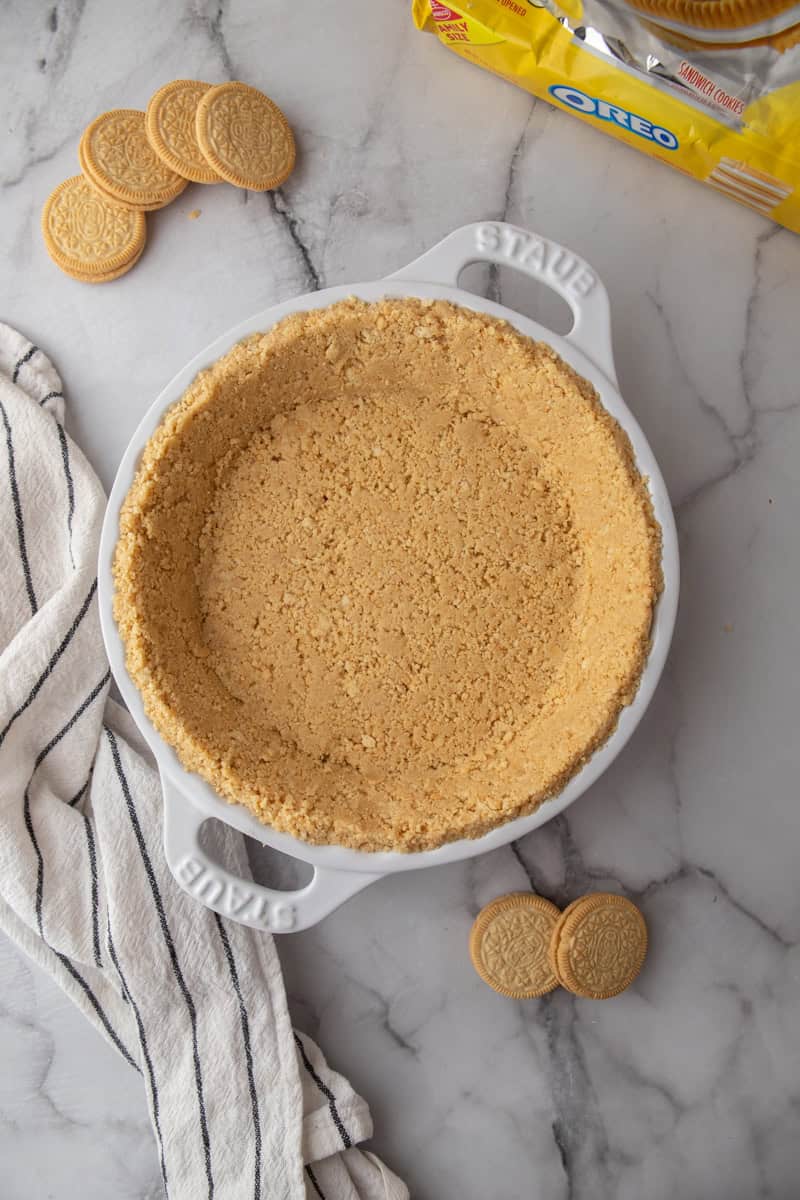
- Chill or bake. For a no-bake crust, refrigerate or freeze it until firm before filling (best when the filling is served cold and the pie is eaten that day). For a baked crust, bake until slightly set and toasty, then cool completely before filling.
Expert Tips
- Grind the Oreo cookie crumbs finely, as larger chunks can make the crust fall apart. It’s the same rule I follow for my Biscoff pie crust.
- Add a pinch of salt if you want to balance the sweetness.
- Brush a thin layer of melted dark or white chocolate over the no-bake crust before filling to create a moisture barrier.
- Be sure to really press down the crumb mixture hard into the bottom of the pan to help the crust hold its structure.
Why do you need to make this recipe?
- This easy recipe only requires simple ingredients that you can find at any grocery store, with none of the chilling and rolling of a homemade butter pie crust.
- Trying different flavors to enhance your desserts and impress your guests is always exciting. It’s so good under my no-bake lemon pie, my easy no-bake key lime pie, or a pan of no-bake cheesecake bars.
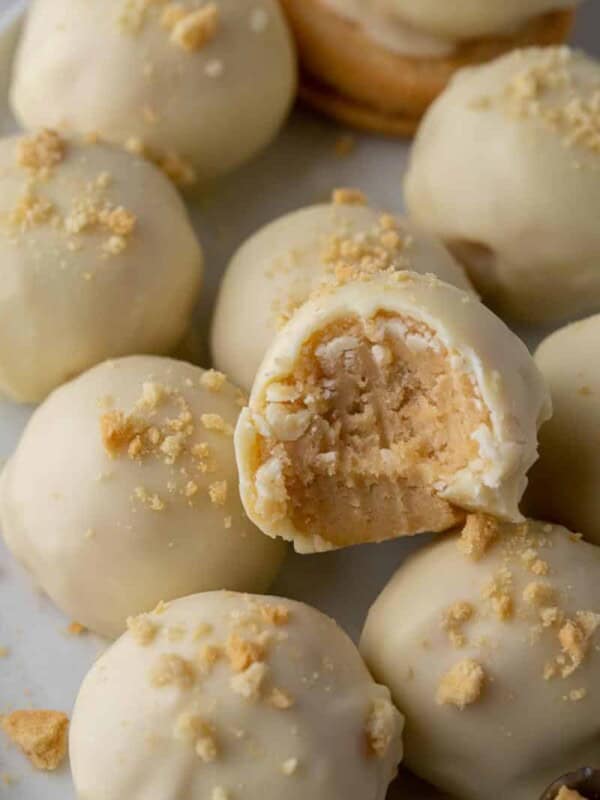
- It’s a great way to use up cookies that have been lying around in the pantry for a while. Any extras from the pack can go into my golden Oreo truffles or Crumbl golden Oreo cookies.


Golden Oreo Pie Crust FAQs
Use this option when you’re pairing the golden Oreo pie crust with a no-bake filling to make a no-bake dessert. Pudding pies are often delicate and don’t need heat to set. Ice cream pie pairs perfectly with a no-bake crust because both firm up in the freezer. Mousse pies like a chocolate cream pie or my no-bake peanut butter pie have light and airy fillings that stay stable when chilled.
Use it for cheesecake recipes with a rich, dense filling, since a crunchy golden Oreo crust stays firm and doesn’t become soggy (you could also par-bake it to keep it extra crispy). Custard and cream pies like pumpkin, sweet potato, or banana cream benefit from a baked crust, and tarts with delicate fillings such as lemon tart or French silk pie need one to hold their structure. Heavy or wet fillings like fruit pies need a pre-baked crust to create a barrier against sogginess. Even if you are making no-bake treats, the baked option gives you extra crunch and stability and is a better choice for pies that will be stored for a day or two before serving.
Absolutely! One of the next crusts I wanted to try would be to use the peanut butter Oreos because I love chocolate and peanut butter together! Get creative and adventurous and try this golden Oreo pie crust recipe with any of your favorite Oreo cookie flavor variations.
If your crust is unfilled and you just want to store it for later, you can keep it in the pie plate and wrap plastic wrap or aluminum foil over the top of it and store it in the fridge for up to 3 or 4 days.
Yes! The prepared crust can be stored in the fridge in the 9-inch pie dish as stated above or frozen for a month. If freezing, be sure to wrap it tightly in plastic wrap without much air in the middle to prevent freezer burn. Let it thaw before using.
The filling is helpful because it helps bind the crumbs together and adds extra sweetness and creaminess to the golden Oreo pie crust.
Of course! Just be sure to use gluten-free Oreos.
More Cookie Crusts and Oreo Treats
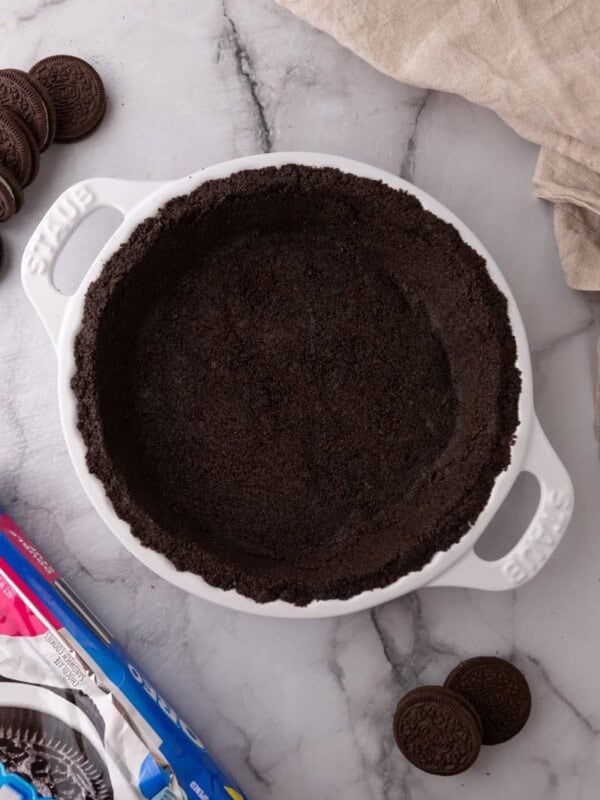
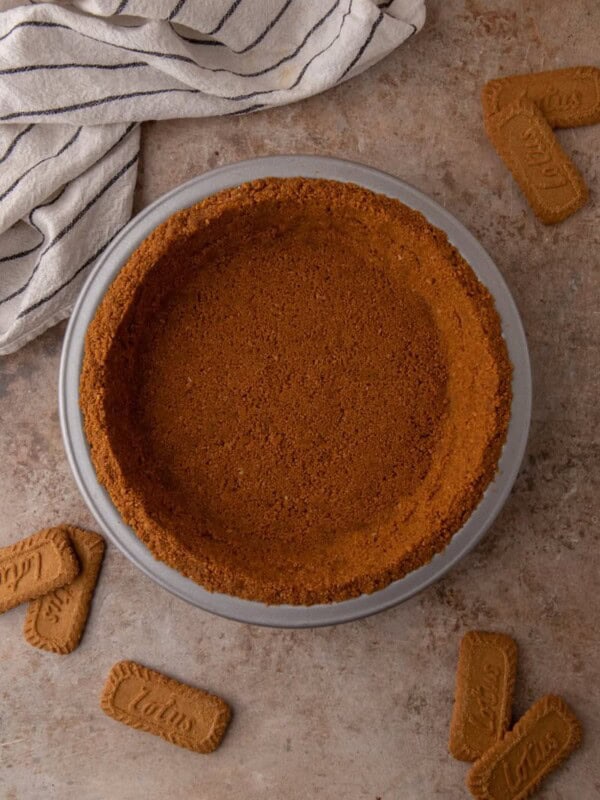
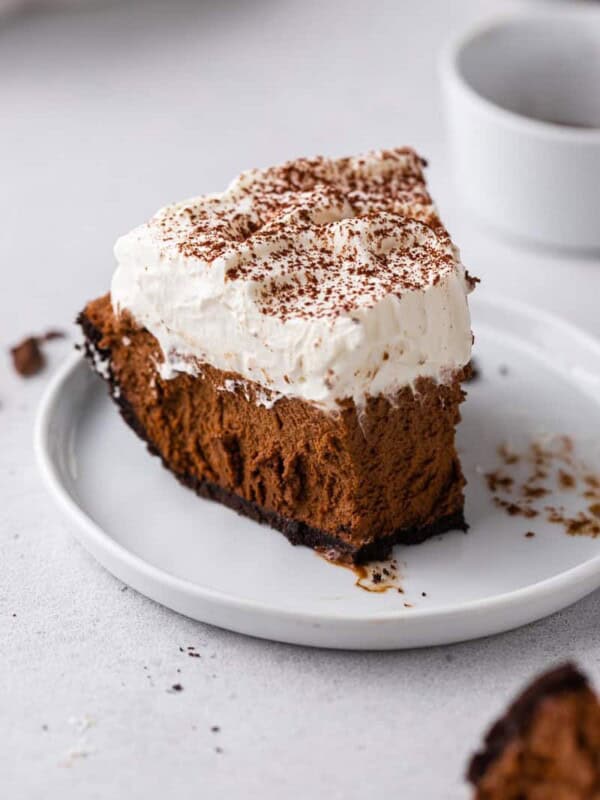
If you pressed this golden Oreo pie crust into your pie plate, tell me what filling you put in it! Leave a ⭐ star rating and a comment below so I can steal your idea for my next pie. Happy baking!!
Golden Oreo Pie Crust Recipe
Ingredients
- 24 Golden golden Oreo cookies with filling
- 5 tablespoons Unsalted butter melted
Instructions
Option 1: No-Bake Oreo Crust
- Use a food processor to pulse the cookies into fine crumbs. If using a rolling pin, place Oreos in a zip-top bag and crush until they resemble sand.24 Golden golden Oreo cookies
- In a bowl, combine Oreo crumbs with melted butter and stir until the mixture is evenly coated.5 tablespoons Unsalted butter
- Pour the 2/3 mixture into a 9-inch pie plate, then press it firmly up the sides using the back of a spoon or the bottom of a measuring cup, then add the rest of the mixture and press it into the base in an even layer.
- Refrigerate for at least 30 minutes (or freeze for 15 minutes) before filling.
Option 2: Baked Oreo Crust
- Preheat oven to 350°F.
- Follow Steps 1-3 above to crush the Oreos, mix with butter, and press into a 9-inch pie pan.
- Bake for 8-10 minutes, until slightly firm and fragrant.
- Cool completely before adding the filling.
Nutrition
Nutrition information is automatically calculated, so should only be used as an approximation.

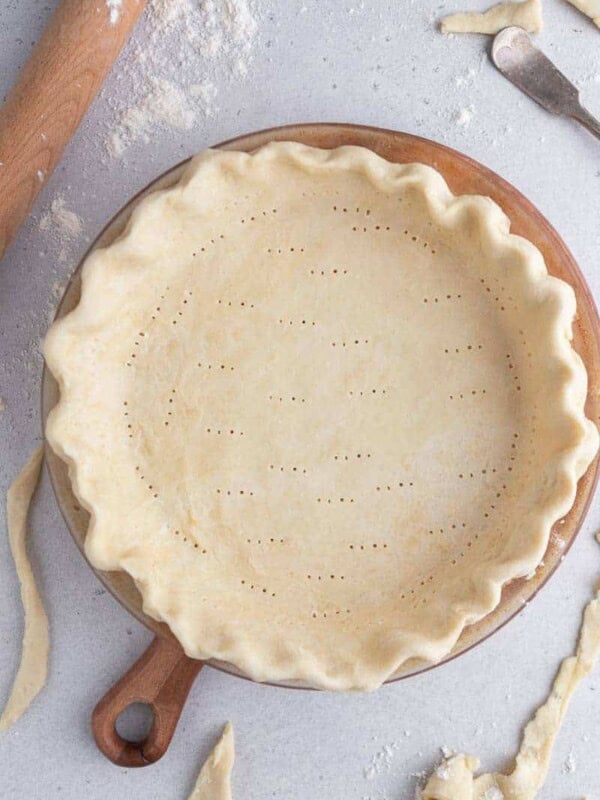
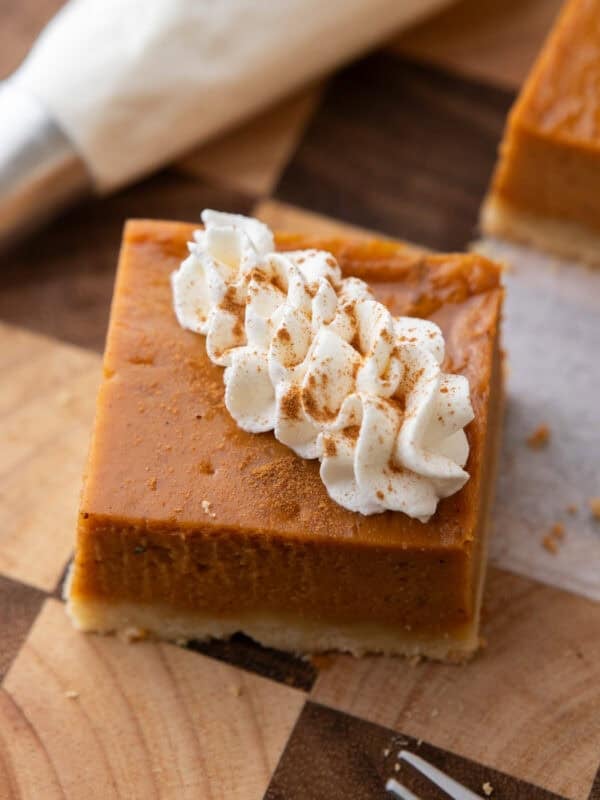
One thing that made a big difference for me was really pressing the crumbs firmly into the sides and bottom. I used the bottom of a measuring cup and it gave me a much more even crust than trying to do it with a spoon. If you’re making a no-bake pie, definitely give it the full 30 minutes in the fridge before filling so it has time to set up.