This post may contain affiliate links. Please read our disclosure policy.
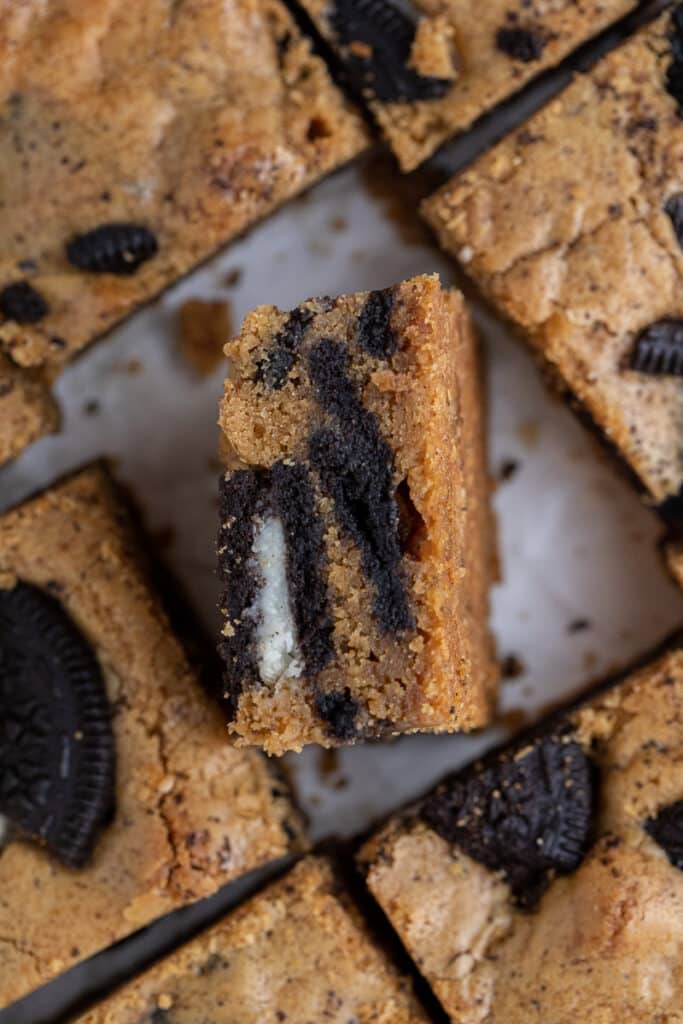
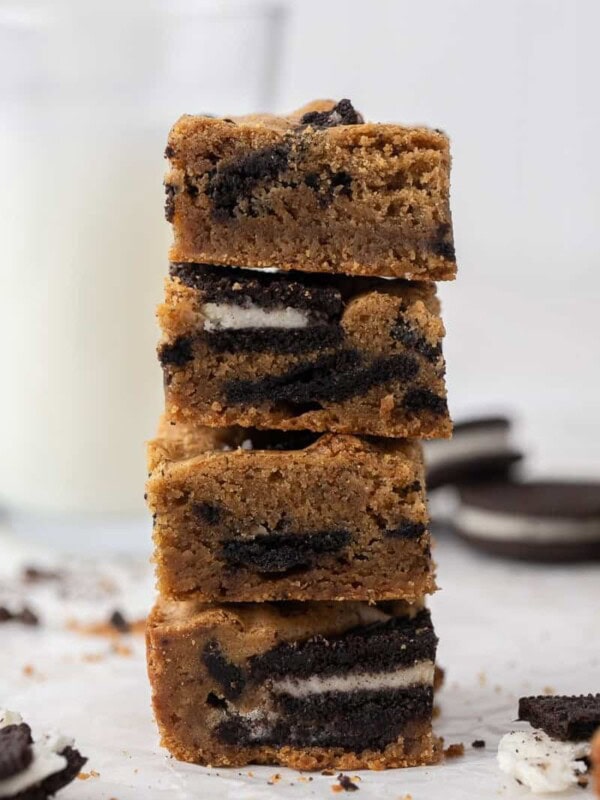
These are the best Oreo blondies you’ll ever have. Made with brown butter, double stuff Oreos and baked just until they’re nice and fudgy. The simplest yet most delicious dessert!
Since you’re here you’ll also love Easy Cookies and Cream Skillet Cookie – Oreo Pizookie, Easy Oreo Chocolate chip Cookies, and even Single Serve Oreo Mcflurry McDonald’s recipe!
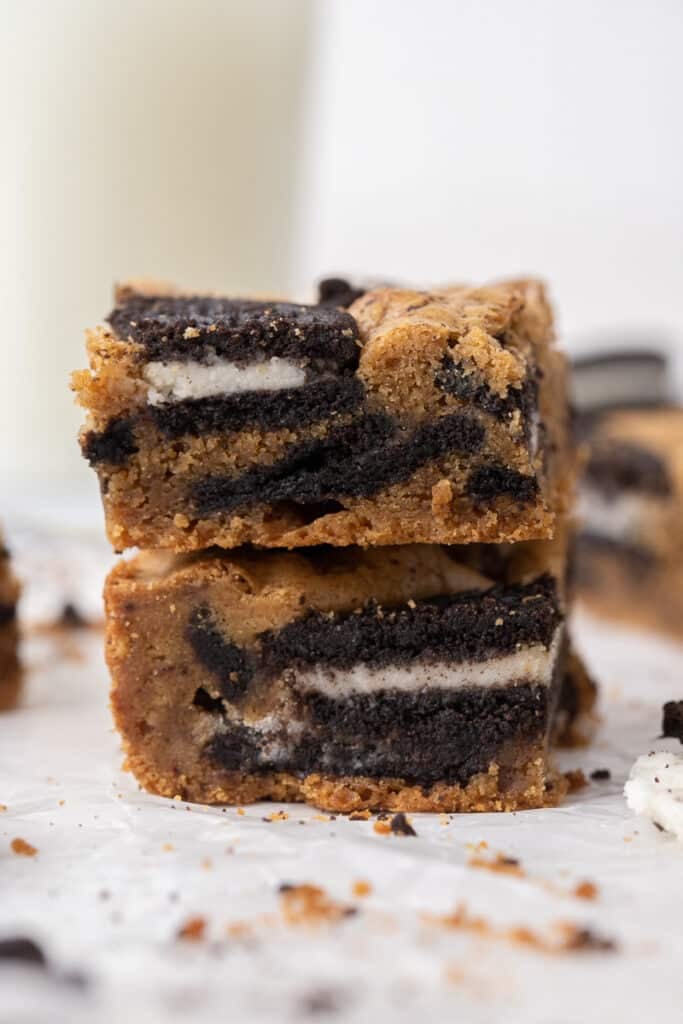
Sometimes adding a cookie to a cookie bar might be the best idea you’ll ever have. This time I used double stuffed Oreo mixed into a brown butter blondie batter that I’ve been using for a while because it always turns out amazing.
This recipe has a crazy depth of flavor that you really didn’t know you needed. With a mix of nutty brown butter and deep oreo flavor, you’ll fall in love instantly. I decided not o add any chocolate chips to the mix because I was afraid they will take away from the flavor of the Oreos but if you don’t mind, definitely add in some chocolate chips!
Table of Contents
- This is the best Oreo blondie ever!
- Why you need to make this recipe!
- Ingredients for this Oreo blondie recipe
- How to make the best Oreo blondies
- Frequently asked questions – FAQ
- The best Oreo Blondies
- The best Oreo Blondies Recipe
- Shop this recipe
- If you enjoyed this Oreo blondies recipe make sure to pin it for later!
This is the best Oreo blondie ever!
While you’re here, I think it is my duty to tell you the secret to the most perfect 8×8 blondie. My top secret is to use the right pan to get those sharp edges that we all love so much.
I don’t know about you but for me those edges make me feel like I’m enjoying some bakery grade blondies so if you’re looking for a new pan, definitely get the UsaPan 8×8 baking pan!
Why you need to make this recipe!
- They’re sooo easy, mix, spread, and bake.
- You will only need a handful of ingredients to make these happen.
- It’s a one-bowl recipe, meaning fewer dishes for later!
- Perfect for last-minute birthday or a large gathering of sweet treats.
- is so versatile and can be tweaked to your liking.
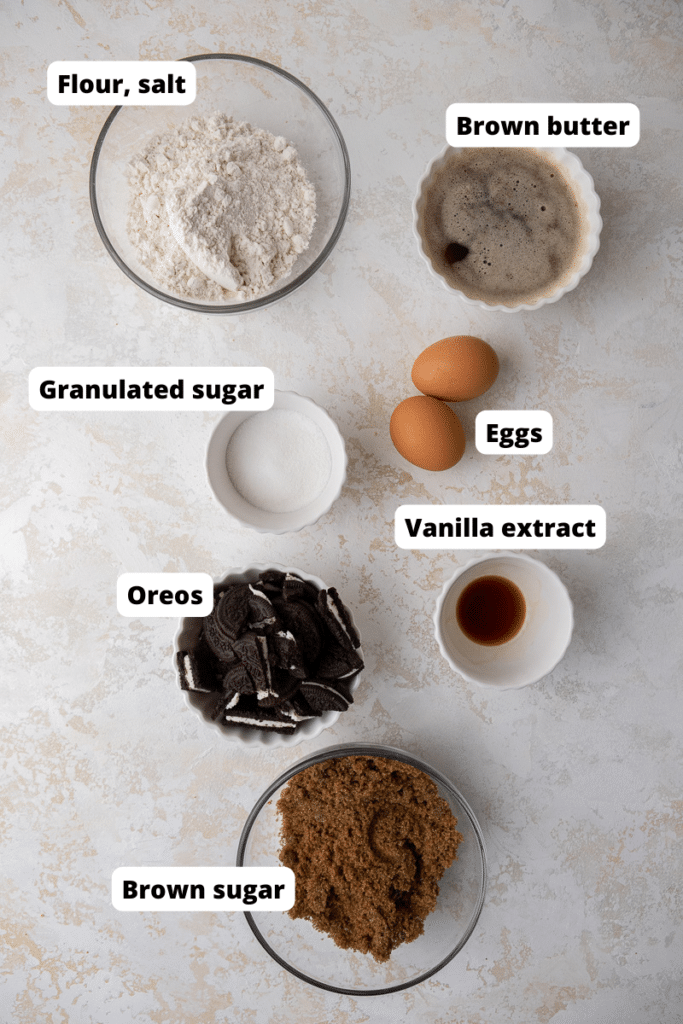
Ingredients for this Oreo blondie recipe
Here are the ingredients you will need to make this blondie recipe. Make sure to scroll down to the recipe card for the full detailed ingredient measurements.
- Butter– You can use salted or unsalted butter for this. We will brown the butter to add extra depth of flavor.
- Brown & granulated sugar– A mixture of brown and granulated sugar will make these bars extra chewy with the perfect texture.
- Egg– Use room temperature eggs.
- Vanilla extract– The vanilla extract will also add extra depth of flavor.
- Flour– All-purpose flour works great for this recipe.
- Salt– Always use a little salt in your baked goods to balance out the sweetness.
- Oreos– Use double stuff Oreos for this recipe.
How to make the best Oreo blondies
This is how you can make the Oreo blondies. Make sure to scroll down to the recipe card for the full detailed instructions!
- Brown the butter until toasty and nutty. Read the detailed steps to brown your butter on the recipe card, if you have never done that before.
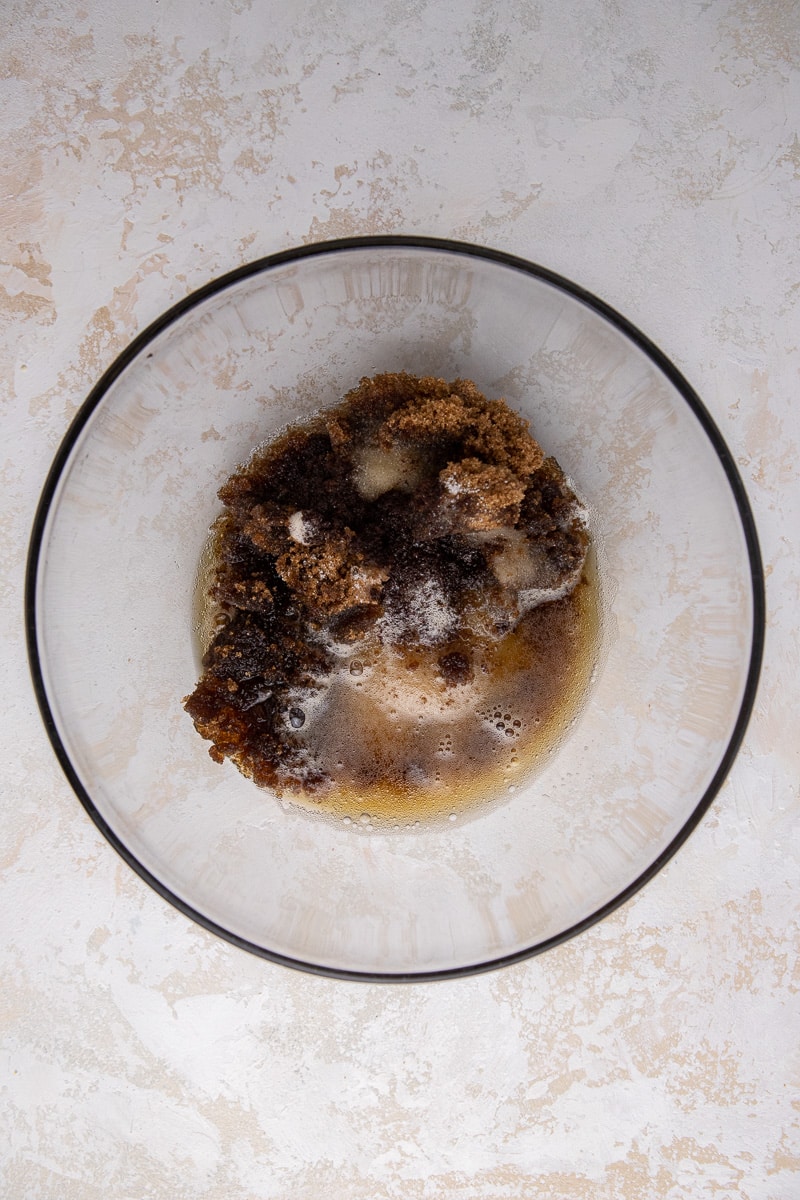
- Mix the cooled butter and sugar together until combined.
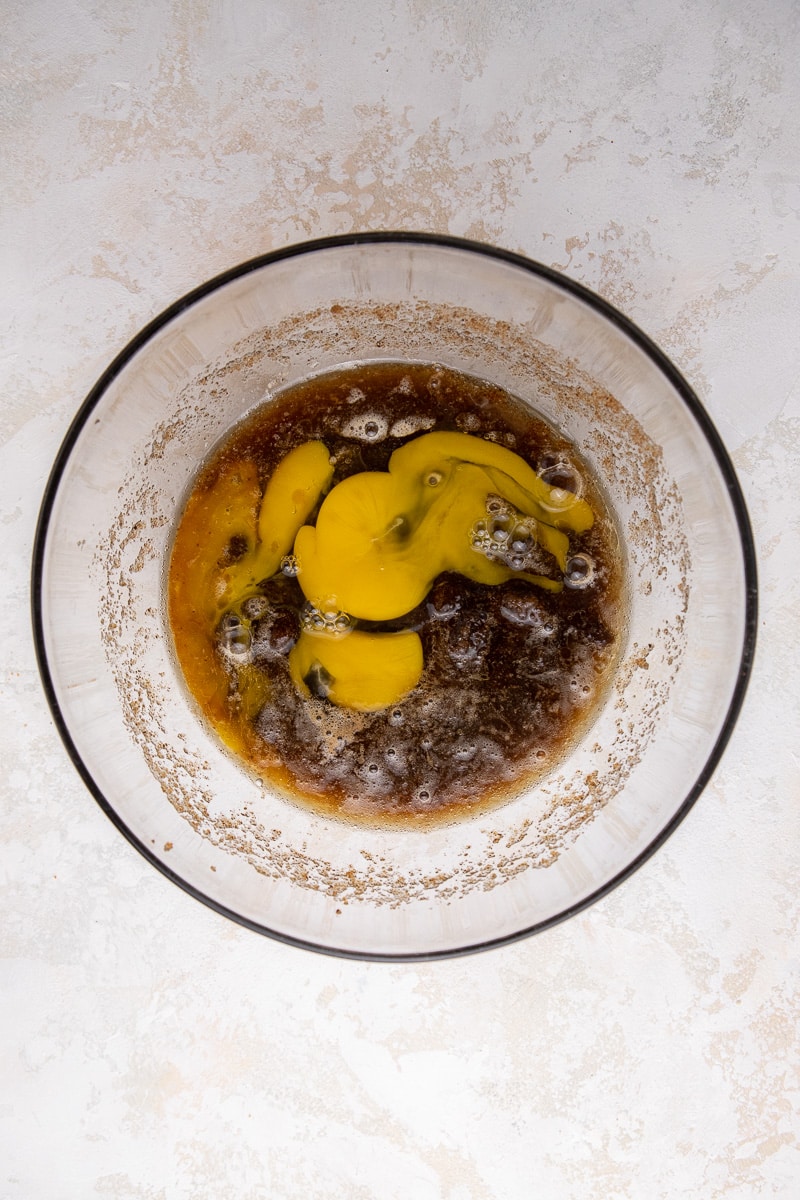
- Add in the eggs and vanilla and mix until light in color and combined.
- Fold in the flour and salt, making sure to not over-mix.
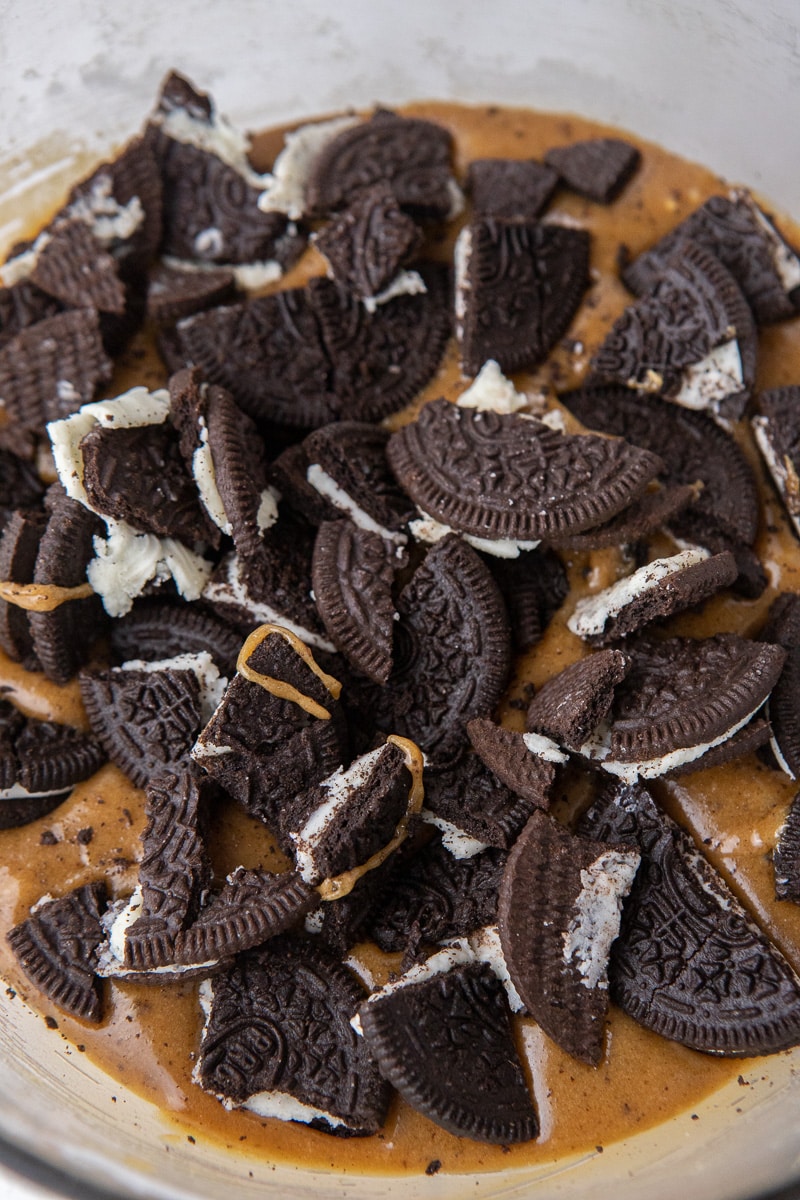
- Mix in the roughly chopped Oreos.
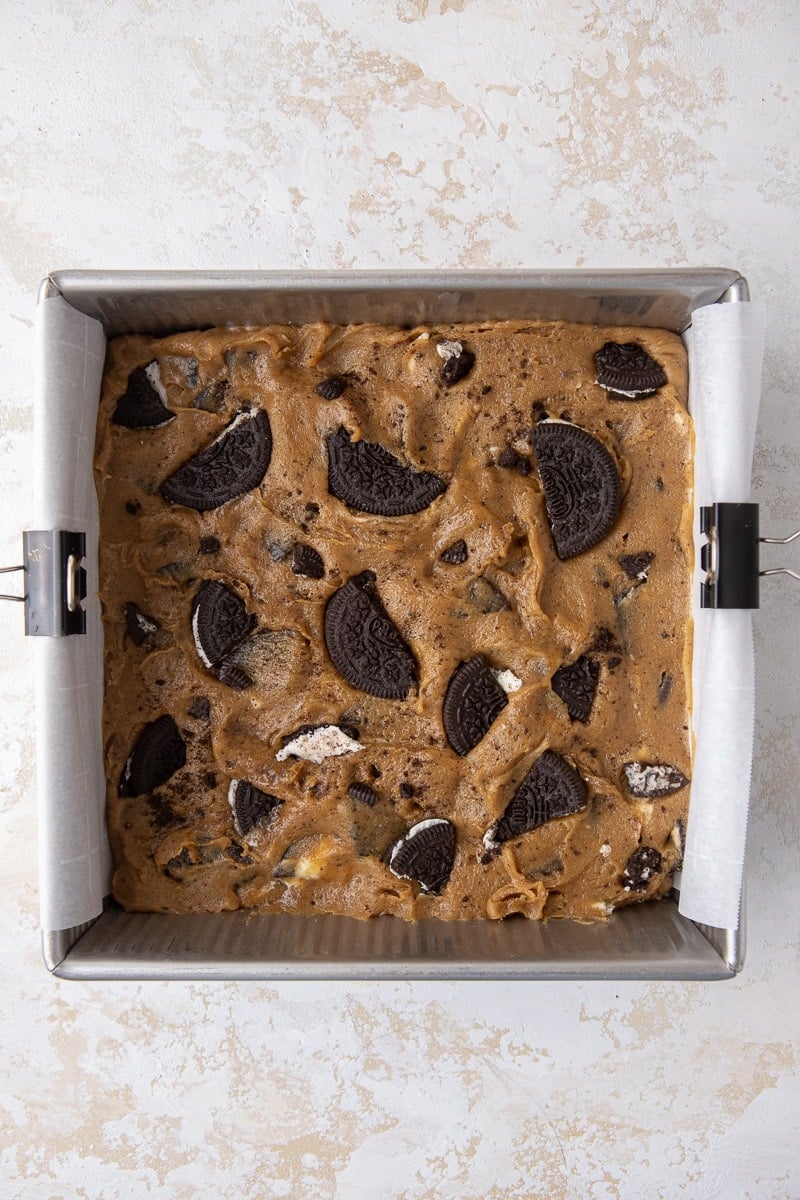
- Spread the mixture in the prepared 8×8 inch pan, top with some more chopped Oreos, and bake in the oven.
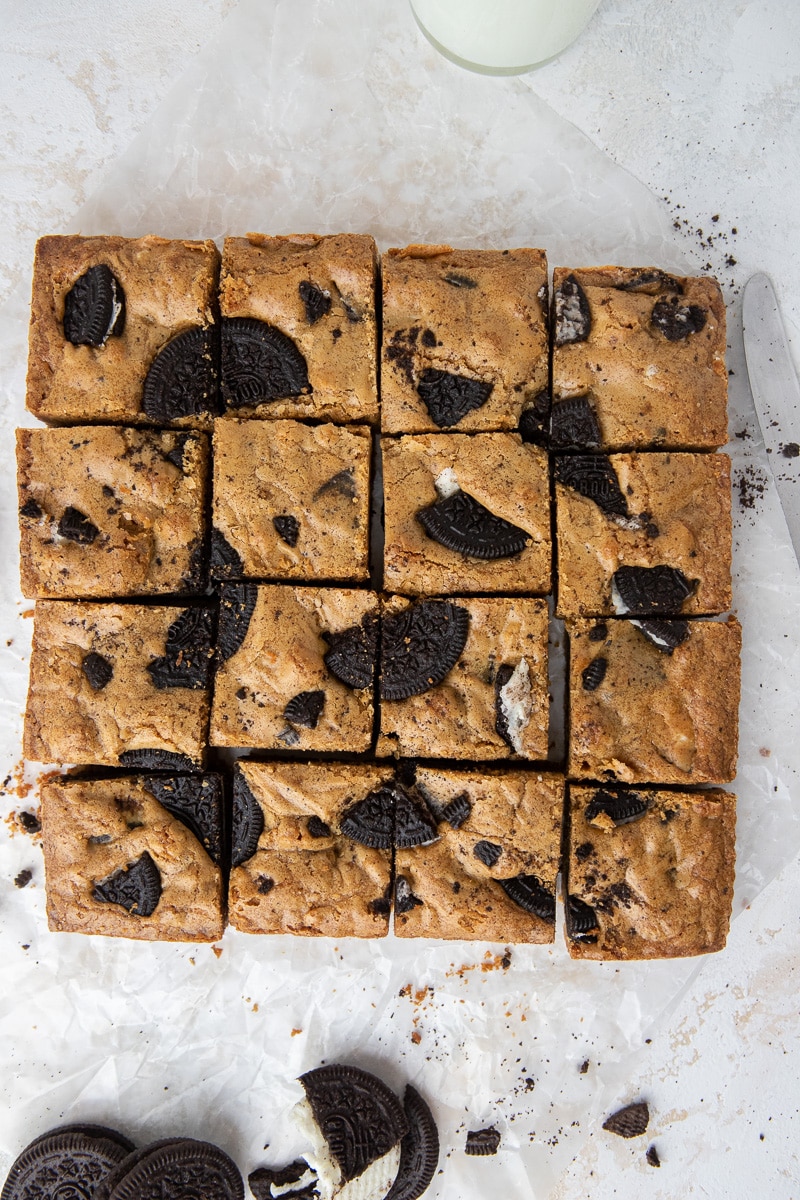
- Let the bars cool down for 1-2 hours before slicing into them. Don’t dig into this while still warm because it needs more time to set.
Frequently asked questions – FAQ
How to store Oreo blondies?
These Oreo blondies can be stored in an air-tight container at room temperature for up to 4 days.
You can also store them in the fridge in an air-tight container for up to 7 days which is what I usually prefer to do. Once you’re ready to enjoy them you can pop them in the microwave for a few seconds and enjoy them!
TIPS TO BROWN BUTTER PROPERLY
- Use a heavy-bottomed pan.
- Stir continuously.
- Keep an eye on your butter because it will brown in the span of seconds after looking like nothing will happen for a few minutes.
- The browning will happen after you get past the thick foam stage so be aware of that.
- Let your butter cool down a bit before starting the blondies process.
CAN I FREEZE BROWN BUTTER BLONDIES?
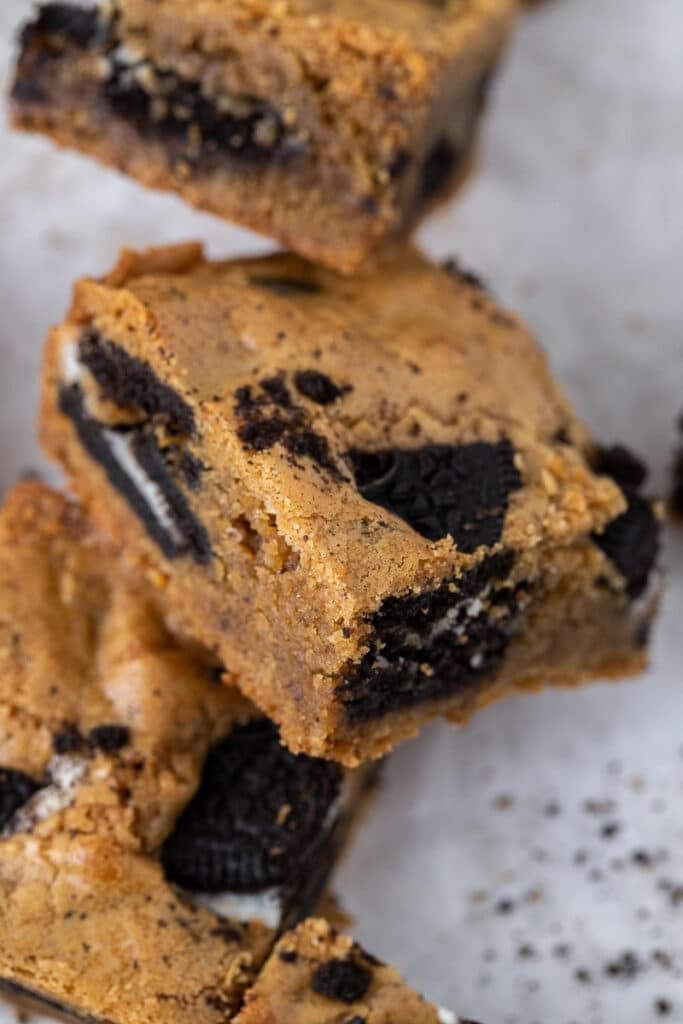
Absolutely! You can either freeze the whole thing or the sliced bars. place them in an air-tight container and freeze for up to one month.
Once you’re ready to enjoy them either thaw in the fridge overnight, thaw on the counter for a few hours, or pop them in the microwave and warm them up for a few seconds and enjoy them immediately!
Can I double this recipe?
You sure can! Press the x2 in the recipe card to double the ingredients.
Bake the double batch in a 9×13 inch pan for a few minutes more, and serve that large crowd you’re making these for!
The best Oreo Blondies

The best Oreo Blondies
Equipment
Ingredients
- 3/4 cup butter
- 3/4 cup brown sugar
- 1/4 cup granulated sugar
- 2 large egg
- 1 tsp vanilla extract
- 1 1/4 cup flour
- 1 tsp salt
- 10 double stuffed Oreos Roughly chopped, more for topping
Instructions
Make the brown butter
- In a small heavy-bottomed saucepan, over medium heat, melt the butter, making sure to stir continuously. Continue cooking it for 3-5 minutes or until the butter is foamy and turns medium golden brown.
- This process is called browning the butter. Keep a close eye on it because it can burn easily. Remove from the heat, transfer to a medium bowl, and let the butter cool down to room temperature. It doesn't have to harden.
Make the brown butter blondie
- Preheat the oven to 350F then line an 8×8 inch baking pan with parchment paper.
- When the butter is at room temperature, mix the melted brown butter, granulated sugar, and brown sugar together on medium speed until combined.
- Add the eggs, and the vanilla extract and whip until everything is light and fluffy. This process will create a beautiful crinkly top.
- Mix in the flour and salt just until the flour disappears. You don't want to over-mix the brown butter blondie mix. Fold in the roughly chopped Oreos, don't overmix.
- Spread the blondie mixture in the prepared 8X8 inch baking pan, top with more roughly chopped Oreos (about 2-3), and bake for 24-25 minutes.
- Once baked, pull out the blondies from the oven and allow them to cool down fully before slicing into them. I let them cool for an hour or two depending on my kitchen's temperature. They should be at room temperature. This will allow the bars to be fully set. Slice into 16 equal squares and enjoy.
Notes
- 4 days in an air-tight container at room temperature.
- A week in an air-tight container in the fridge.
- 1 monthin an air-tight container in the freezer!
Nutrition
Nutrition information is automatically calculated, so should only be used as an approximation.
Thank you for making it all the way down here 🙂
If you enjoyed this recipe don’t forget to let us know in the comments below! In the meantime, don’t forget to follow me on Instagram!

Shop this recipe
This post may contain affiliate posts, meaning that at no cost to you I will get a small percentage of every purchase you make!

Looking delicious