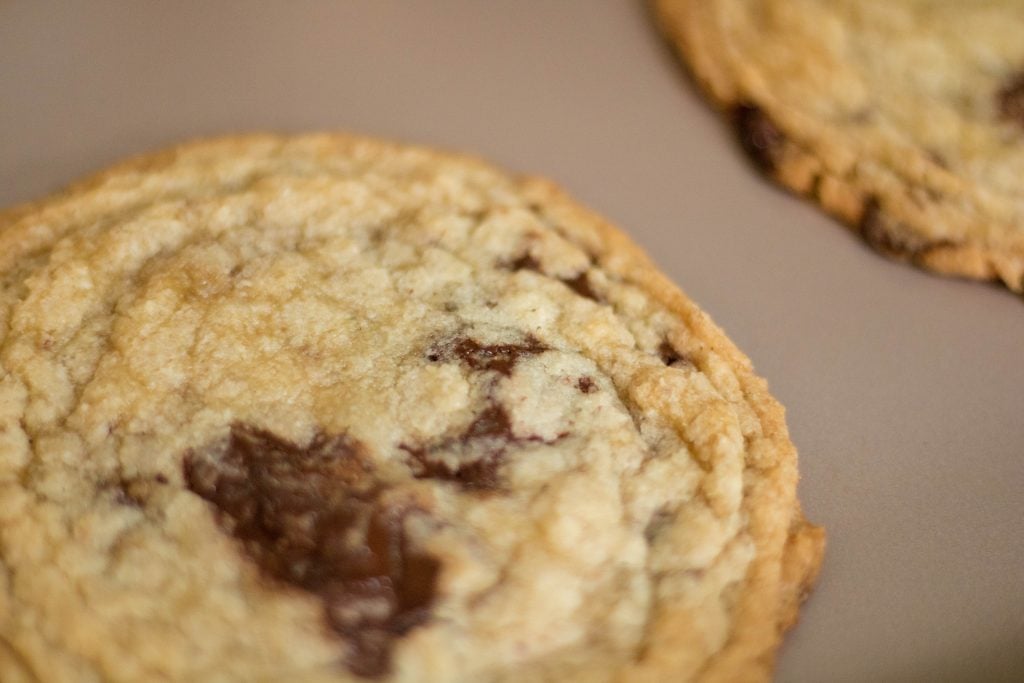
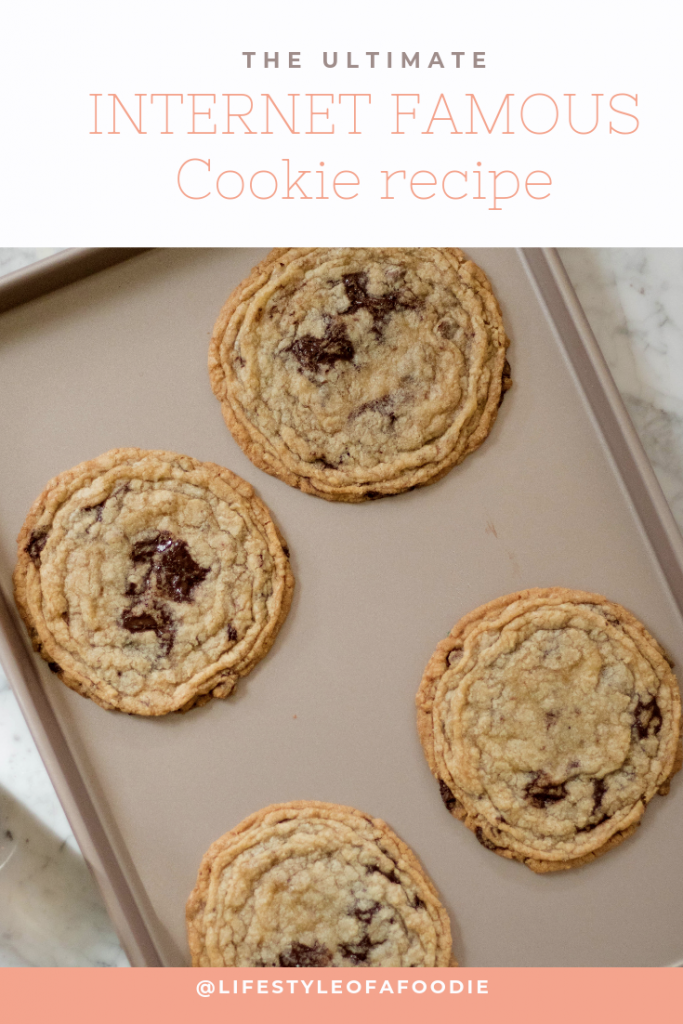
Sarah Kieffer’s Internet-famous cookies are out of this world delicious. They are big, loud, and with a flavor and texture that is out of this world when it comes to chocolate chip cookies. Perfect with a large glass of milk or as a snack that you’d break pieces of throughout the day!

As a Pinterest addict I have been seeing all kinds of chocolate chip cookies recipes, but none of them resembled Sarah’s pan banging cookies. Large, and beautifully textured! They reminded me of a bakery cookie at first look.
Since I was so intrigued about this different looking cookie I started reading up on it and to my surprise, you had to bang the baking sheet to create those beautiful ripples!
After reading the recipe the process seemed like a lot… You had to bake the cookies for 10 minutes, after that the banging starts. After every 2 minutes, you’d have to open the oven and bang the baking sheet to create the crinkled texture.
But me being the person that I am I was not going to step down when faced with a challenge like such, plus if the cookie tastes as good as it looks then It’s a win-win situation.
Keep reading below to see what you need to make this recipe, how I made this amazing it as well as what I thought about it all!
What you will need
Aluminum foil or parchment paper, I personally prefer following the original recipe and using aluminum foil
Chocolate chunks and all the other ingredients to make your usual chocolate chip cookies!
How do you make these Pan Banging cookies?!
When I read Kieffer’s recipe, it seemed very straight forward. It was just like any other cookie recipe, you’ll start by creaming the butter, white sugar, and brown sugar together. Then add eggs, vanilla, and water. Add in your dry ingredients (flour, baking soda, and salt) fold the chocolate chunks and portion out the dough into huge ⅓ cup-sized balls.
When you are ready, line the baking sheet with aluminum foil (dull side up) place some of the cookie dough balls on there with enough spacing between them. I put 4 on a 12″ by 17″ sheet pan and freeze for 15 minutes. While the cookies are in the freezer preheat the oven to 350°F.
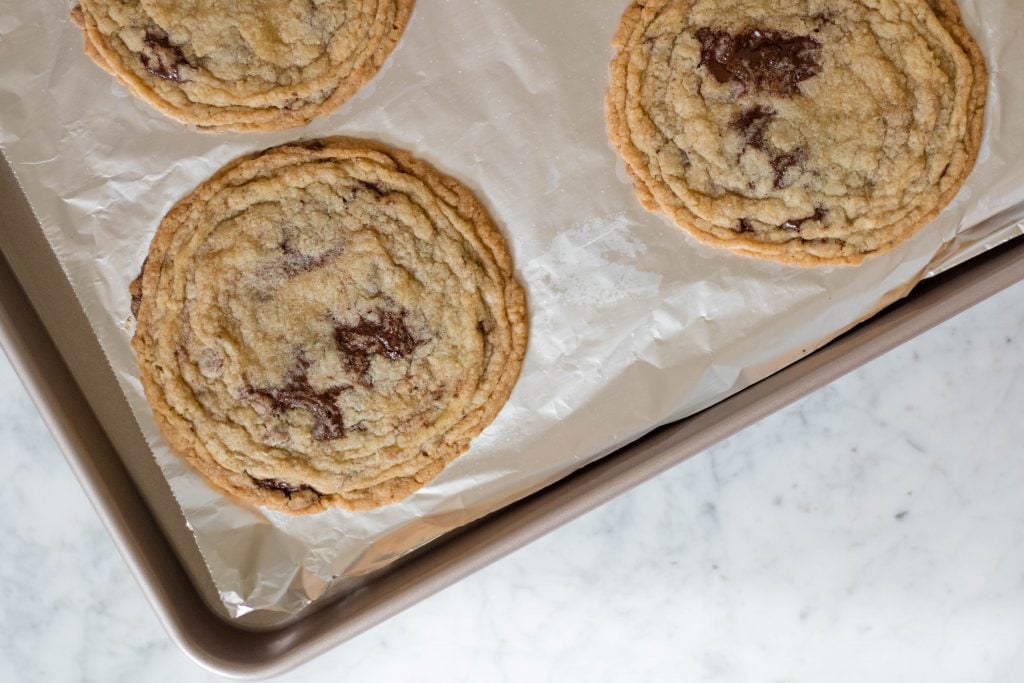
Bake the cookies or 10 minutes until they start puffing up after that is when the banging starts haha!
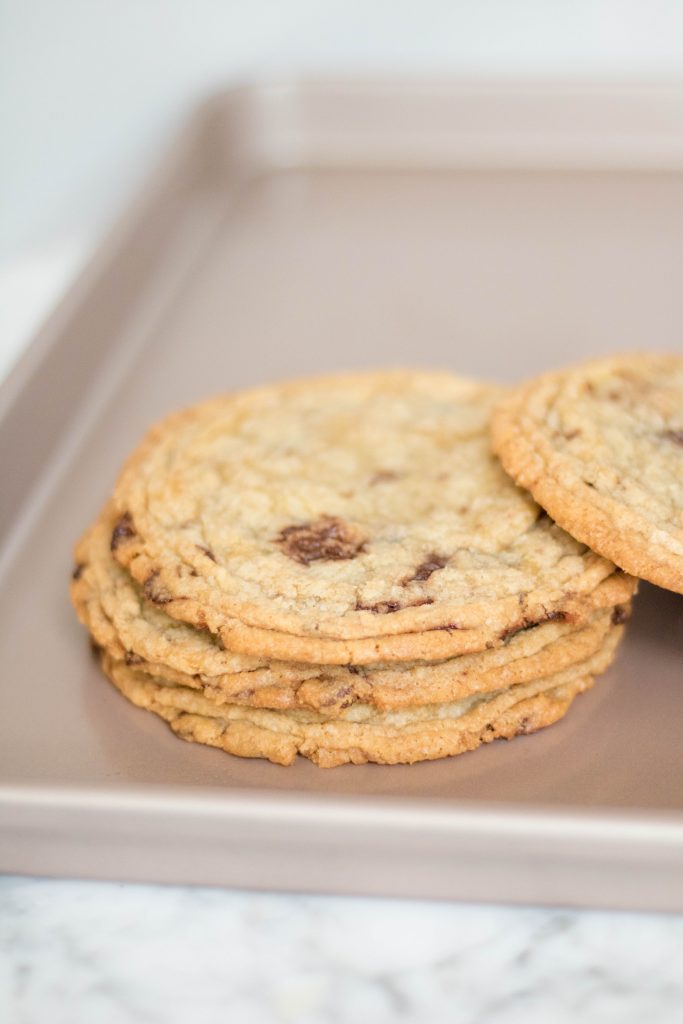
As per Kieffer’s instructions, bang the cookies after the 10 minutes of baking, put back into the oven for 2 minutes and repeat the process until the full cooking time reaches 16-18 minutes (so you’ll bang them 4 to 5 times until they are golden and perfectly wavy). This is the technique that will give you those beautiful crinkles, it will also spread them evenly into huge circles.
My honest review of the Sarah Kieffer pan banging cookies
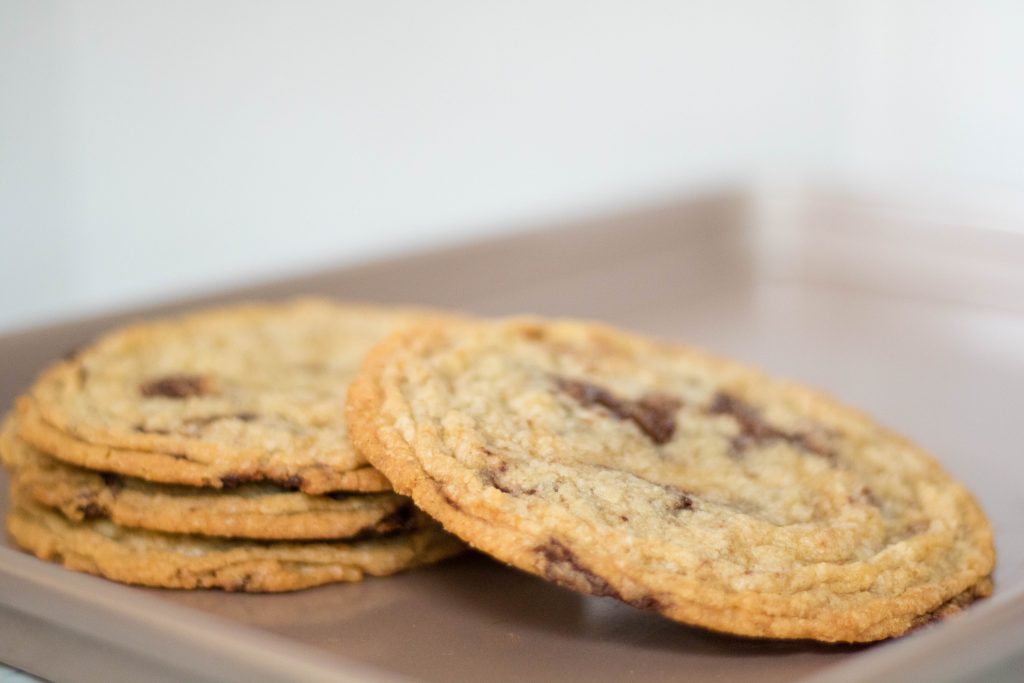
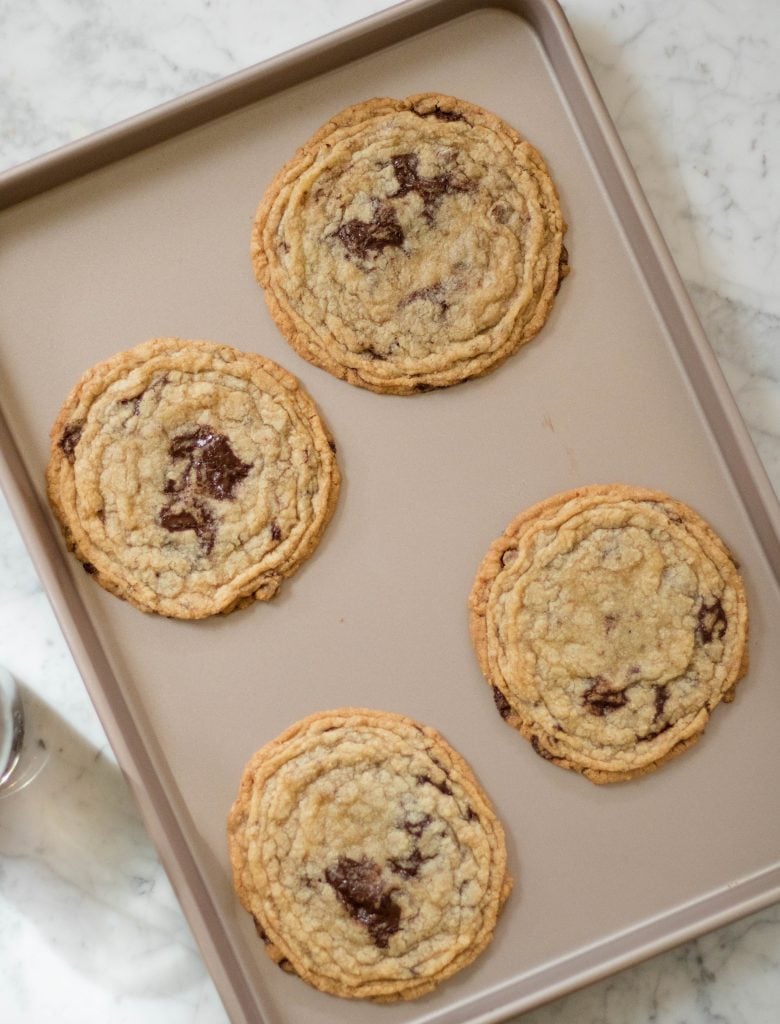
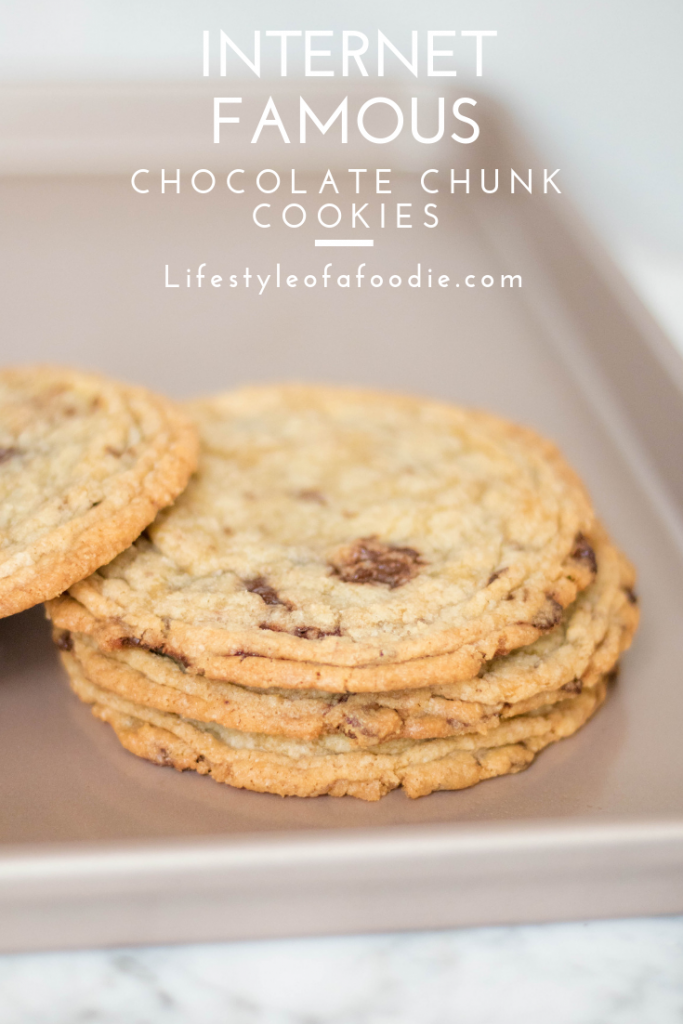
Having worked in so many bakeries I know what a bakery chocolate chip cookie looks like and this looks almost identical with the exception of how thin it is… Since we are talking about the looks of this cookie I wanna emphasize how beautiful the ripples are! The banging of the sheet pan was something I had never thought of before, most of the time I flatten the cookies with a spatula or my hand if I completely mess up the recipe but this technique is innovative!
When banging your sheet pan make sure to let everyone know what you are doing because it does get super loud! Also, make sure to use a sheet pan you don’t care much about because it will get ruined at the bottom. I made the mistake of using a brand new sheet pan and It has all these scratches in every corner!
When I made these cookies I used ¾ dark chocolate chunk and ¼ milk chocolate chips. The flavor was very very good! We are huge fans of dark chocolate in my household so the fact that I used the 70% dark chocolate chunks gave this cookie a more sophisticated flavor.
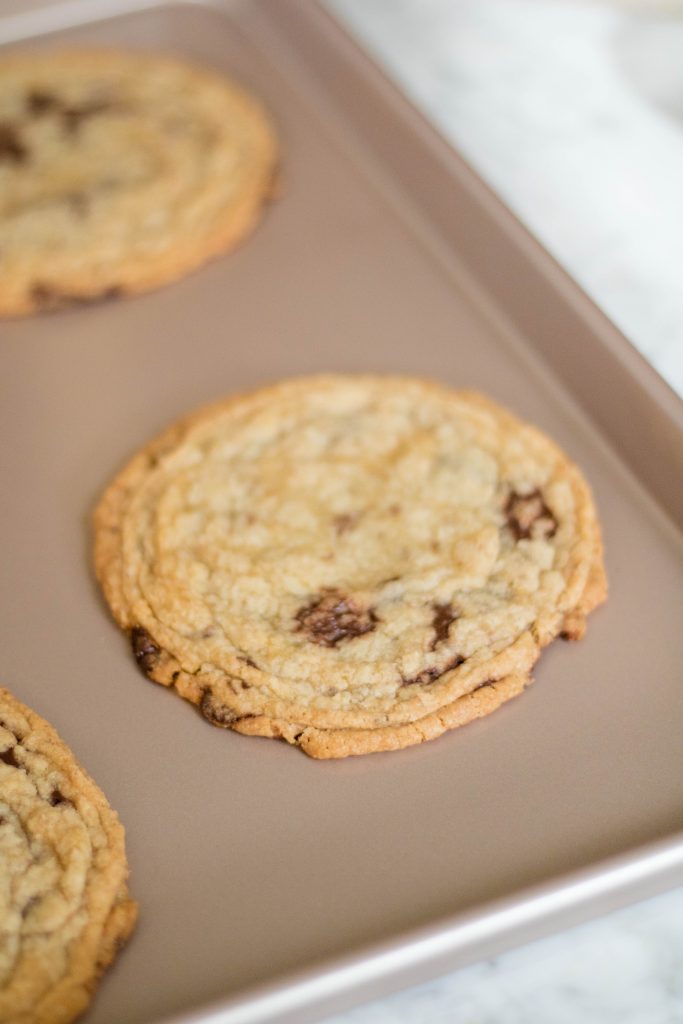
The difference when talking about chocolate in this cookie compared to other chocolate chip cookies is that you don’t add any chocolate chips or chunks to the top before baking it but since the cookie itself is fairly thin you end up getting areas that are full of chocolate.
The texture of these cookies is perfect for those who love a thin crispy cookie. It is very soft and gooey on the inside but the outside stays pretty crispy. I wish it was a little thicker because I love me a thick chocolate chip cookie with a little crisp on the edges.
If you asked me, I would definitely say that I’ll be making these again. I want to work on having the ripples while still keeping a little bit more of the thickness. These cookies spread quite a lot so finding a better way to make them ripply, beautiful and a little thick at the same time is going to be a challenge but I am definitely up for it! So all in all these cookies were very tasty, in my opinion, they were even better even after a couple of days of sitting in the fridge! Breaking a little piece like Sarah Kieffer suggested and enjoying it straight out of the fridge is such a treat!!
Some recipes that might interest you:
- No Brown Sugar M&m’s Cookies
- Momofuku Compost Cookies
- Gluten Free Tahini Cookies
- Healthy cookie dough chocolate balls
- Vegan Chocolate mousse
Internet Famous Cookies
Sarah Kieffer’s Pan Bangin Cookies
Equipment
- Stand mixer
Ingredients
- 2 cups all-purpose four
- ½ teaspoon baking soda
- ¾ teaspoon salt
- 2 sticks unsalted butter at room temperature
- 1 ½ cup granulated sugar
- ¼ cup packed brown sugar
- 1 large egg
- 2 tablespoon water
- 4 ounces dark chocolate chunks
- 2 ounces milk chocolate chips
Instructions
- Preheat the oven rack to 350°F. Line 3 baking sheets with aluminum foil, full side up.
- In a small bowl, whisk the flour, baking soda, and salt.
- In your stand mixer bowl fitted with a paddle, beat the butter on medium until light and creamy. Ass in both sugars and beat on medium until fluffy, about 2 to 3 minutes. Add in the egg, vanilla, and water and mix on low until everything is combined. Add the dry mixture and mix on low until combined again. Add in the chocolate and fold with a spatula.
- Form the dough into 100g balls or heaping ⅓ cup each. Place 4 balls onto the baking sheets with equal distance apart ( they will get huge!) and freeze for 15 minutes before baking. After your place the first baking sheet in the oven repeat the freezing process with the second baking sheet.
- Bake the cookies for 10 minutes, when the cookies are puffed up slightly in the center lift the side of the baking sheet up about 4 inches and gently let it drop down against the oven rack. The edges of the cookies will set and the inside will fall back down. Don't be scared, they will puff and de-puff again multiple time.
- Bake the cookies for another 2 minutes, until they puff up again and repeat the banging process. Repeat a few more times to create ridges around the edge of the cookie. Bake for about 16 to 18 minutes total, until the cookies have spread out and the edges are golden brown but the center is still lighter and not fully cooked.
- Transfer the baking sheet to a wire rack; let it cool down completely before removing the cookies form the pan.
Notes
- These cookies are huge! but they need to be in order to have those crinkles. If you want to make these cookies a bit smaller, you won’t end up with the same ridges and the center might not be as soft and gooey.
- Do not skip freezing the cookies, they will spread too much on the pan and will not form those beautiful ridges!
- The cookies will not turn out the same if you decide to use only chocolate chips. You will also need to up the amount of chocolate chips to 8 ounces of chocolate chips and make the cookies 2 ½ ounces big instead of 3 ½ ounces.
- These cookies are delicious when served warm, but you could also enjoy them out of the fridge a couple of days later. This will give the flavors enough time to infuse into each other!
Products that I love
This article may contain some affiliate links, meaning, at no additional cost to you, I will earn a commission if you click through and make a purchase
To save this Chocolate Chip Cookie recipe PIN IT!
As always, make sure to follow me on Instagram at @Chahinez_tbt and Pinterest. And if you try this recipe out let me know how you like it :)! Have an awesome day and make sure to pin this for later
XO, Chahinez

Leave a Comment