
This post may contain affiliate links. Please read our disclosure policy.
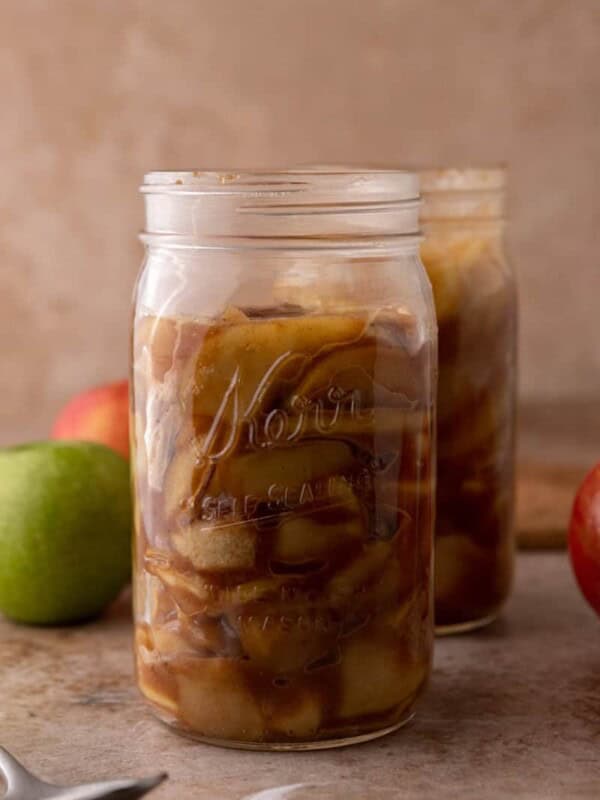
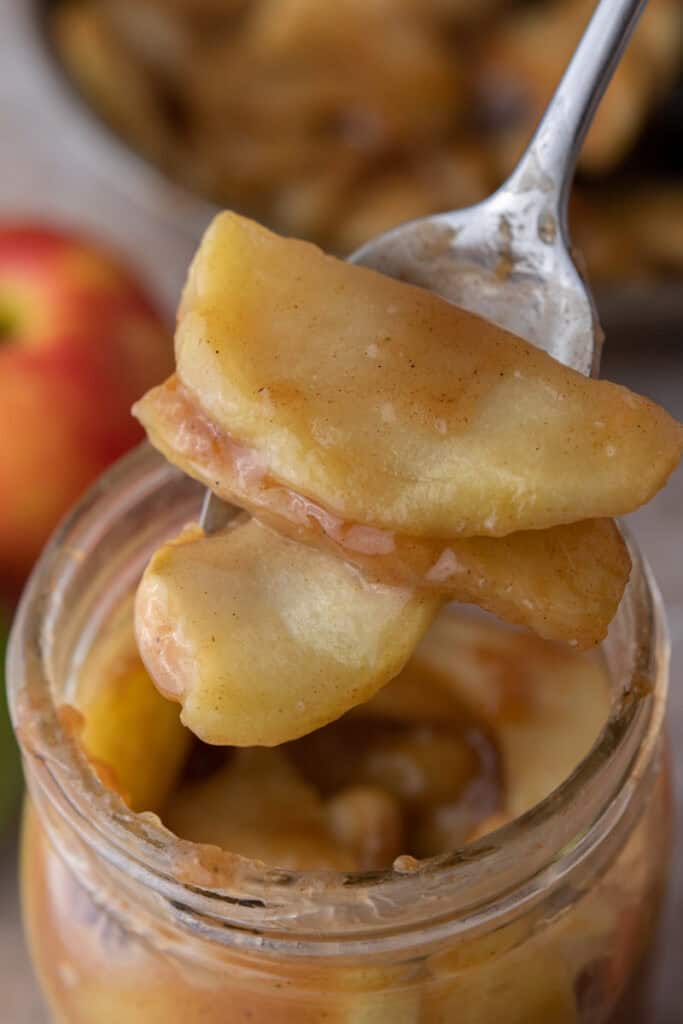
Once you make apple filling from scratch, the canned stuff is really hard to go back to. Diced apples cook down in butter, brown sugar, and cinnamon until they’re tender but still hold their shape, then a quick cornstarch slurry turns all those juices into a thick, glossy syrup. No preservatives, and you decide exactly how sweet and spiced it gets.
The best part? One batch works two ways. Keep the cornstarch for a thick filling that holds up in a homemade all-butter pie crust or between cake layers, or skip it for a loose, saucy topping for yogurt and oatmeal!!
Quick Look: Apple Filling Recipe
- 🍎 What it is: Diced apples simmered in butter, brown sugar, and cinnamon, then thickened into glossy syrup.
- ⭐ Why it works: A cornstarch slurry turns the apple juices into syrup that keeps setting as it cools.
- 💛 Why you’ll love it: One batch works for pie, cake layers, and donuts, or skip the cornstarch for toppings.
- ⚠️ What to watch for: Don’t judge thickness while it’s hot. Mushy apples mean they cooked too long.
- ❄️ Make ahead: Keeps a week in the fridge. Freeze it, then thaw overnight when you’re ready.
- ⏱️ Ready in: Plan for full cooling time before it goes into any crust.
Why This Works
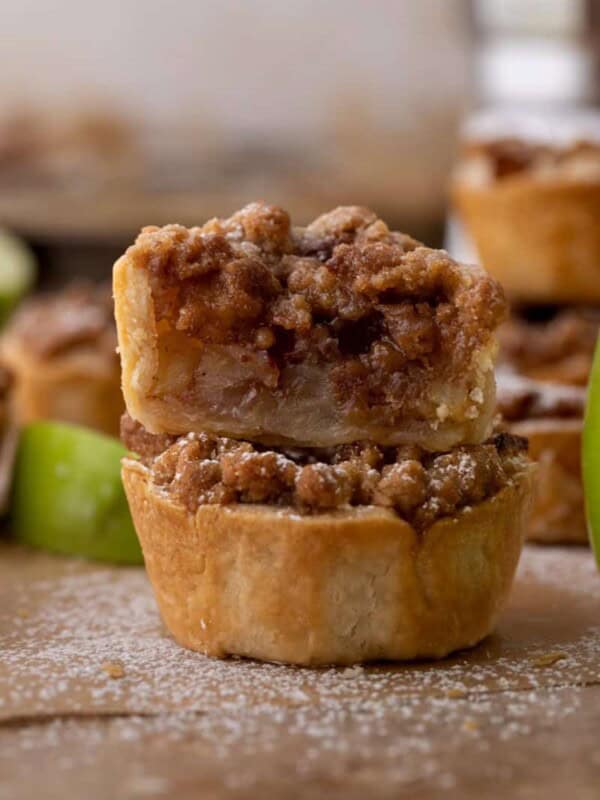
- It’s made for baking ahead. It keeps in the fridge for a week and freezes well, so it’s ready whenever you want a full pie or a batch of mini apple pies in a muffin tin.
- It thickens on purpose. A cornstarch slurry turns the apple juices into a glossy syrup instead of a puddle, and it keeps setting as it cools.
- The apples keep their shape. Small, even cubes turn tender in 8 to 10 minutes without going mushy.
- The vanilla goes in last. Stirring it in off the heat makes a noticeable difference in flavor.
Table of Contents
Key Ingredients
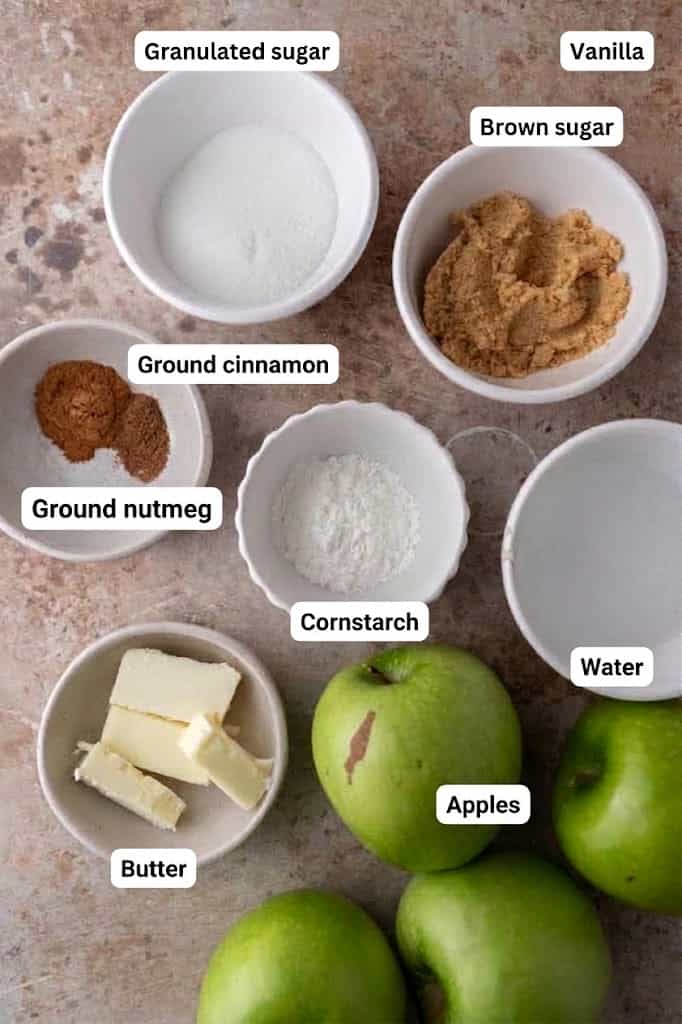
This stovetop apple pie filling only needs apples and a few pantry staples. Exact measurements are in the recipe card at the bottom of the post.
- Apples: Four medium apples. Granny Smith is my go-to because the tartness balances the sugar and they hold their shape.
- Brown sugar and granulated sugar: Both sweeten the apples, and the brown sugar adds a caramel-like flavor.
- Cinnamon and nutmeg: Warm spices that complement the apples. The nutmeg is optional.
- Butter: Gives the filling a rich, silky base.
- Water: Helps the apples cook down and forms the base of the syrup.
- Cornstarch: The thickener. Use it for anything baked, and skip it for a loose topping.
- Vanilla extract: Stirred in at the very end for a sweet, fragrant finish.
- Salt: Just a little to balance the sweetness.
Substitutions and Additions
- Apple cider or apple juice: Use it in place of the water for a stronger apple flavor. My homemade Instant Pot apple cider is perfect here.
- Maple syrup: Swap it in for the brown sugar for a maple twist.
- Dairy-free: Replace the butter with vegan butter or coconut oil.
- Extra spice: Add a pinch of cardamom or cloves for a deeper, more complex flavor.
- Lemon juice: A small squeeze balances the sweetness if your apples are on the sweeter side.
How to Make Apple Filling
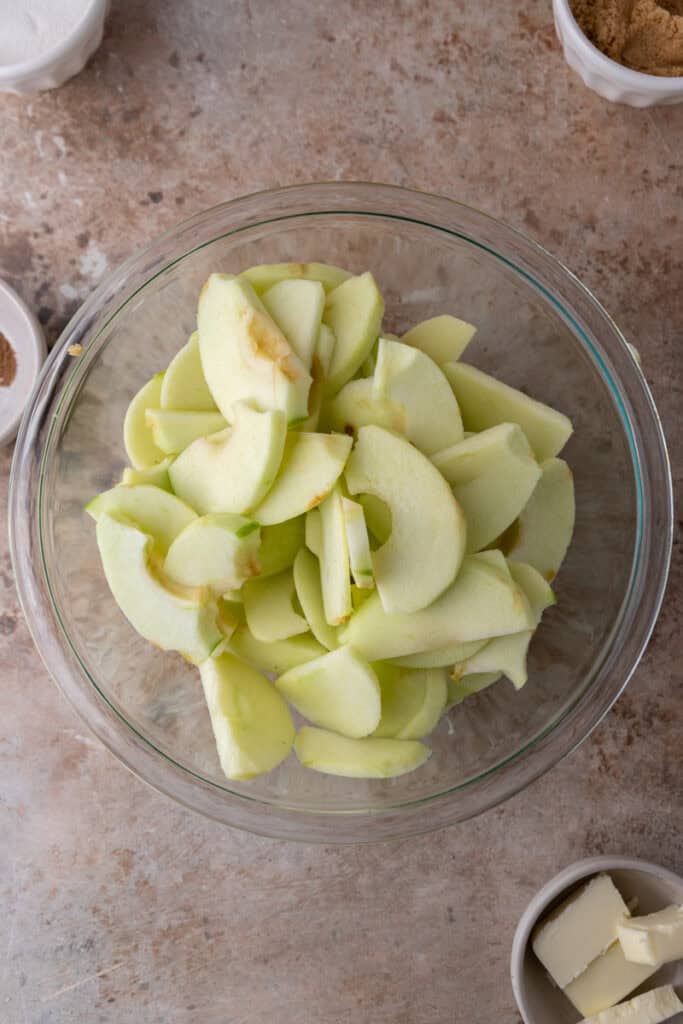
- Peel, core, and dice the apples into small, even cubes or slices. Even pieces cook at the same rate, so you won’t end up with some mushy bites and some crunchy ones. A small dice also makes this diced apple filling easy to spread between cake layers or spoon into hand pies.
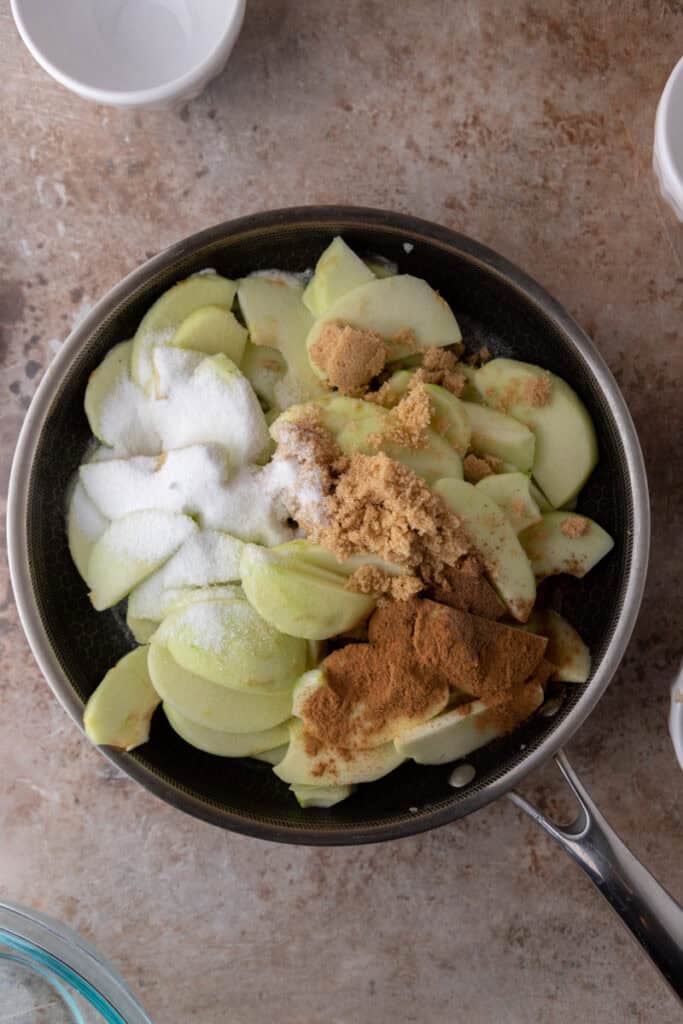
- Melt the butter in a large saucepan over medium heat. Add the diced apples, brown sugar, granulated sugar, cinnamon, nutmeg, and salt, then stir until every piece is coated.
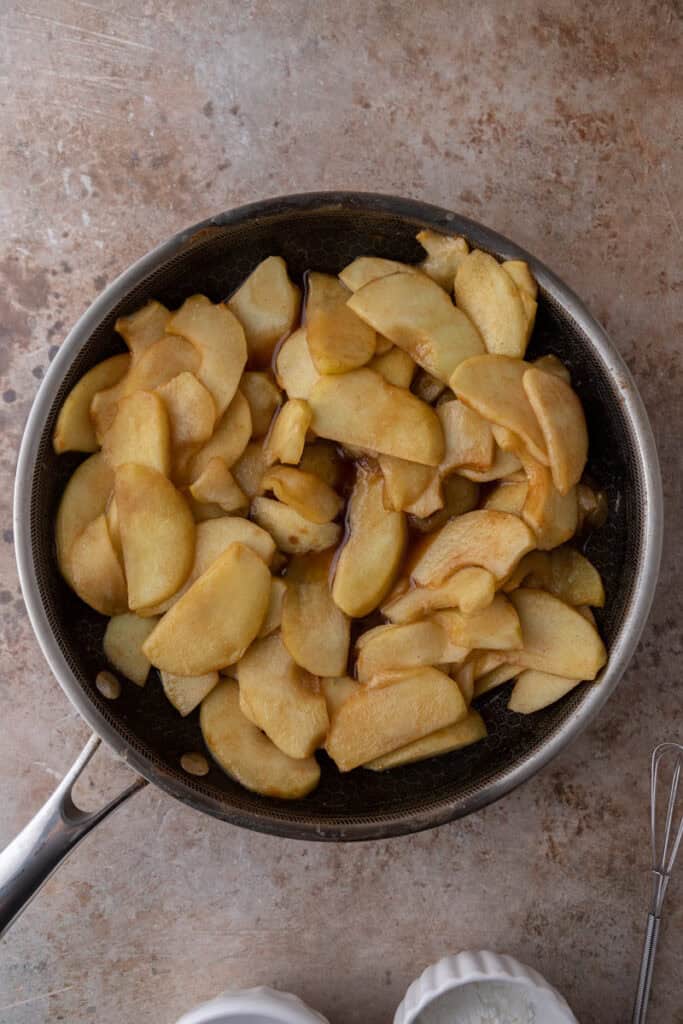
- Pour in 2 tablespoons of the water and cook for 8 to 10 minutes, stirring every minute or two so nothing sticks. The apples are ready when they’re soft but still hold their shape (aka not mushy!).
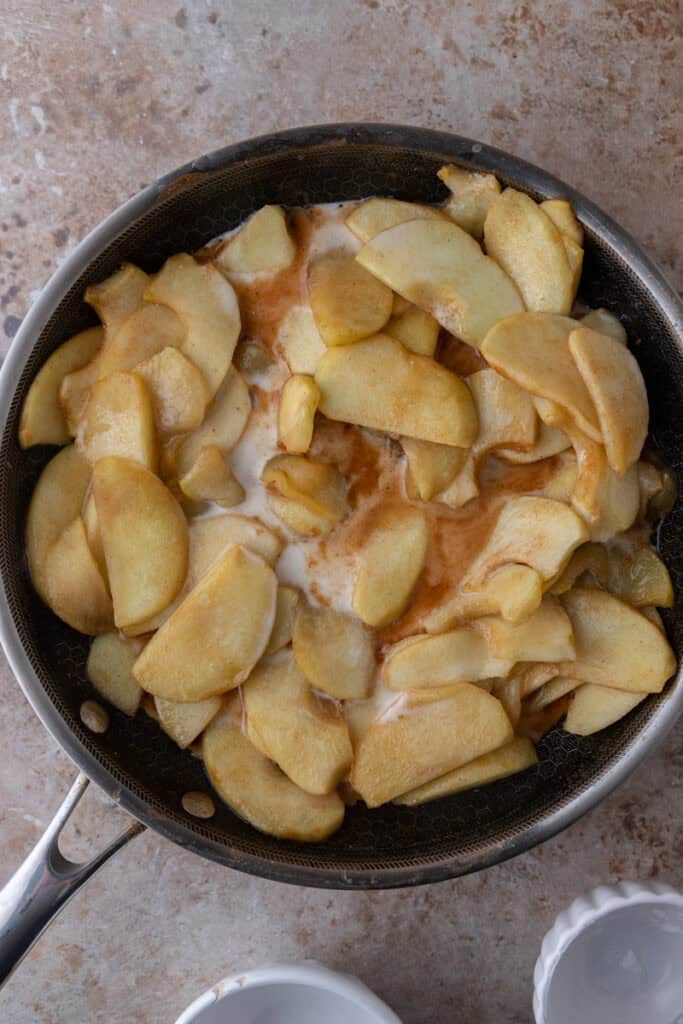
- Whisk the cornstarch with the remaining 2 tablespoons of water until smooth, then stir it into the apples right away. Cook for another 2 to 3 minutes, stirring, until the syrup turns thick and glossy. Making a topping for yogurt or oatmeal? Skip this step for a looser, saucier filling.
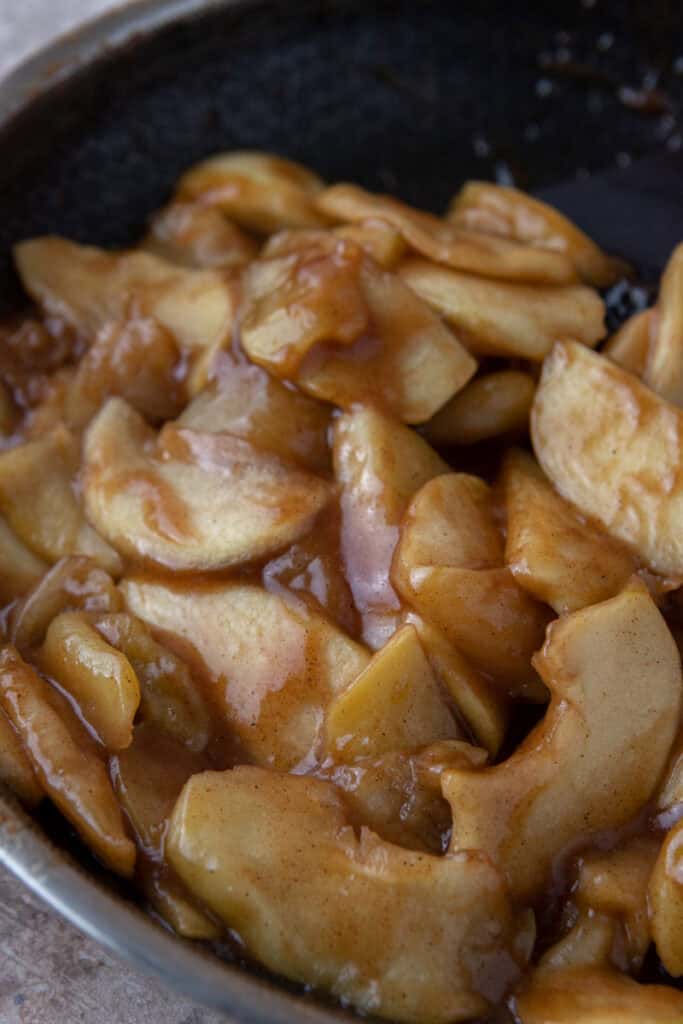
- Take the pan off the heat and stir in the vanilla. Let the filling cool before you use it, and don’t judge the thickness while it’s hot, because it keeps setting as it cools.
Expert Tips
- Match the thickness to what you’re making. Keep the cornstarch for pies, hand pies, cake layers, and filled donuts like my better than Krispy Kreme apple donuts, so the juices don’t soak into the dough. Skip it when you’re spooning the filling over pancakes, fluffy homemade buttermilk waffles, yogurt, or oatmeal.
- Mix sweet and tart apples. Granny Smith paired with Honeycrisp gives you the most balanced flavor.
- Cool it completely before it touches dough. Warm filling melts the butter in pastry and leaves you with a soggy bottom crust.
- Give the slurry its full 2 to 3 minutes. For anything that needs a really thick filling, those extra couple of minutes on the heat are what get it there.
Apple Filling FAQs
Granny Smith apples are the classic choice because they’re tart and hold their shape as they cook. For the best flavor, pair them with a sweeter apple like Honeycrisp, Golden Delicious, Pink Lady, or Gala.
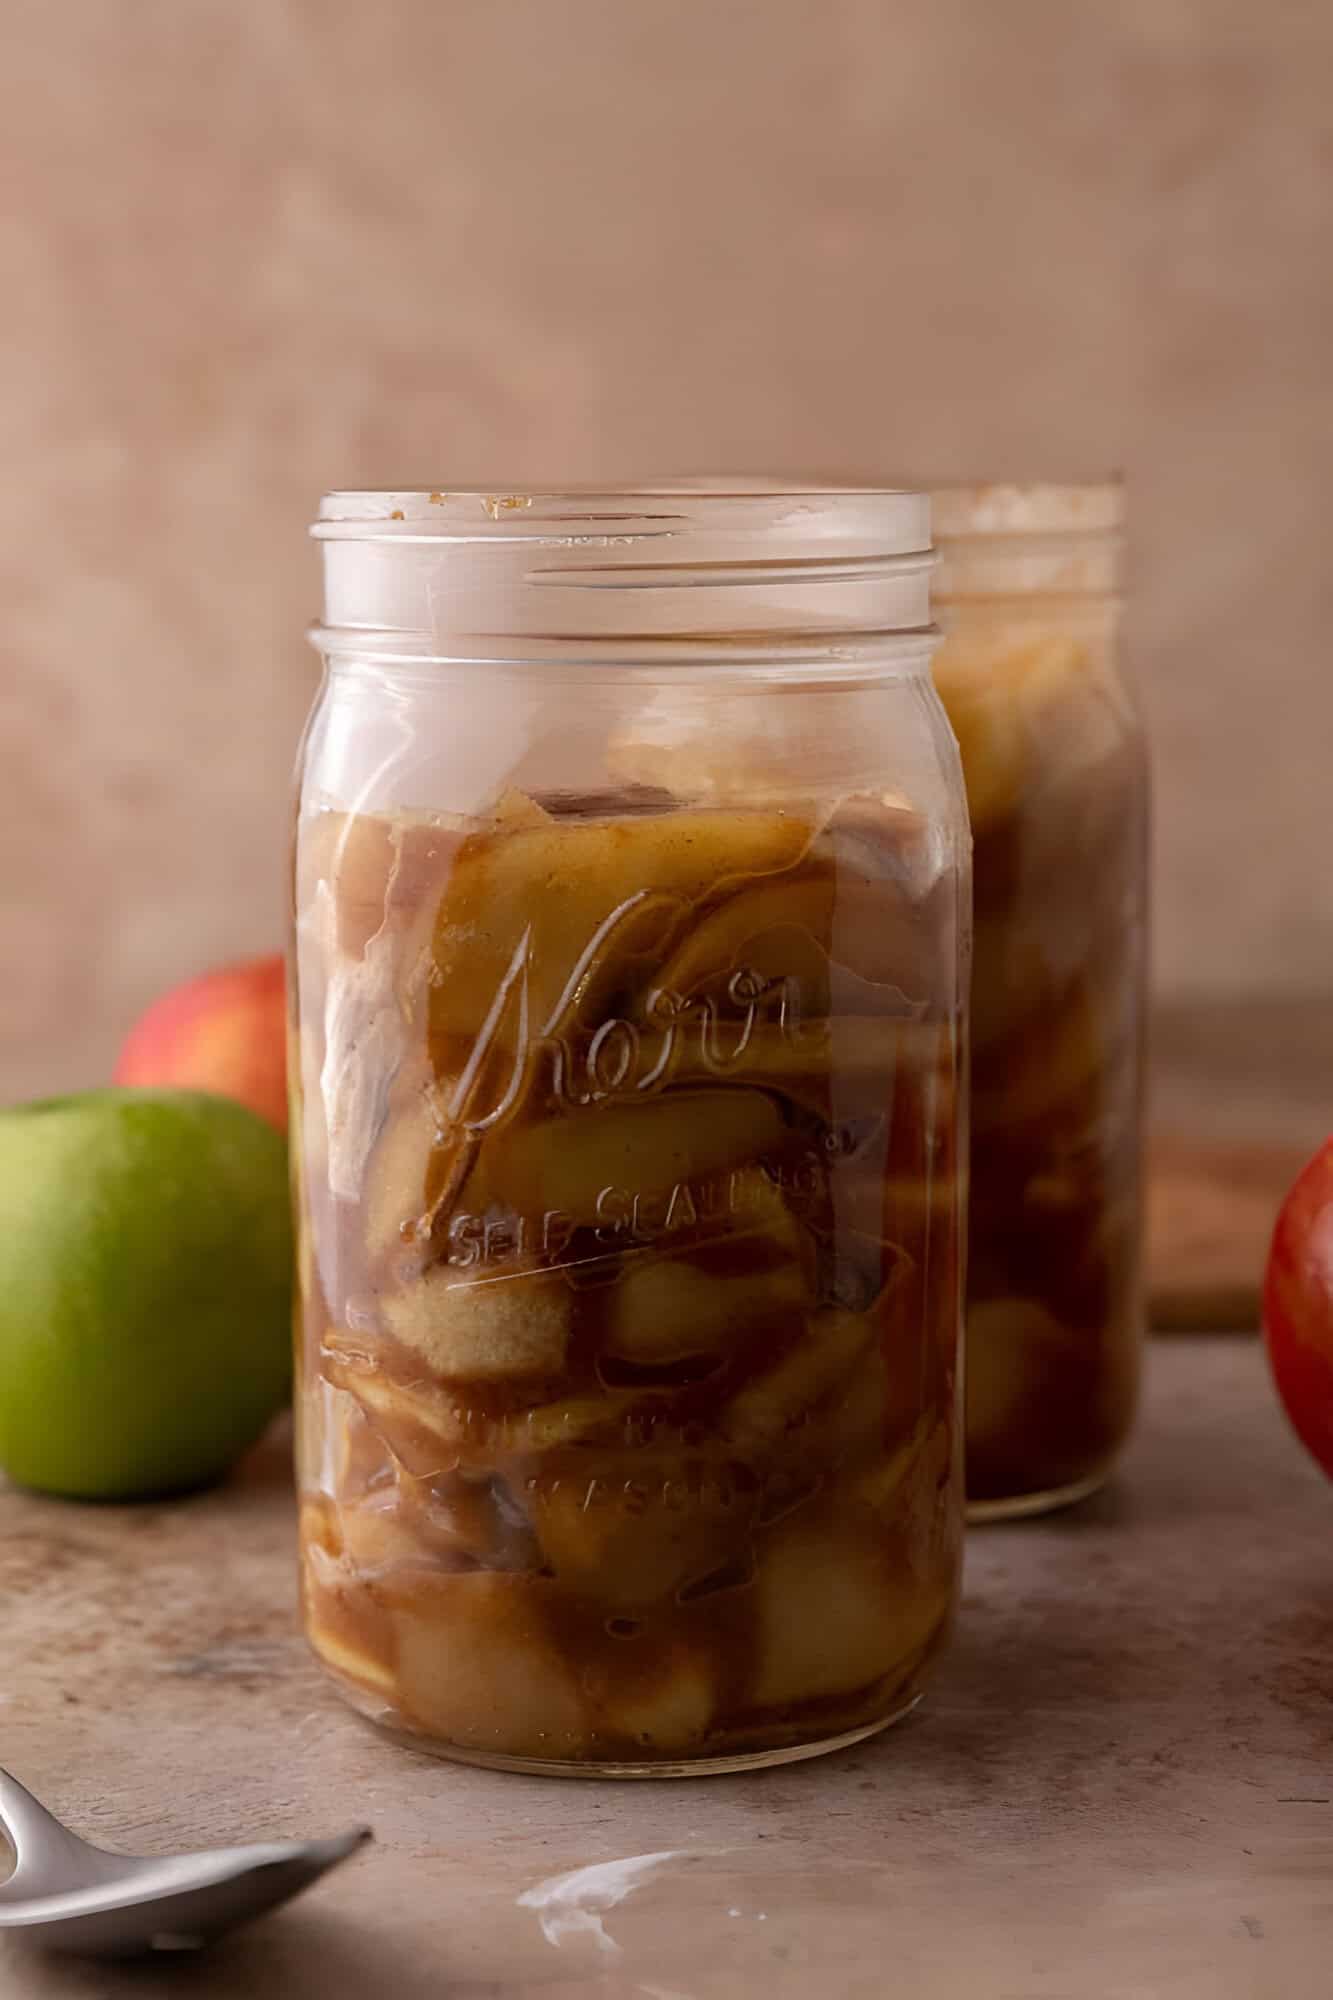
Store it in an airtight container in the fridge for up to a week (glass jars are my favorite). To freeze it, let it cool completely, then freeze it in an airtight container for up to a couple of months. When you’re ready to use it, thaw it overnight in the fridge and give it a good stir.
It’s usually one of two things: it was judged while still hot, or the cornstarch slurry didn’t cook long enough to thicken. Let it cool first, since it firms up a lot as it sits. If it’s still too loose once it’s cool, stir in a little more slurry and simmer for another couple of minutes.
Yes!! Use the thick version with cornstarch and let it cool completely so it doesn’t melt your frosting. The small dice matters here too, since big apple slices make a layer cake hard to cut cleanly. Pipe a ring of frosting around the edge of each layer to keep the filling from sliding out.
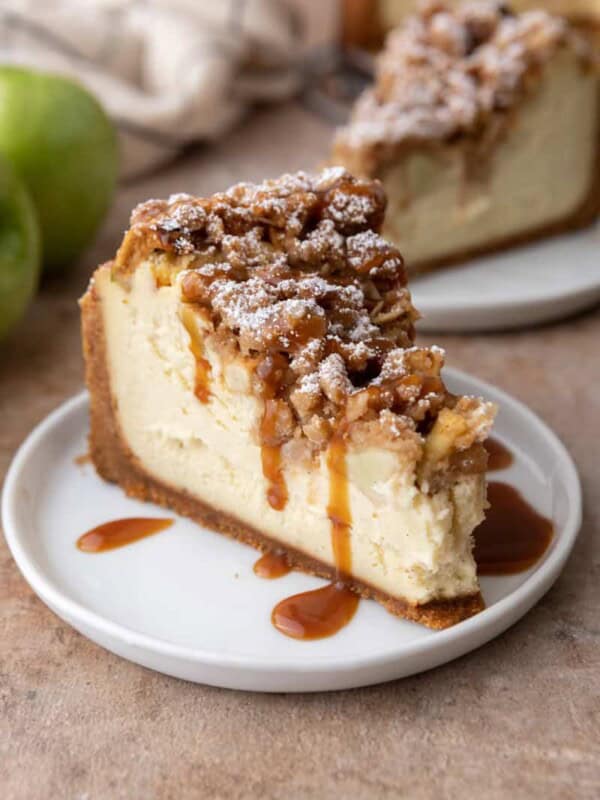
More Apple Recipe Favorites!
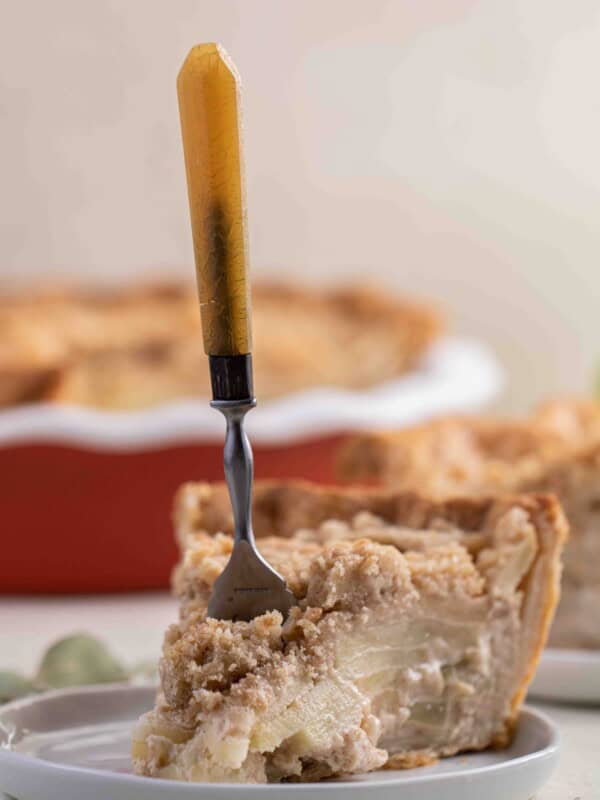
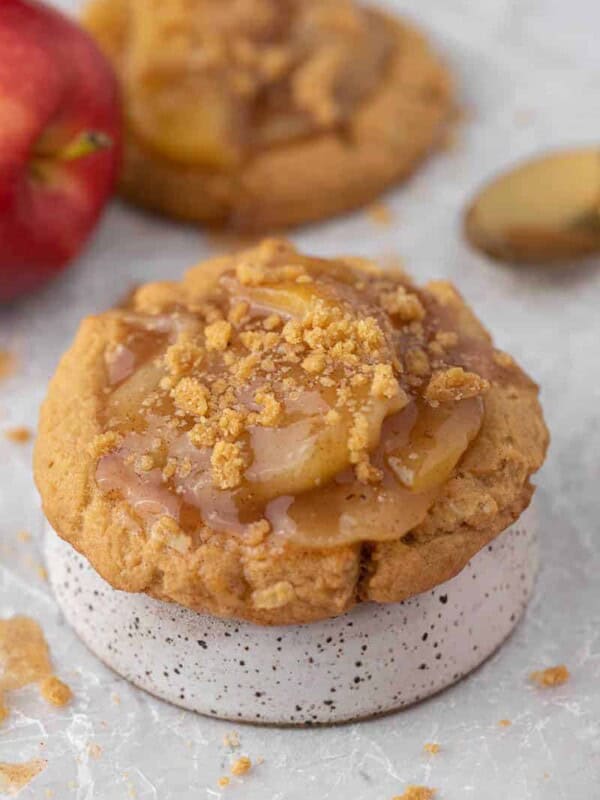
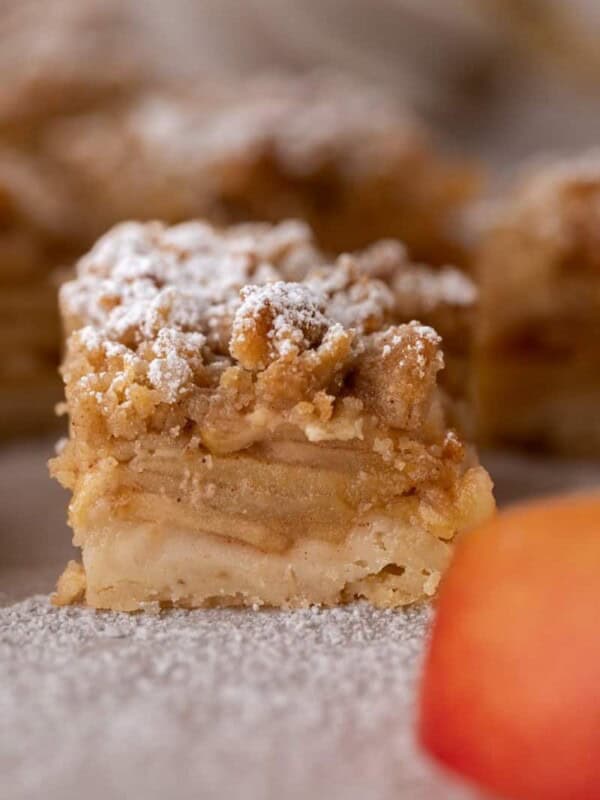
Made this apple filling recipe? Leave a star rating and a comment below, and tell me what you used it for! You can also tag me on Instagram @chahinez_tbt.

Stovetop Apple Filling (Homemade Apple Pie Filling)
Ingredients
- 4 medium apples peeled, cored, and diced (Granny Smith, or a tart and sweet mix)
- 1/4 cup brown sugar
- 1/4 cup granulated sugar
- 1 tsp ground cinnamon
- 1/8 tsp ground nutmeg optional
- 3 tbsp butter
- 1/8 tsp salt
- 1/4 cup water (or apple cider for a stronger apple flavor)
- 2 tsp vanilla extract
- 1 tbsp cornstarch (skip for a loose topping)
Instructions
- Peel, core, and dice the apples into small, even cubes or slices.4 medium apples
- In a large saucepan, melt the butter over medium heat. Add the apples, brown sugar, granulated sugar, cinnamon, nutmeg, and salt. Stir to coat.1/4 cup brown sugar, 1/4 cup granulated sugar, 1 tsp ground cinnamon, 1/8 tsp ground nutmeg, 3 tbsp butter, 1/8 tsp salt
- Add 2 tablespoons of the water. Cook for 8 to 10 minutes, stirring often, until the apples are soft but still hold their shape.1/4 cup water
- Whisk the cornstarch with the remaining 2 tablespoons of water until smooth. Stir it in right away and cook for 2 to 3 minutes, until thick and glossy.1 tbsp cornstarch
- Remove from the heat and stir in the vanilla. Let cool before using, since the filling keeps thickening as it cools.2 tsp vanilla extract
Notes
Don’t judge it hot: the filling firms up as it cools. Cool it completely before it goes into any crust or pastry.
Storage: Airtight container in the fridge for up to 1 week. Freeze for up to a couple of months, then thaw overnight in the fridge.
Nutrition
Nutrition information is automatically calculated, so should only be used as an approximation.

For anything where I need a thicker filling, I always use the cornstarch slurry and give it those extra couple of minutes on the heat. The filling thickens even more as it cools, so I try not to judge the final consistency while it’s still hot. And adding the vanilla at the very end makes a noticeable difference!!