This post may contain affiliate links. Please read our disclosure policy.
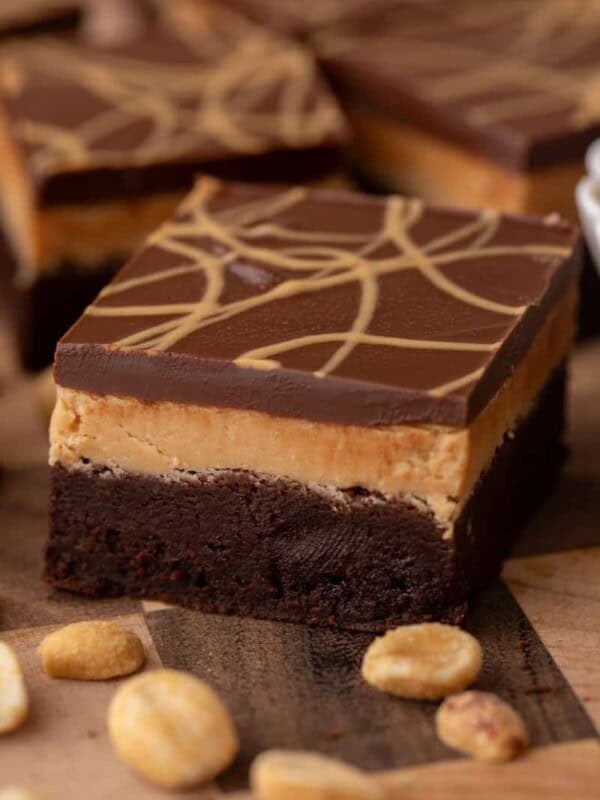
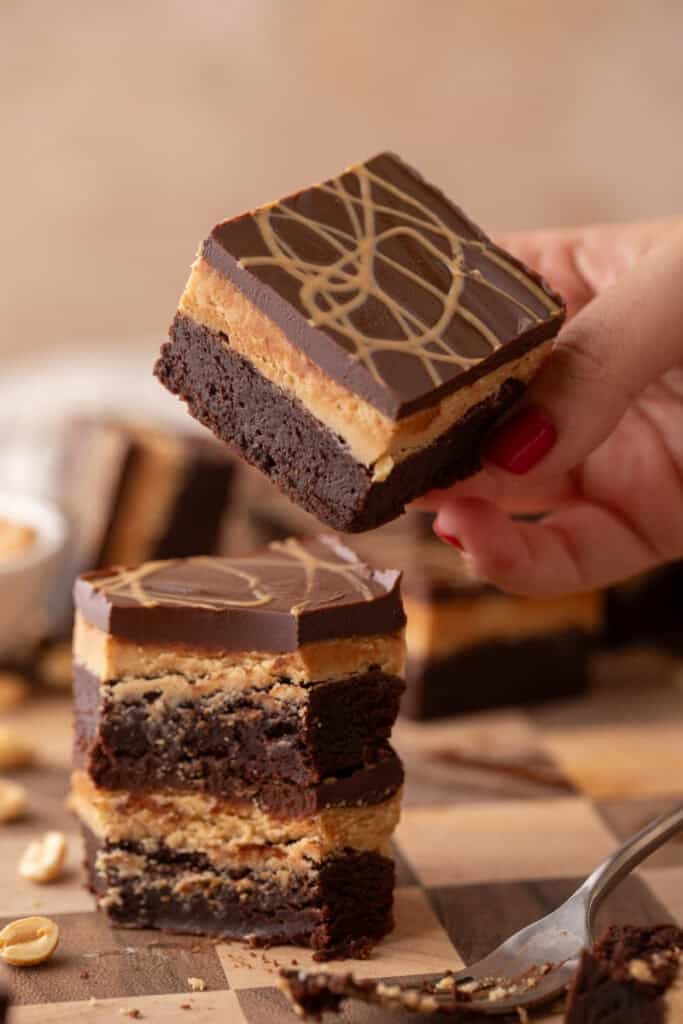
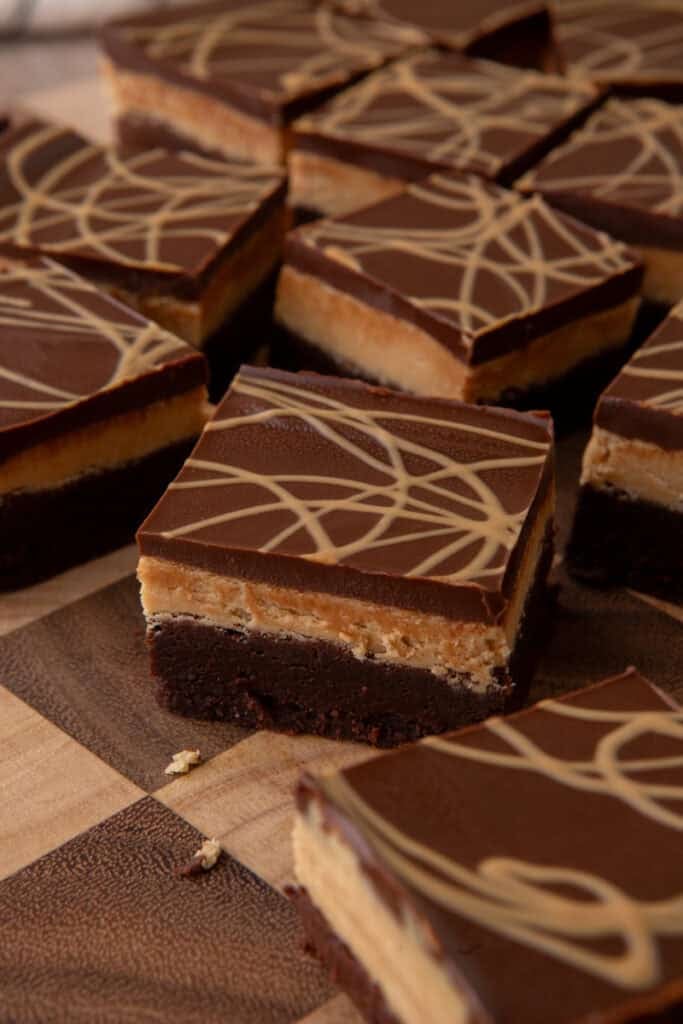
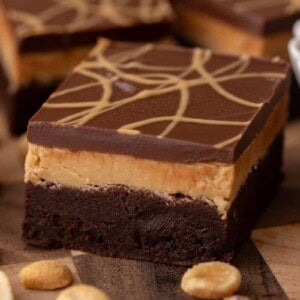
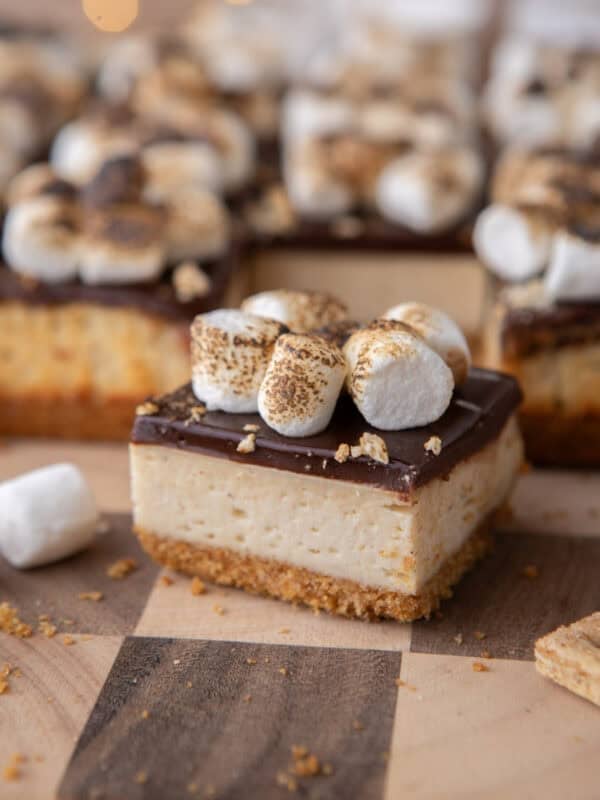
Buckeye brownies are a layered dessert bar made with a fudgy from-scratch brownie base, a thick creamy peanut butter filling, and a smooth chocolate topping, basically all the flavors of a buckeye candy but in a sliceable, shareable bar form. And yes, they are every bit as incredible as that sounds.
Is there anything better than the classic combination of chocolate and peanut butter? No matter in what form you have it, it always creates the best flavor. And if you’re an Ohio native or from the Midwest, you know that buckeye candy tends to stick out a little extra because of the ultra-creamy consistency of that little peanut butter fudge ball.
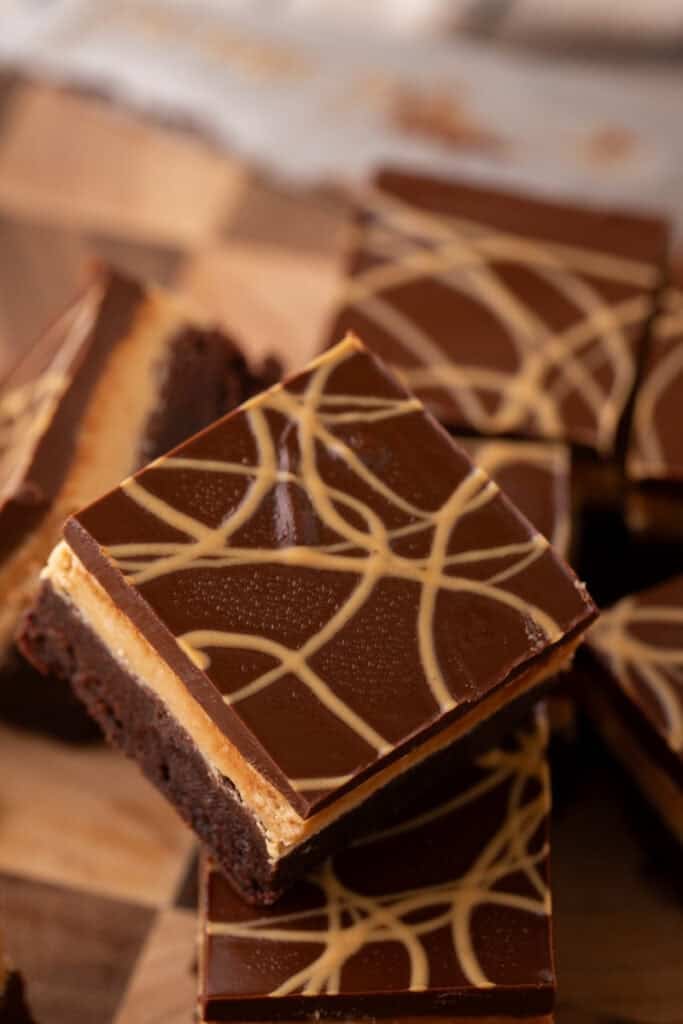
Table of Contents
- What Are Buckeye Brownies?
- Ingredients for this rich chocolate Buckeye Brownies Recipe
- How to make a homemade Buckeye Brownie Recipe from scratch
- Tips and Tricks for the Best Results
- Why do you need to make this Buckeye Brownies Recipe?
- How do I store leftover brownies?
- Frequently asked questions – FAQ
- Buckeye Brownies Recipe
What Are Buckeye Brownies?
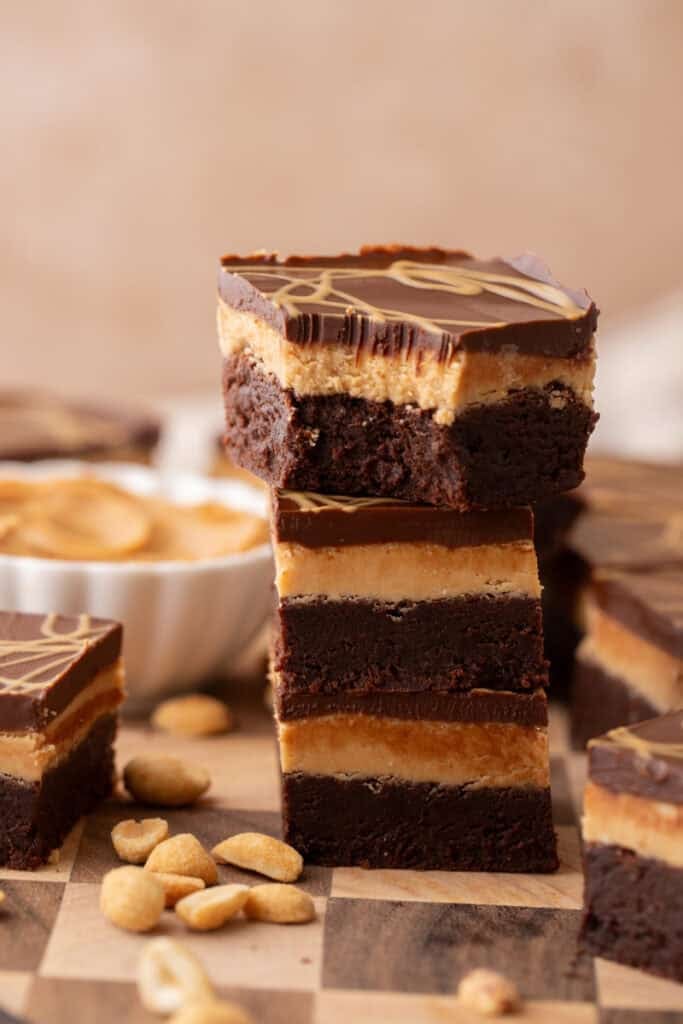
Buckeye brownies are a brownie bar version of the classic buckeye candy, a Midwestern treat made from a ball of peanut butter fudge partially dipped in chocolate so a small circle of peanut butter peeks through the top, resembling the nut of the buckeye tree (the Ohio state tree and mascot of Ohio State University). In brownie form, you get the same three elements stacked in layers: a rich fudgy chocolate brownie on the bottom, a thick peanut butter filling in the middle, and a smooth chocolate topping on top. Every bite hits all three at once.
This recipe skips the boxed mix entirely. The brownie base is made from scratch with 70% dark chocolate, Dutch process cocoa, and a touch of espresso powder, which means you’re getting a deeper, richer chocolate layer than most buckeye brownie recipes out there.
Since you are here and love brownies, check out this Crumbl Buckeye Brownie Cookies Copycat Recipe, these Peanut Butter Buckeye Pretzel Bites, these Crumbl Brownie Batter Cookies, these Crumbl Peanut Butter Brownie Cookies, or these Cream Cheese Cheesecake Brownies.
If you’re on a full brownie kick, don’t miss my roundup of the best brownie recipes with 40+ tested options.
Let’s Chit Chat!
I have made a lot of brownie recipes on this blog but this one genuinely surprised me when I first tested it. I went in thinking the peanut butter layer would be the star, and it absolutely is, but the brownie base ended up being the thing I kept sneaking bites of before the layers were even assembled. The combination of 70% dark chocolate, Dutch process cocoa, and just a little espresso powder creates a depth that boxed mixes honestly cannot replicate, and once you’ve had the from-scratch version you’re going to have a hard time going back.
These are also one of my best make-ahead desserts because they actually get better after a night in the fridge. The layers firm up, the chocolate topping sets perfectly, and the whole thing slices cleanly without falling apart. I’ve brought these to the fire station more than once and they disappear every single time, which is honestly the most reliable quality test I have.
Ingredients for this rich chocolate Buckeye Brownies Recipe
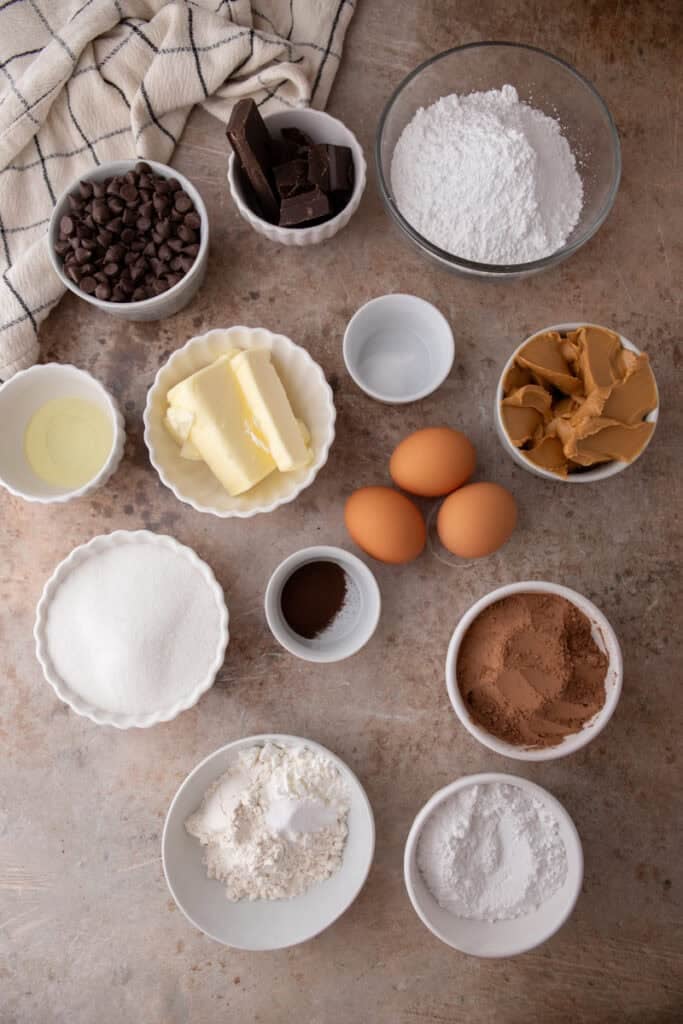
Here are the ingredients you will need to make these peanut butter brownies. Scroll down to the recipe card at the bottom of the page for the detailed ingredient measurements.
Rich Chocolate Brownie
- Unsalted Butter: adds richness, moisture, and helps create a fudgy brownie texture.
- Neutral Oil: enhances moisture and softness without adding flavor.
- 70% Dark Chocolate: provides deep chocolate flavor and contributes to the fudgy consistency. You’ll want it chopped.
- Dutch Process Cocoa Powder: intensifies the chocolate taste with a smooth, rich flavor and deep color.
- Large Eggs: bind the ingredients and add structure while helping the brownies rise slightly.
- Granulated Sugar: sweetens the brownies and also helps create a shiny, crackly top.
- Powdered Sugar: adds extra sweetness while helping achieve a softer, melt-in-your-mouth crumb.
- Vanilla Extract: enhances the overall chocolate and peanut butter flavors.
- All-purpose Flour: provides structure to hold the brownies together.
- Cornstarch: lightens the texture of the chocolate layers.
- Kosher Salt: balances the sweetness and enhances all the other flavors.
- Instant Espresso Powder: adds a little bit of a boost to the chocolate flavor.
Peanut Butter Filling
- Butter: adds creaminess and helps the filling hold its shape.
- Creamy Peanut Butter: is the star of the filling and gives that buckeye flavor.
- Powdered Sugar: sweetens and thickens the peanut butter mixture so it sets properly.
- Vanilla Extract: adds depth and warmth to the peanut butter flavor.
- Salt: offsets the sweetness and enhances the nutty flavor of the filling.
Chocolate Ganache Topping
- Butter: makes the topping glossy and smooth while helping it set with a soft bite.
- Semi-sweet Chocolate Chips: melts into a rich, sweet chocolate layer that contrasts the peanut butter filling and complements the brownie base.
How to make a homemade Buckeye Brownie Recipe from scratch
This is how you can make these homemade brownies. Make sure to scroll down to the recipe card at the end of this post for the oven temp, baking time, and full step-by-step instructions!
Chewy Chocolate Brownie Base
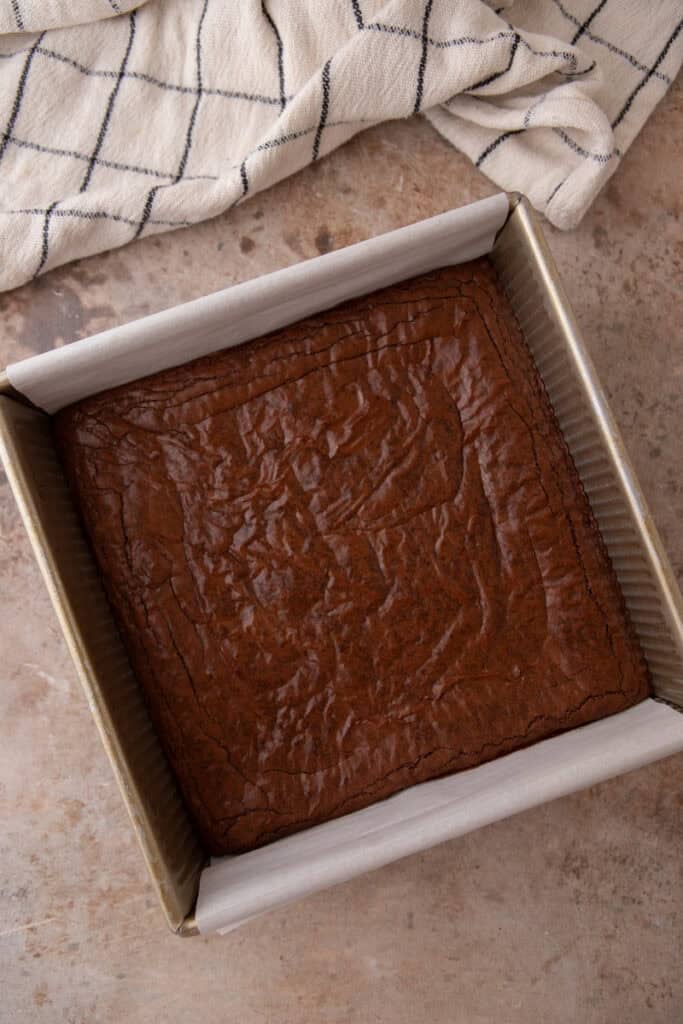
- Preheat the oven and line an 8×8-inch metal baking pan with parchment paper and set it aside.
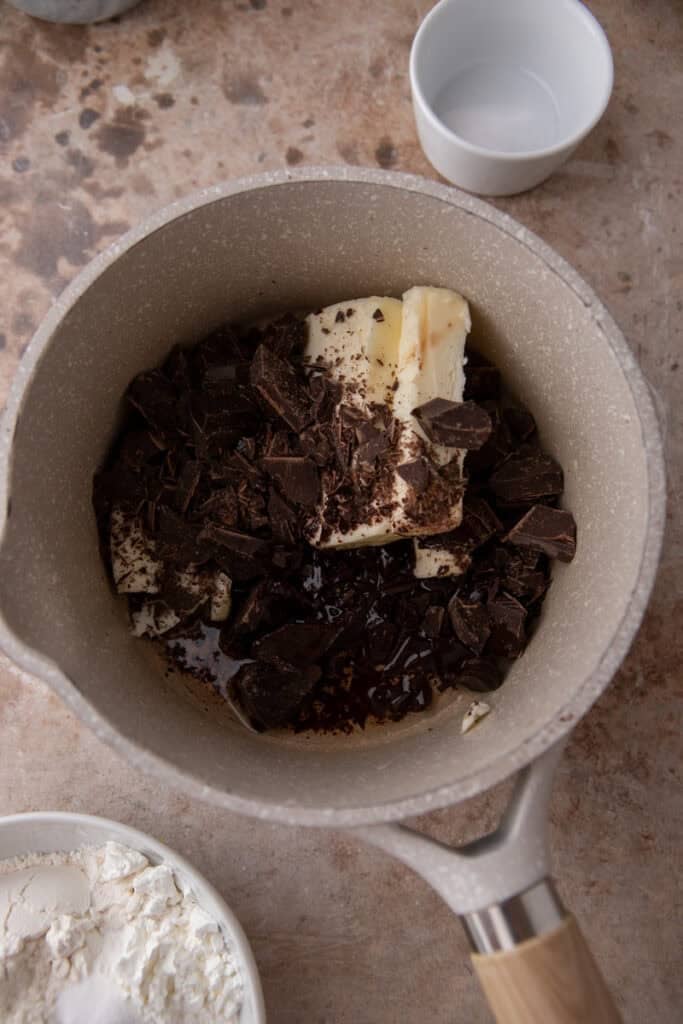
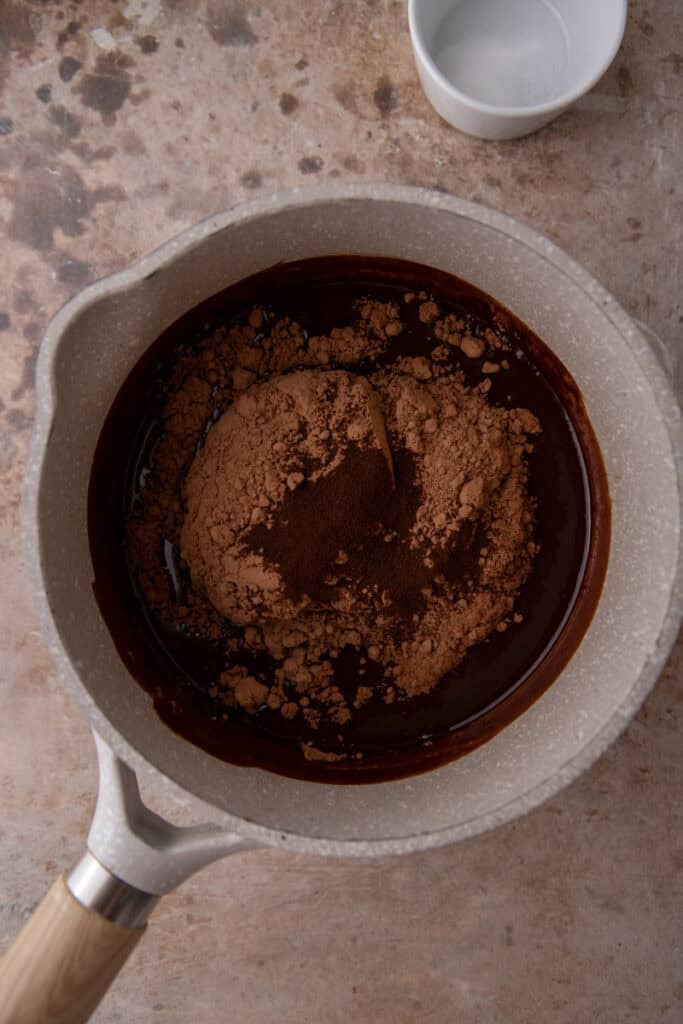
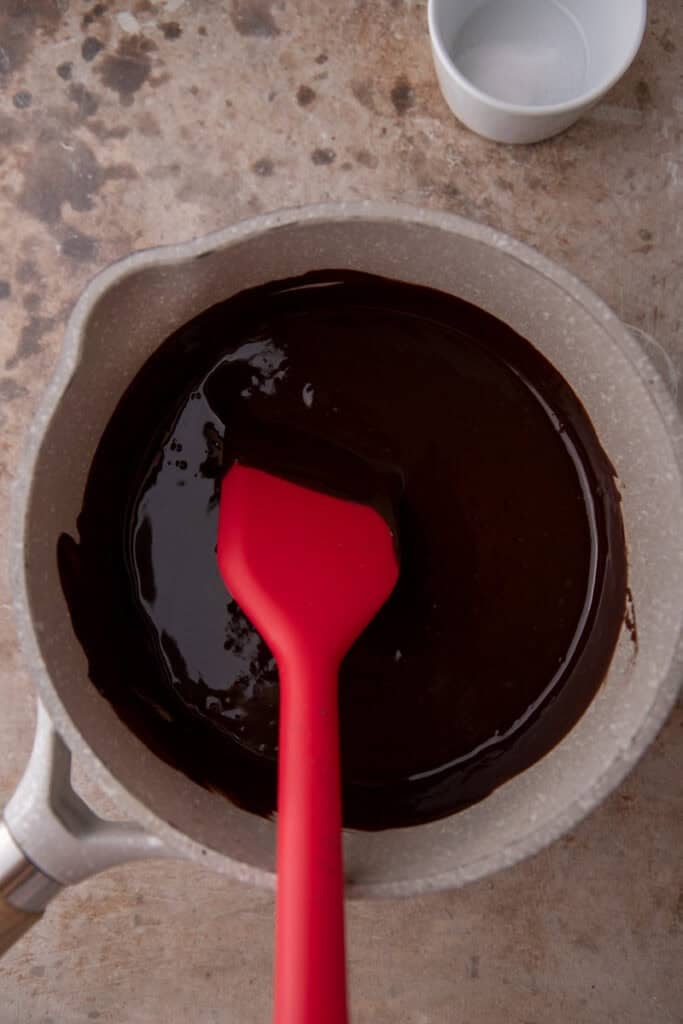
- In a heat-safe bowl, add the butter, chopped dark chocolate, and neutral oil. Warm the mixture gently in the microwave in 30-second intervals (or use a double boiler on the stove), and stir in between until fully melted. Once smooth, mix in the cocoa powder and espresso powder until well combined. Set the mixture aside to cool slightly.
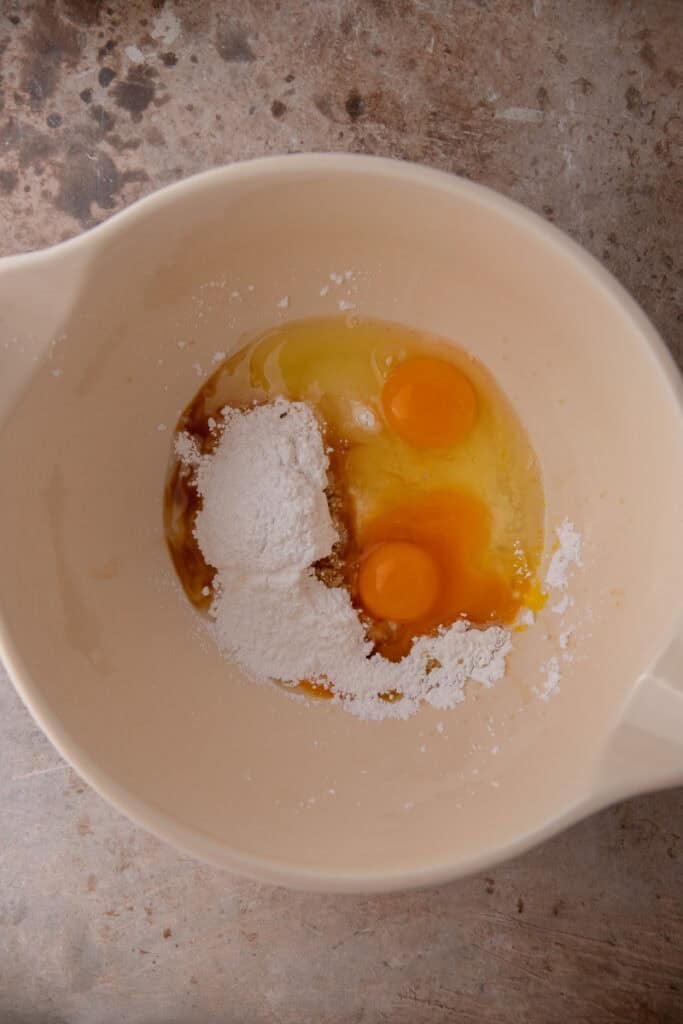
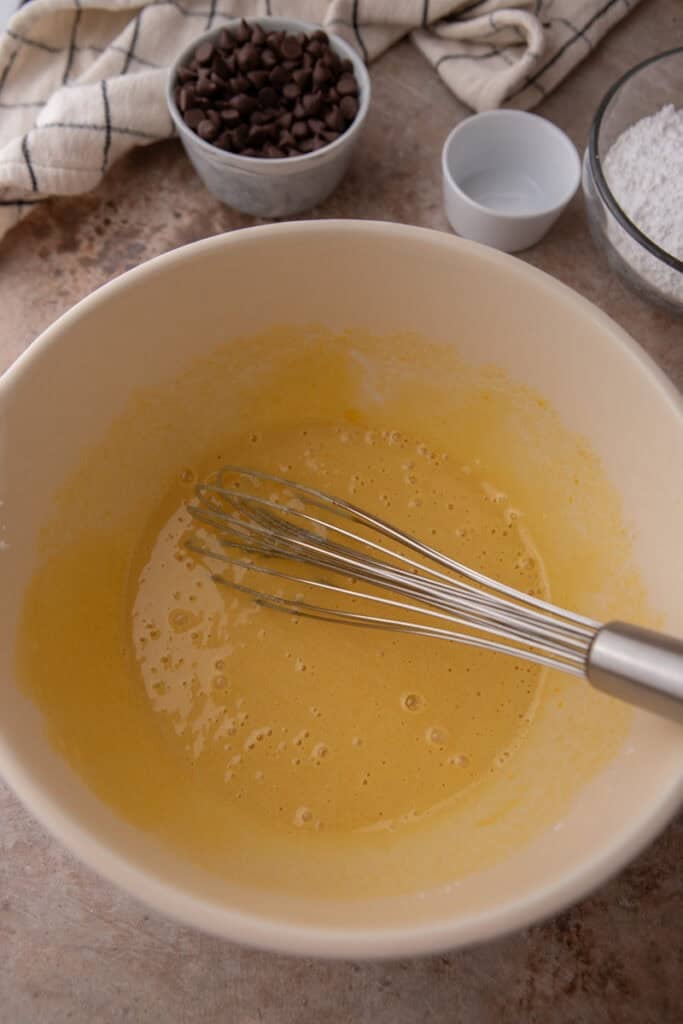
- In a large bowl, combine the eggs, extra yolk, granulated sugar, powdered sugar, and vanilla extract. Using a hand mixer or stand mixer, beat on high speed until the mixture becomes thick, pale, and falls in ribbons when the beaters are lifted.
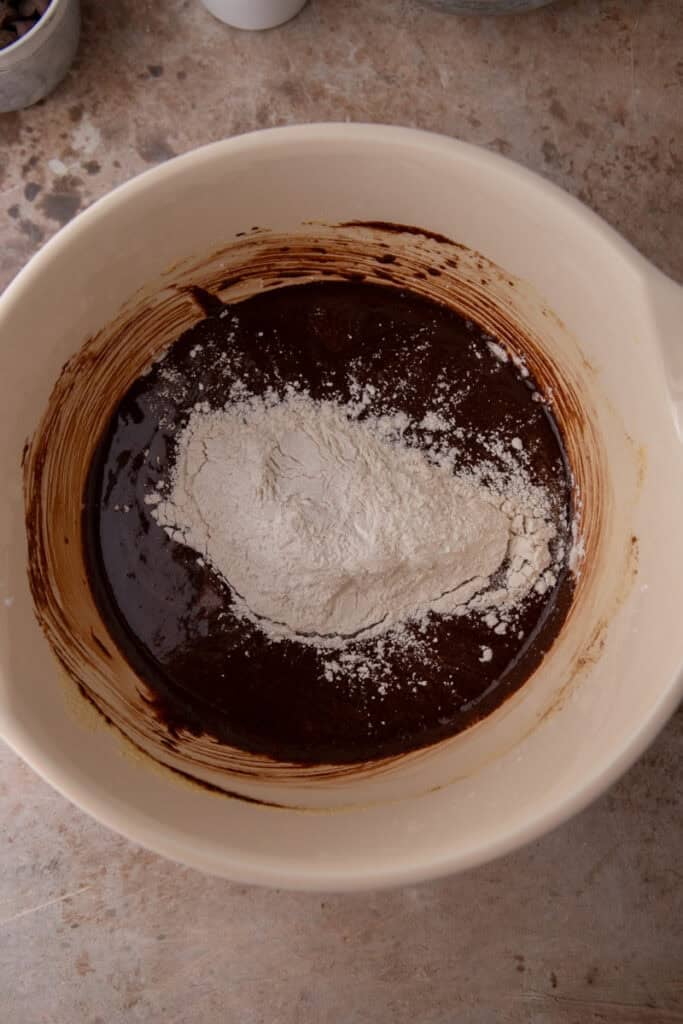
- With the mixer on low speed, gradually stream in the slightly cooled chocolate mixture. Sift the flour, cornstarch, and salt directly into the bowl, then gently fold everything together using a spatula until no dry streaks remain.

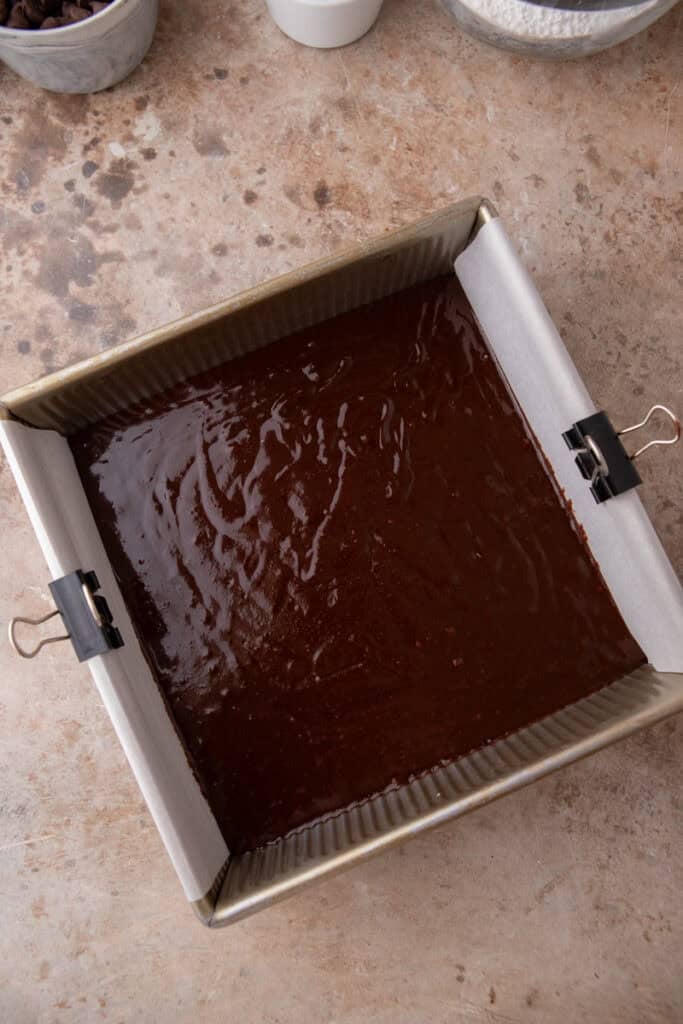
- Transfer the batter to your prepared square pan and smooth the top with a spatula. Give the pan a gentle tap on the counter to release any air bubbles. Bake until a toothpick inserted into the center comes out with a few moist crumbs. Allow the brownies to cool fully in the pan before adding the next layers.
Peanut Butter Layer
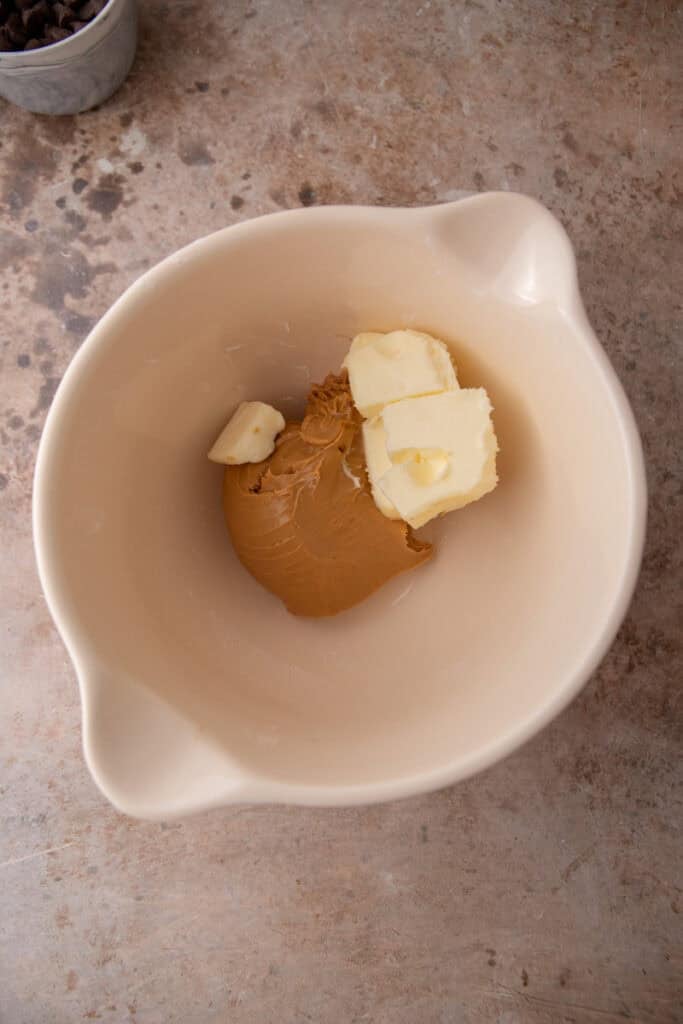
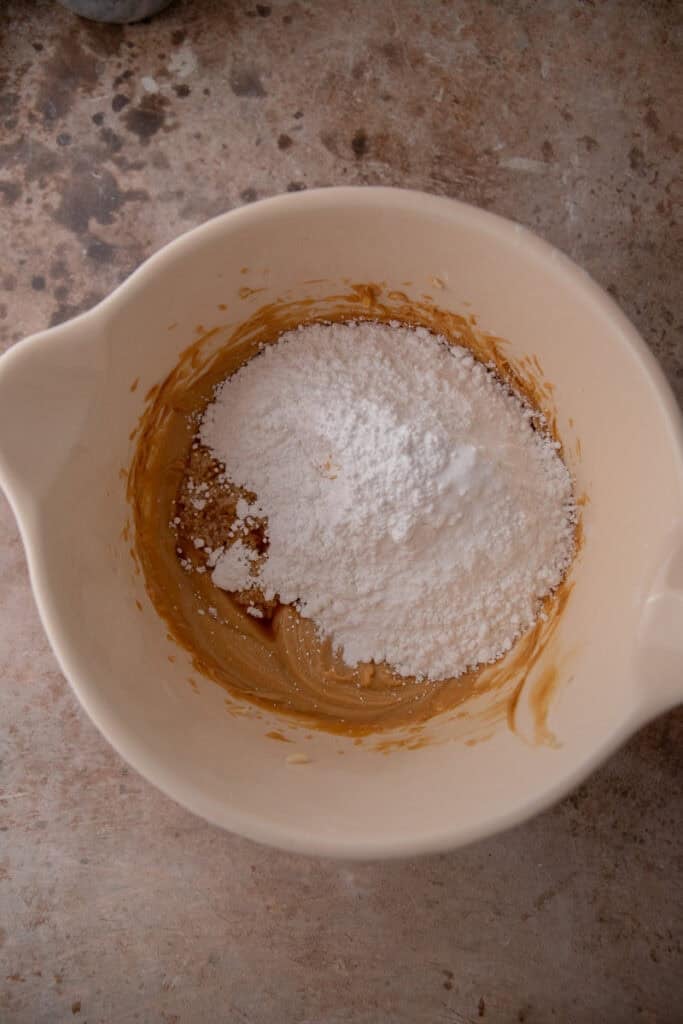
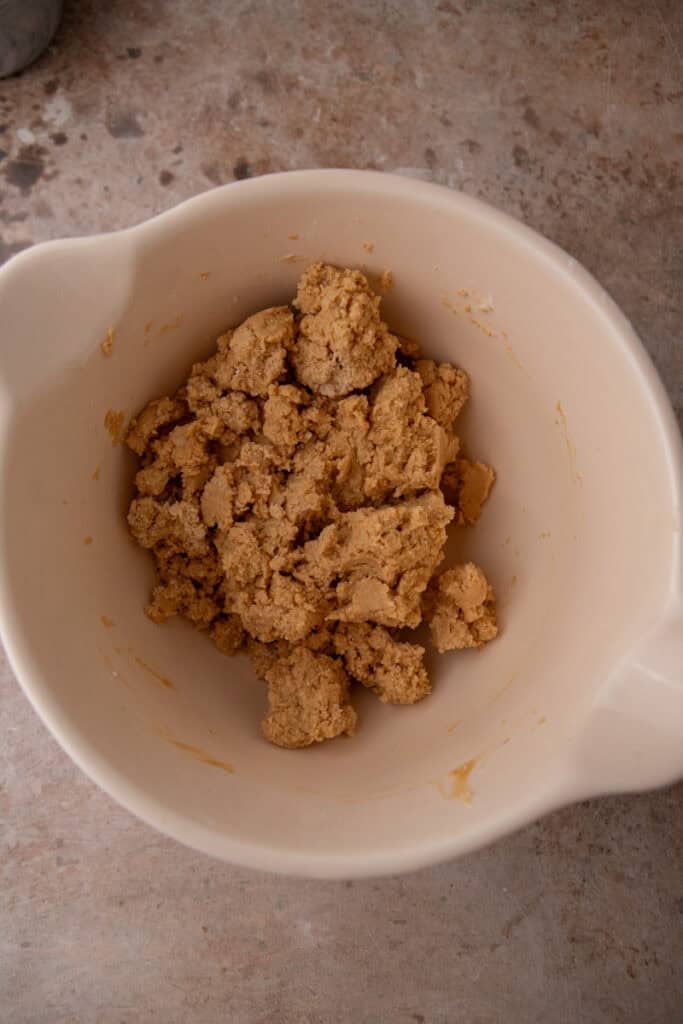
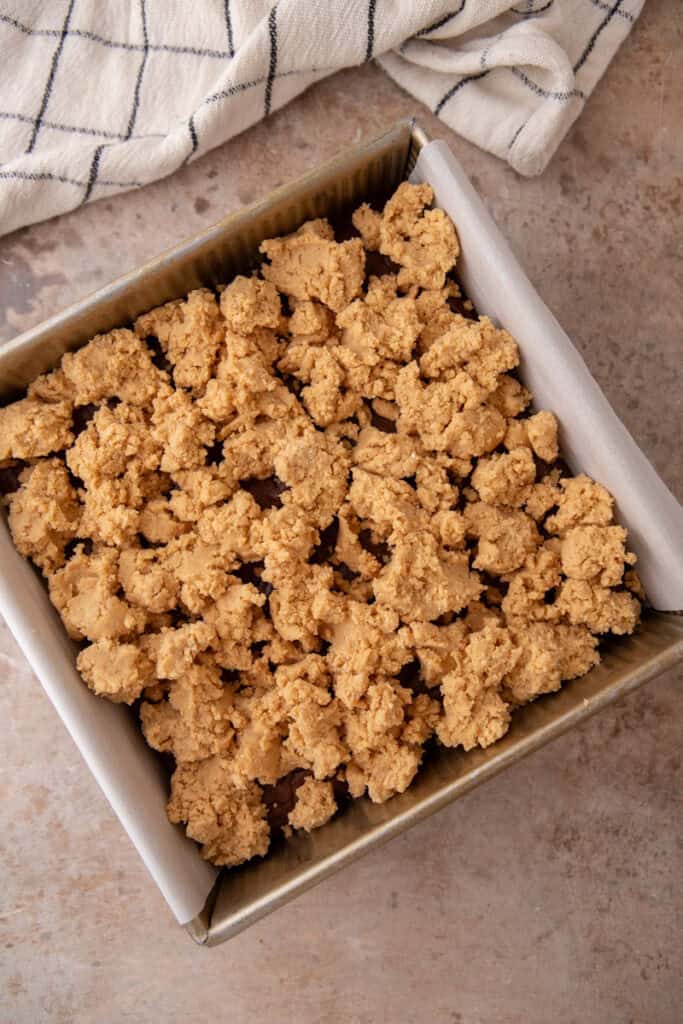
- In a medium bowl, beat the softened butter and peanut butter together until light and creamy. Add the powdered sugar, vanilla, and salt, mixing until the mixture looks crumbly but sticks together when pressed.
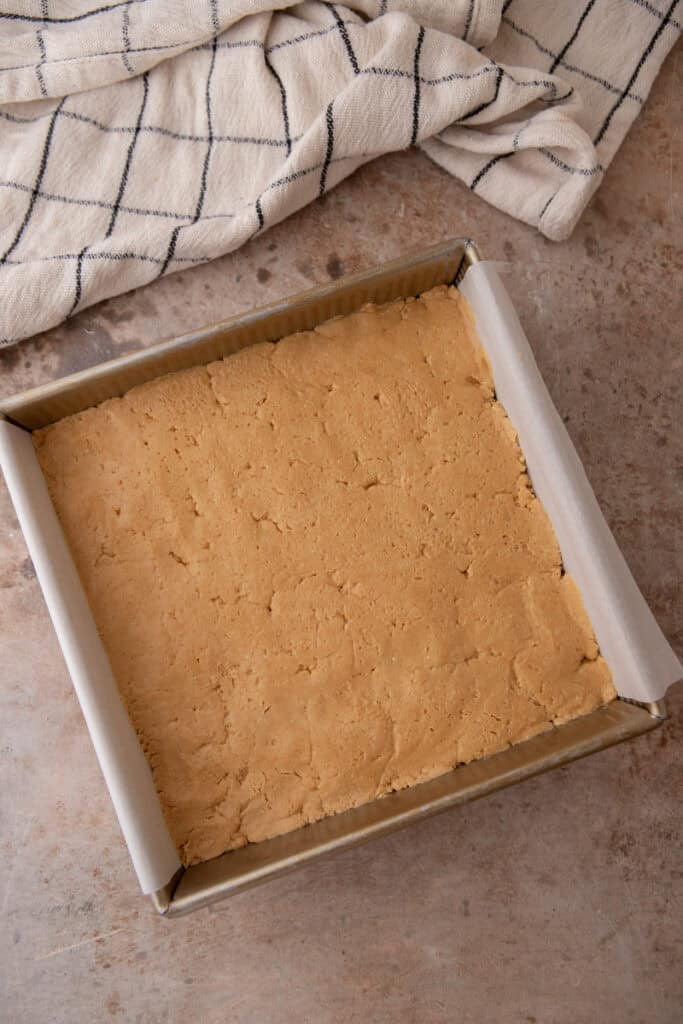
- Once they are completely cool, gently crumble the peanut butter mixture evenly over the top of the brownies then press it on top with parchment or wax paper so it doesn’t stick to your hands.
Chocolate Topping
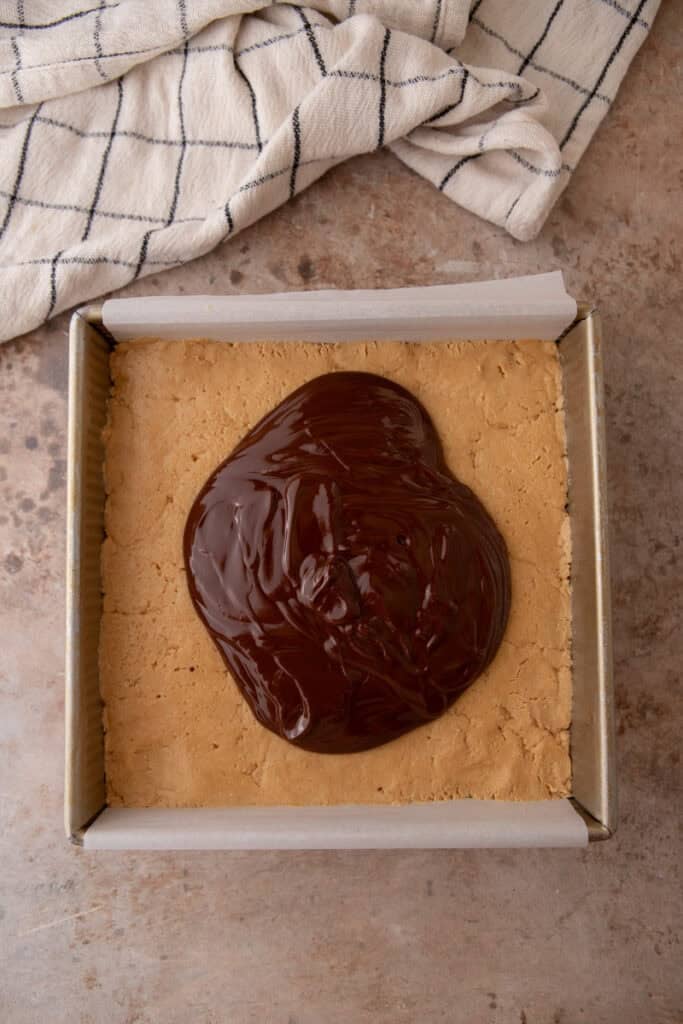
- In a microwave-safe bowl, combine the butter and chocolate chips. Microwave until fully melted and smooth. Allow it to cool slightly so it doesn’t melt the peanut butter layer underneath.
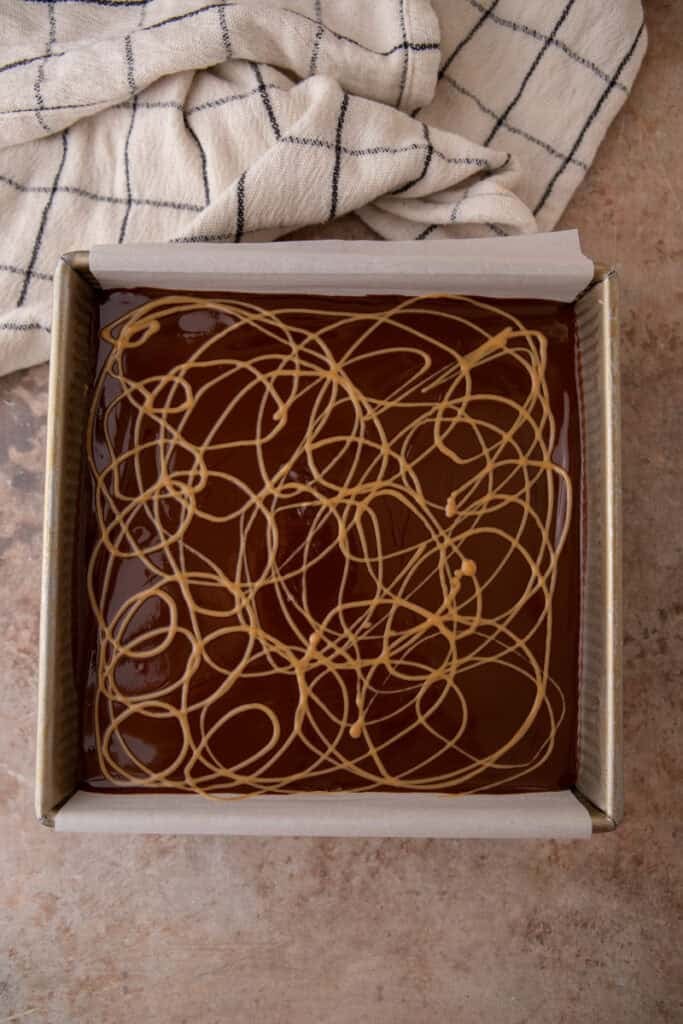
- Pour the melted chocolate in an even layer over the peanut butter layer and gently spread it out using an offset spatula. For a decorative touch, drizzle extra melted peanut butter over the top layer for a swirl effect.
- Place the pan in the fridge to firm up the layers of goodness before slicing. For the cleanest slices, store and cut the buckeye brownies straight from the fridge.
Tips and Tricks for the Best Results
- Use a kitchen scale instead of measuring cups to weigh your ingredients for better accuracy.
- Pass your dry ingredients through a fine-mesh sieve first before adding them to the wet ingredients to avoid clumping.
- Pull your cold ingredients out of the fridge prior to starting the recipe so that they can warm up to room temperature. Room temp ingredients mix better than cold ones.
- Be careful not to overmix the brownie batter. Gently fold the flour in and stop once you see the streaks disappear.
- If your peanut butter layer keeps crumbling when you press it down, add 1 teaspoon of milk at a time and mix until it holds together when pressed without feeling dry. A little goes a long way.
Why do you need to make this Buckeye Brownies Recipe?
- This dessert combines rich, fudgy brownies with a creamy peanut butter layer and a smooth chocolate topping.
- It’s basically a buckeye candy in brownie form. If you’re a fan of Reese’s or buckeyes, this is the best way to enjoy that flavor.
- These hold up great in the fridge so you can make them the night before an event and save yourself the day-of stress.
- These brownies are a hit at parties, potlucks, and holidays.
- Unlike most buckeye brownie recipes that use a box mix, this one is made entirely from scratch, and you can taste the difference. The brownie base alone is worth making on its own.
How do I store leftover brownies?
For easy storage, simply put your leftovers from the buckeye brownie recipe in an airtight container or zip-top bag. You can keep them on the kitchen counter at room temperature for 3 days or in the fridge for 5 days.
For longer storage, you can keep them in the freezer for up to a month or two. If you want to make sure they don’t get freezer burn, wrap them in plastic wrap first before going into the airtight container. You can wrap them either individually or altogether.
Frequently asked questions – FAQ
Yes, you can use a boxed brownie mix for the base if you’re short on time. Just grab a standard box mix, prepare it according to the package directions, and bake it in your 8×8 pan. I’d recommend a higher-quality brand like Ghirardelli for the best result. That said, the from-scratch base in this recipe is genuinely worth making, the espresso powder and dark chocolate give it a depth you just can’t get from a box.
Any neutral-flavored oil works here. Vegetable oil, grapeseed oil, canola oil, and peanut oil are all great options. The oil works alongside the butter to keep these brownies moist and fudgy without competing with the chocolate flavor, so you just want something that won’t add its own taste to the batter.
The peanut butter mixture is meant to be crumbly enough to press into an even layer, not spreadable like frosting. That texture is what gives it that thick, fudgy buckeye filling feel. If it’s so dry it won’t hold together at all when pressed, add 1 teaspoon of milk at a time and mix until it just holds together when squeezed. If you’d prefer a softer, more spreadable peanut butter layer, add an extra tablespoon of peanut butter and mix well before adding any milk.
Use a commercial creamy peanut butter like Skippy or Jif. These are stabilized so the oil doesn’t separate, which means your filling will hold its shape and texture properly after chilling. Natural peanut butter (the kind where the oil floats to the top) is not recommended here because the inconsistent texture makes the filling harder to work with and can affect how it sets. Crunchy peanut butter is fine if you want some extra texture throughout the filling, just know it will change the smooth, fudge-like feel of the classic buckeye.
Buckeye brownies are a layered bar, not a swirled or marbled brownie. The peanut butter is made into a firm fudge filling and pressed on as a completely separate layer between the brownie and the chocolate topping, exactly like the inside of a buckeye candy. Regular peanut butter brownies typically mix peanut butter directly into the batter or swirl it on top before baking. The experience is completely different: with buckeye brownies you get a distinct layer of thick peanut butter fudge in every bite rather than a subtle peanut butter flavor throughout.
PASTE: Yes! The easiest option is to slice the finished slab into small 1-inch squares after chilling, which works great for party trays and requires no extra work. If you want individually baked cup-shaped brownie bites, pour the batter into a well-greased mini muffin tin and start checking for doneness around 10 to 12 minutes. Pull them when a toothpick comes out with moist crumbs. Once cooled, press a small disk of peanut butter filling onto each one and spoon the melted chocolate topping over each individually. It takes more time but looks really impressive on a dessert board.
Yes, the chocolate topping is flexible. The recipe uses semi-sweet chocolate chips, which gives you a balanced finish that doesn’t compete too hard with the peanut butter layer. Milk chocolate will make the topping noticeably sweeter and a little creamier. Dark chocolate chips (60% or higher) will add a more intense, slightly bitter edge that actually works really well if your peanut butter filling is on the sweeter side. Avoid using chocolate bars made for eating unless they’re labeled as baking chocolate, since the fat content is different and may affect how the topping sets.
Buckeye Brownies Recipe
Ingredients
- ½ cup butter salted or unsalted
- 3 tbsp neutral oil vegetable or grape seed oil
- 4 oz 70% dark chocolate, chopped
- 2/3 cup Dutch process cocoa powder
- 2 large eggs room temp
- 1 egg yolk
- 1 cup granulated sugar
- ½ cup powdered sugar
- 1½ tsp vanilla extract
- ½ cup all-purpose flour
- 1 tbsp cornstarch
- ½ tsp kosher salt
- 1 tsp instant espresso powder
Peanut Butter Filling
- 5 tbsp butter softened at room temperature
- 3/4 cup peanut butter
- 1 & 1/2 cup powdered sugar
- 1/2 tsp vanilla extract
- 1/4 tsp salt
Chocolate Topping
- 5 tbsp butter salted or unsaled
- 1 cup semi-sweet chocolate chips
Instructions
- Preheat to 350°F. then line an 8×8-inch metal pan with parchment and set aside.
- In a heatproof bowl, combine butter, chopped chocolate, and oil. Melt gently (microwave in 30 sec bursts or over a double boiler), then stir in cocoa powder and the espresso powder until smooth. Let it cool slightly.½ cup butter, 3 tbsp neutral oil, 4 oz 70% dark chocolate, chopped, 2/3 cup Dutch process cocoa powder, 1 tsp instant espresso powder
- In a large bowl, beat eggs, yolk, granulated sugar, powdered sugar, and vanilla on high speed for 3-6 minutes until thick, pale, and ribbon-y. This is where that shiny crackle top is born!2 large eggs , 1 egg yolk, 1 cup granulated sugar, ½ cup powdered sugar, 1½ tsp vanilla extract
- With the mixer on low, slowly pour in the slightly cooled chocolate-butter mixture.
- Sift the dry ingredients into the brownie batter mixture. Gently fold into the batter with a spatula.½ cup all-purpose flour, 1 tbsp cornstarch, ½ tsp kosher salt
- Pour the batter into the prepared pan, smooth the top, and tap the pan once on the counter. Bake 23-25 minutes, or until a toothpick comes out with moist crumbs
- Let the brownies cool completely in the pan before adding any toppings. Adding the peanut butter layer to warm brownies will cause it to soften and lose structure.
Peanut butter layer
- In a medium bowl, whip together the softened butter and peanut butter using a hand mixer until smooth and fluffy.5 tbsp butter, 3/4 cup peanut butter
- Add the powdered sugar, vanilla extract, and salt, and mix until the mixture becomes crumbly but cohesive, it should hold together when pressed.1 & 1/2 cup powdered sugar, 1/2 tsp vanilla extract, 1/4 tsp salt
- Once the brownies have cooled, crumble the peanut butter mixture over the cooled down brownie then press that mixture evenly over the surface of the brownies. Use a piece of wax paper or parchment paper to help press it down smoothly and evenly without sticking.
Make the chocolate topping
- In a microwave-safe bowl, melt the butter and chocolate chips in 20–30 second intervals, stirring between each, until smooth and glossy. Let it cool for about 5 minutes so it doesn’t melt the peanut butter layer.5 tbsp butter, 1 cup semi-sweet chocolate chips
- Pour the melted chocolate over the peanut butter layer and spread it out gently with an offset spatula. If desired, drizzle some extra melted peanut butter over the top for a pretty swirl or decorative finish.
- Refrigerate the brownies for about 30–60 minutes to set the layers before slicing. Store in the fridge for the cleanest cuts!
Nutrition
Nutrition information is automatically calculated, so should only be used as an approximation.
It was a fairly easy recipe to make, and I loved how you did the step-by-step. Those brownies are so good. Everybody loves them.
I’m so glad to hear this! 🙂
I made 1 1/2 times the chocolate top layer for a nice thick coating.
I absolutely love that!
I made these as soon as you shared them on Instagram and they were amazing!!! Thank you