
This post may contain affiliate links. Please read our disclosure policy.
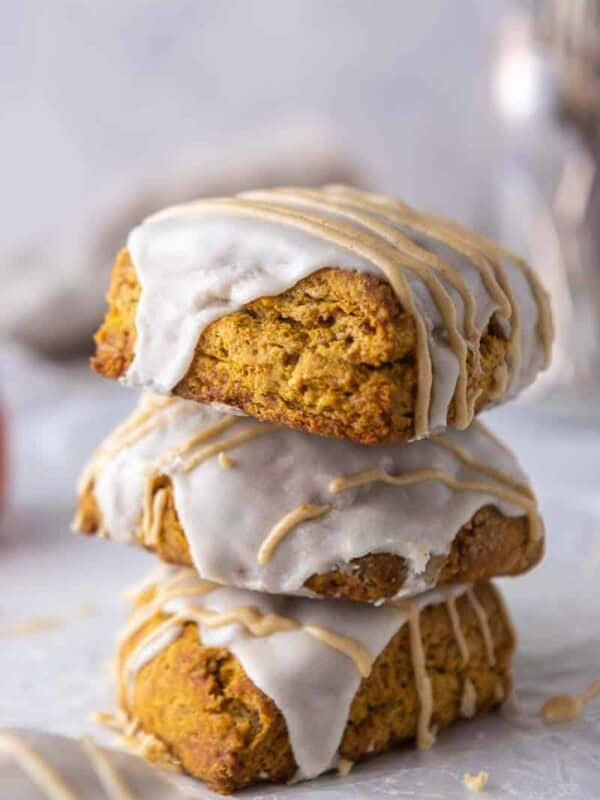
Starbucks stopped selling the pumpkin scone in 2023 and never brought it back. They pointed everyone toward the pumpkin cream cheese muffin they replaced it with, which is genuinely good, but it is not the same thing. Starbucks pumpkin scones were soft, heavily spiced, and finished with two separate glazes, and if that is the specific thing you are missing, this is the recipe that gets you back there.
I developed this one in 2021, back when I could still walk into a Starbucks, buy the real one, and taste them side by side on my counter. That matters more now than it did then, because nobody developing this recipe today can do that comparison. Mine came out softer than the original, and the icing still sets into that thin crackly shell you can tap with a fingernail. If you want the other bakery case item while you are at it, my copycat Starbucks blueberry scones use the same dough method.
Quick Look At These Starbucks Pumpkin Scones
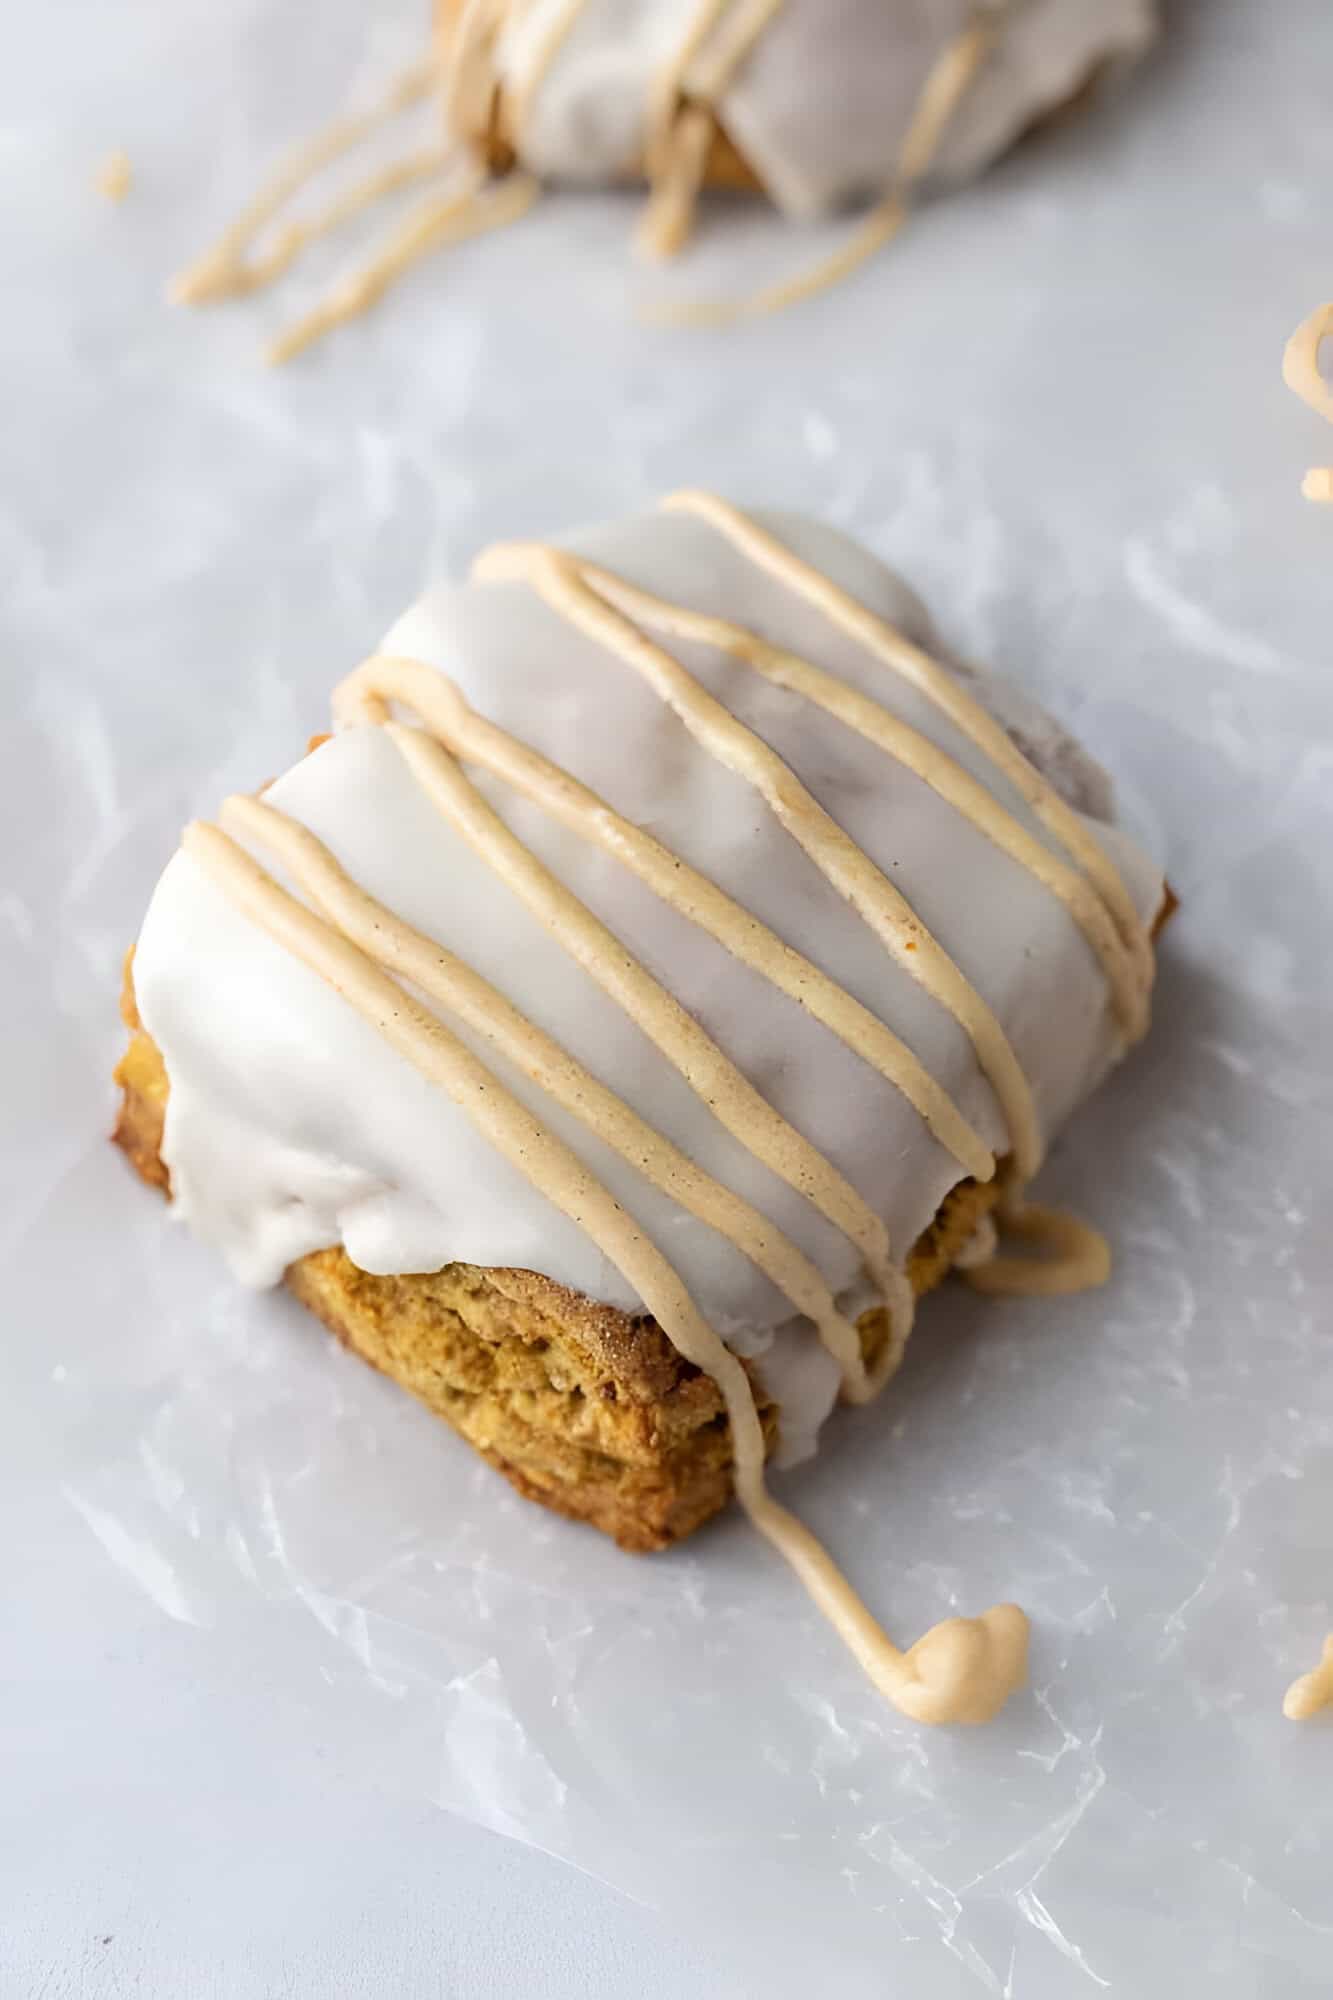
- 🎃 What it is : A copycat of the discontinued Starbucks pumpkin scone, spiced and finished with two glazes.
- ⭐ Why it works : Every wet ingredient goes in cold, then the cut scones chill in the freezer before baking.
- 💛 Why you’ll love it : Trader Joe’s powdered sugar uses tapioca starch, so the glaze has no cornstarch aftertaste.
- ⚠️ What to watch for : A thin glaze will never set firm. Add powdered sugar a spoonful at a time until it holds.
- 🍳 Pan notes : Cut 8 wedges from a round, or 8 rectangles like the bakery case. Nine smaller ones bake in 14 minutes.
- 🎯 How close to the original : Same spice profile and double glaze. Mine is noticeably softer and less sweet.
- ⏱️ Ready in : 15 minutes hands-on, 30 minutes in the freezer, 17 minutes in the oven.
Why These Starbucks Pumpkin Scones Work
Most pumpkin scone recipes fail in the same place. Pumpkin puree is wet, and wet dough plus warm butter gives you a flat, cakey scone instead of a tall tender one. The fix is temperature, twice.
First, the pumpkin, milk, egg, and vanilla get whisked together and go straight back into the fridge while you deal with the dry ingredients. Second, and this is the step people skip, the cut scones go into the freezer for 20 to 30 minutes before they ever see the oven. Cold butter hits a hot oven and releases steam, and that steam is what pushes the layers apart. Skip the chill and you get a scone that spreads instead of rising.
The other thing I want to be upfront about: I tested this against the real thing in 2021, which you cannot do anymore. I bought the Starbucks scone, ate half, and worked backward from there over more batches than I want to admit. What I landed on is softer and less sweet than the original, which was the one change I made on purpose. If you like this style of copycat baking, the rest of my Starbucks copycat recipes made at home are built the same way.
Table of Contents
Key Ingredients
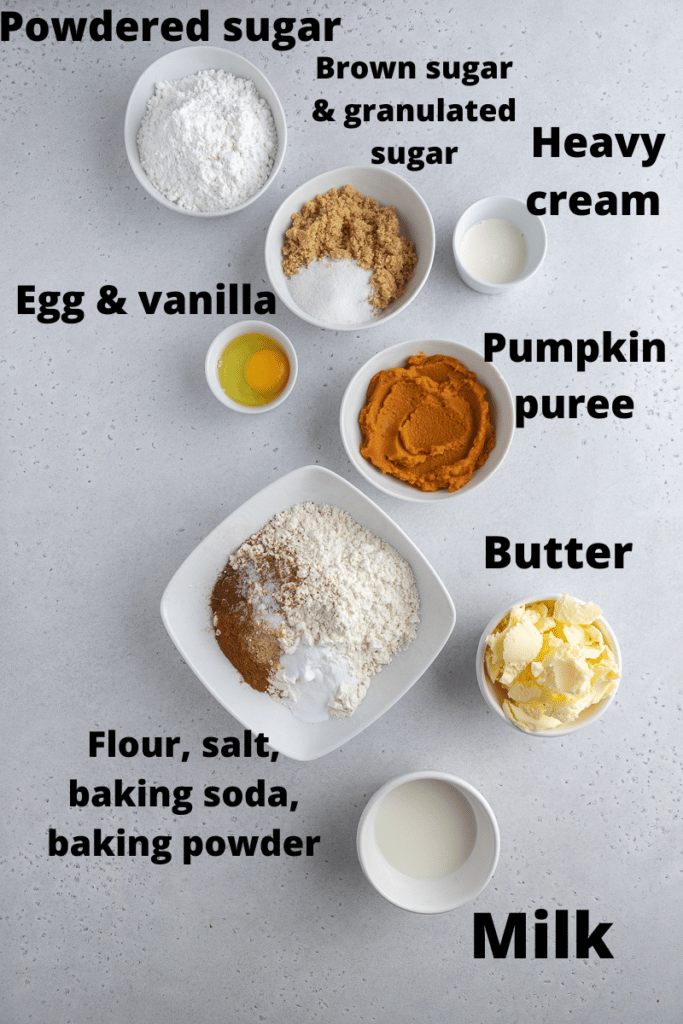
Here is what matters. Full measurements are in the recipe card.
- Flour. All purpose, spooned and leveled. Scooping straight from the bag packs in too much and dries the scone out.
- Brown sugar and granulated sugar. Brown carries the spice, granulated keeps the crumb from going dense.
- Cinnamon, cloves, ginger, nutmeg. Four separate spices, not a blend, so you can push the ginger. If you would rather measure once, my homemade pumpkin pie spice blend subs in cleanly at 3 teaspoons total.
- Baking powder and baking soda. Two teaspoons of baking powder does the lifting. The quarter teaspoon of soda is only there to react with the pumpkin and brown sugar for browning.
- Butter. Cold and cubed, salted or unsalted. If you are using salted, keep the added salt as written.
- Pumpkin puree. Puree, not pie filling. Cold from the fridge. If you have most of a can left, it goes into my bakery style pumpkin chocolate chip muffins the next morning.
- Powdered sugar. This is the one I care about. Most powdered sugar is cut with cornstarch, and you can taste it in a glaze this thick. Trader Joe’s organic uses tapioca starch instead. Same price, no chalky finish.
- Heavy cream. Thins the glaze without watering down the flavor the way milk does.
Substitutions And Additions
- Gluten free. A reader named Katie made these with Bob’s 1:1 baking flour and added an extra half teaspoon of baking powder. She also swapped a chia egg and non dairy milk in the same batch and they still worked.
- More pumpkin flavor. If yours taste too subtle, bump the puree to ¾ cup and pull the milk back to 1 tablespoon. You can also add half a teaspoon of pumpkin pie spice to the dough. This came directly from a reader question and I have made it that way since.
- Smaller scones. Cut nine or ten instead of eight and bake for 14 minutes. Good if you want them closer to the mini size Starbucks used to sell.
- Buttermilk. Swap it one for one for the milk. It gives a slight tang and a softer crumb, the same way it does in my small batch pumpkin biscuits for two.
Step by Step Instructions
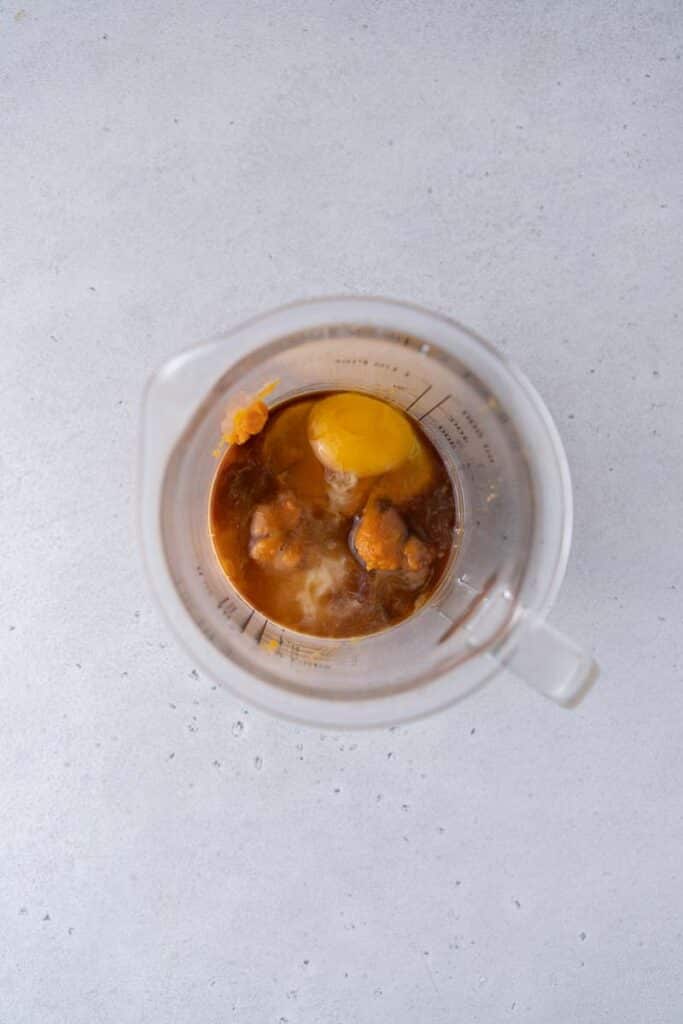
- Whisk the pumpkin, milk, egg, and vanilla together and put the bowl back in the fridge.
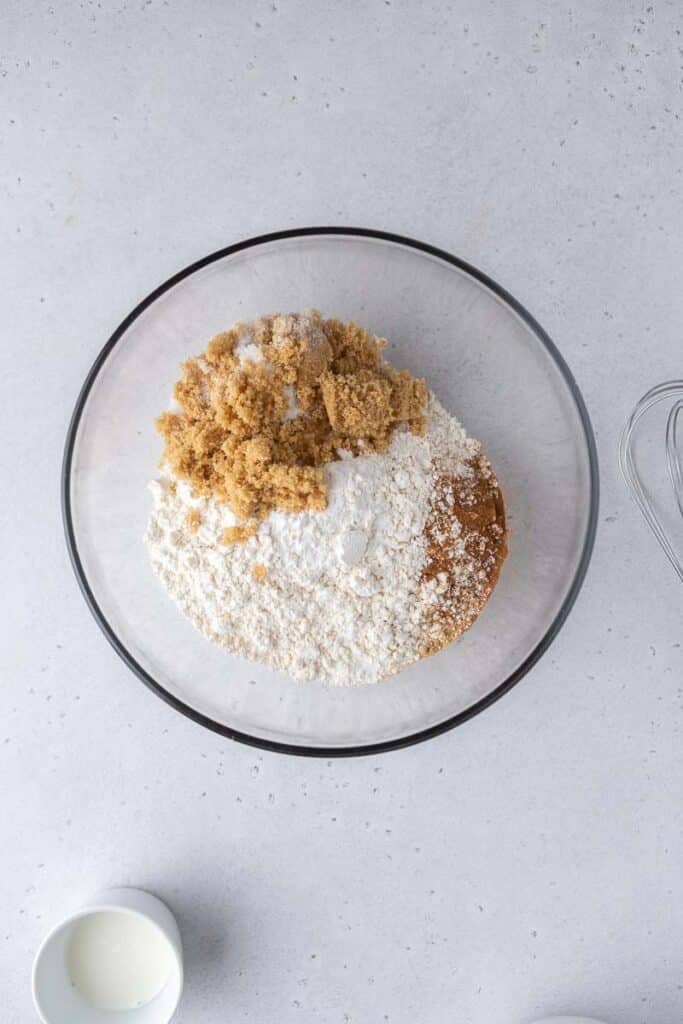
- Whisk all the dry ingredients in a large bowl.
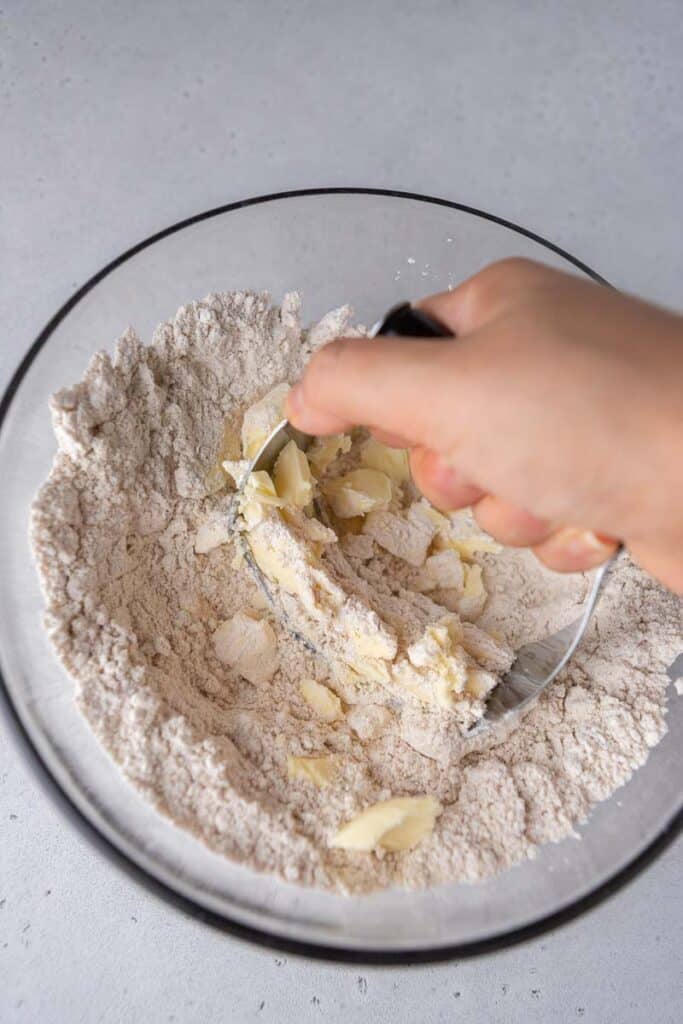
- Cut the cold butter in until the mixture looks like coarse crumbs.
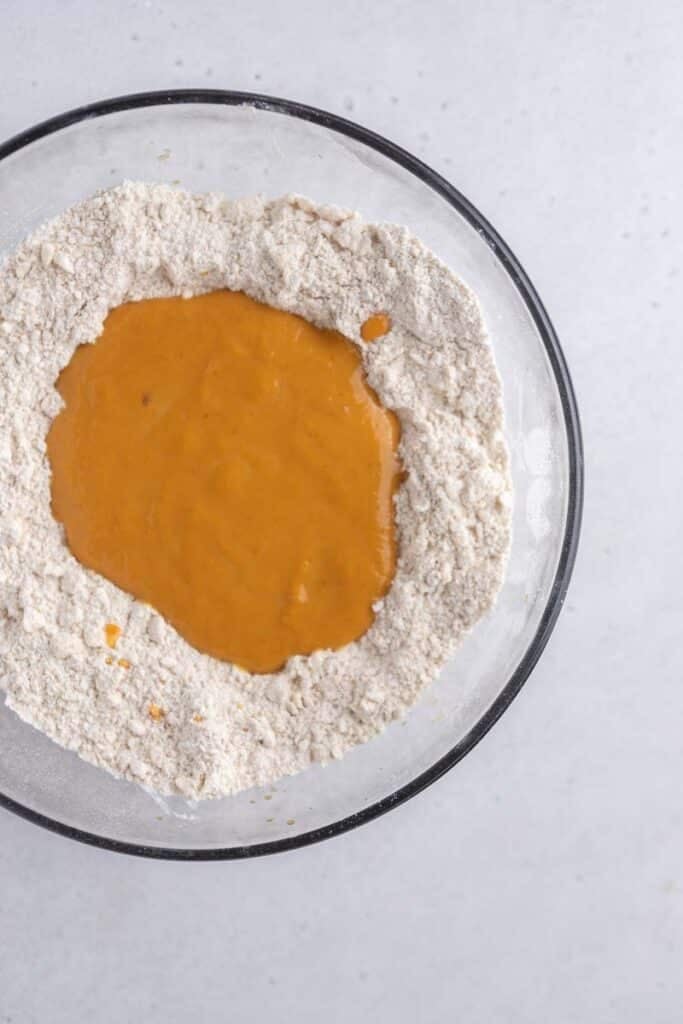
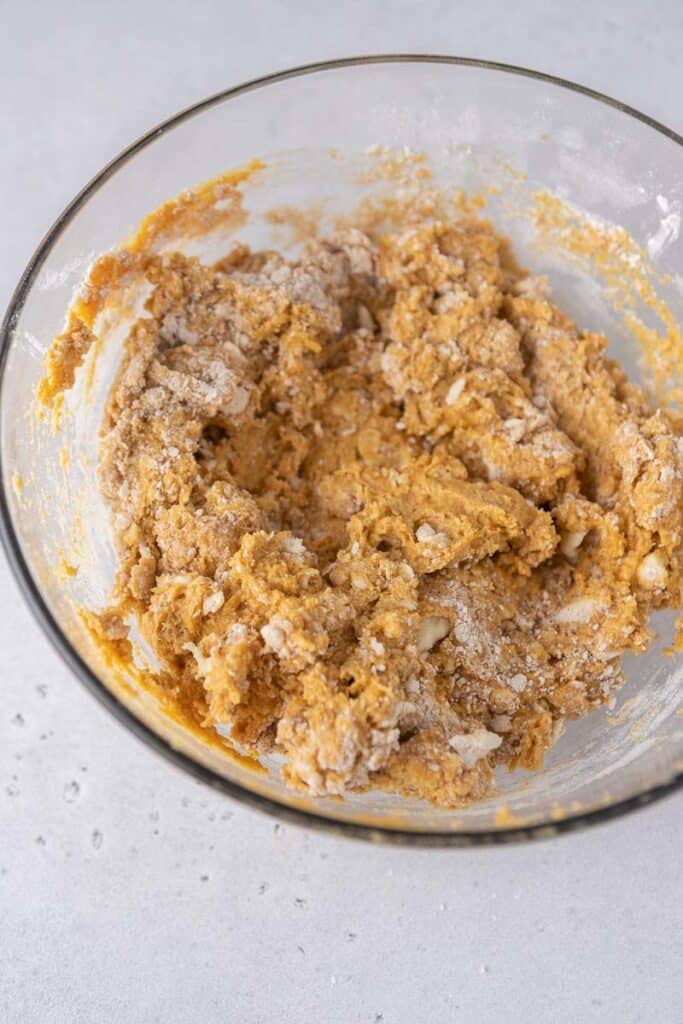
- Make a well, pour in the cold pumpkin mixture, and stir just until a soft dough forms. Dry patches are fine.
- Fold the dough in half, turn, and fold again. Twice is enough. This is the same folding method I use for my buttery chocolate chip scones with crisp edges.
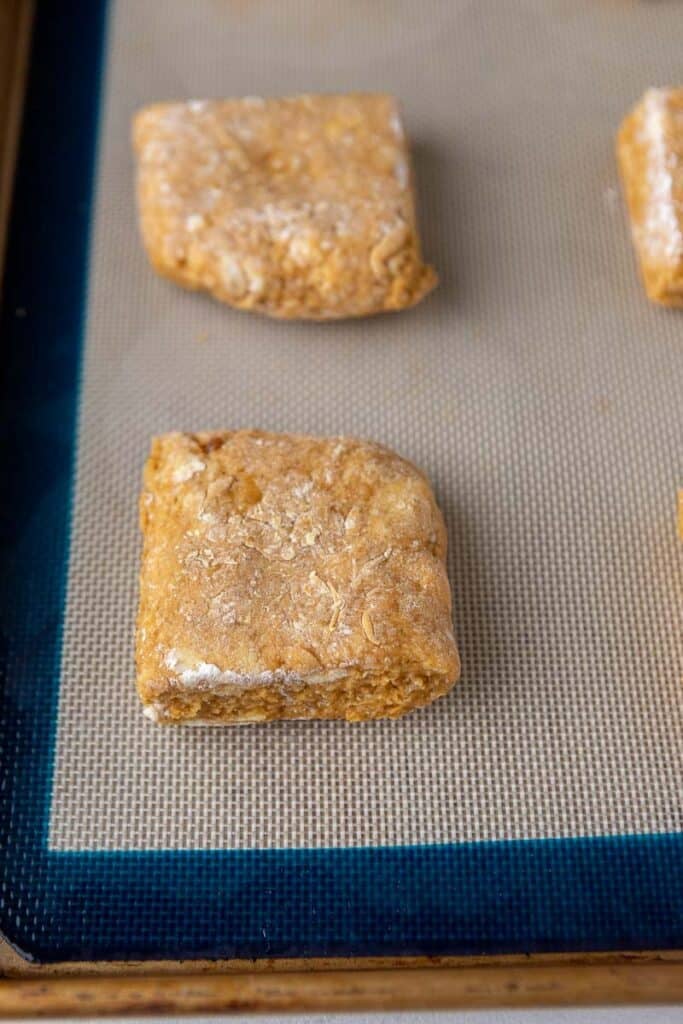
- Shape into a 1 inch round and cut 8 wedges, or a 6×8 inch rectangle and cut 8 bars.
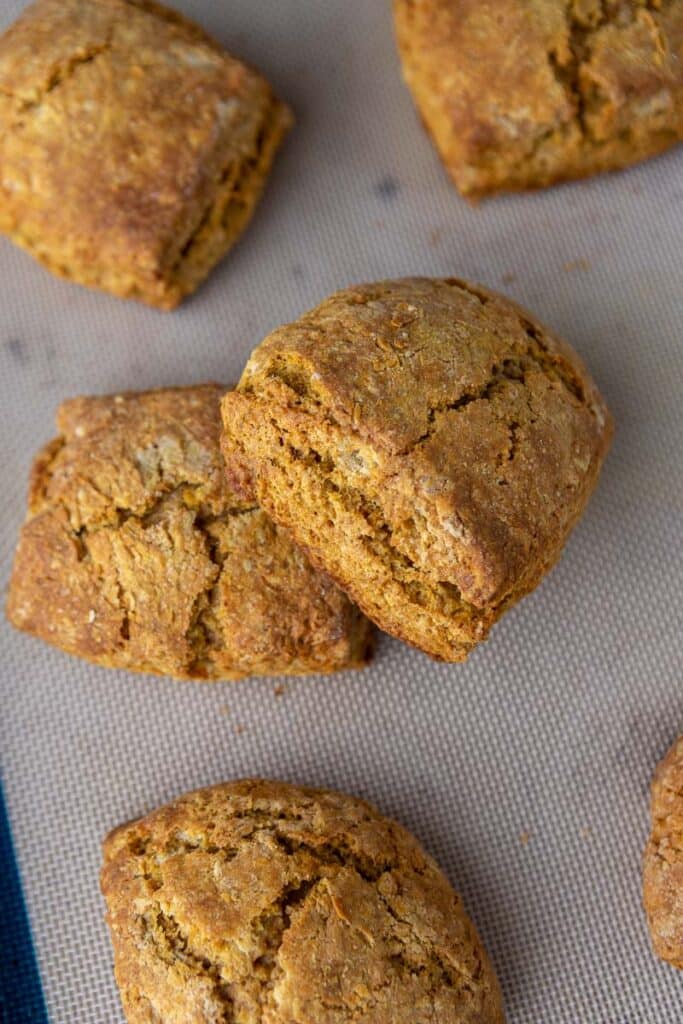
- Freeze the cut scones for 20 to 30 minutes, then bake at 400F for 17 to 18 minutes.
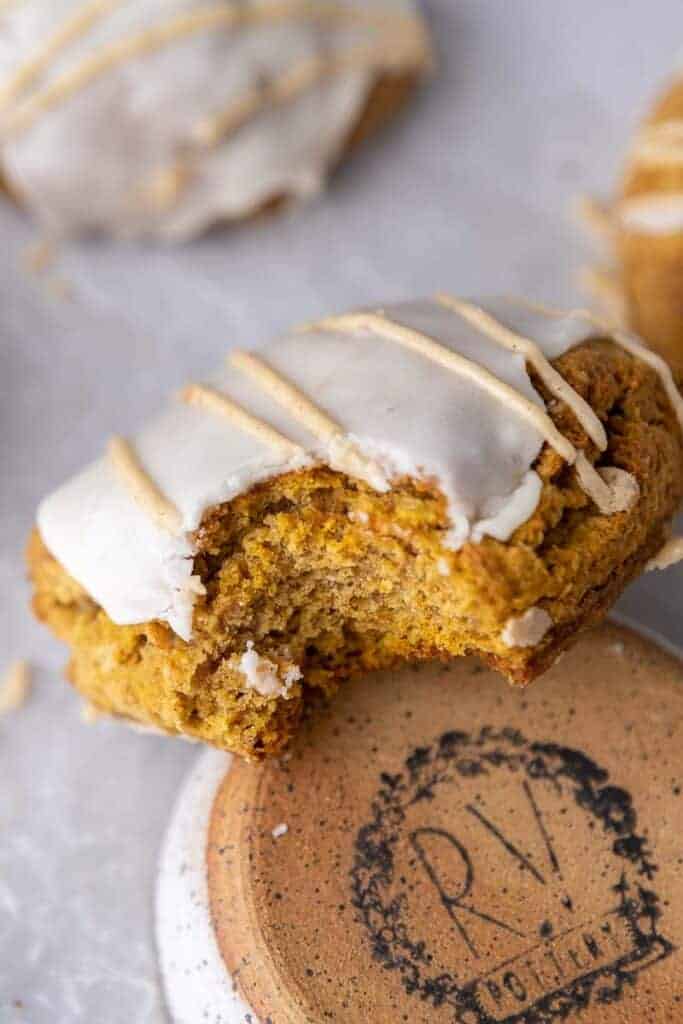
- Cool completely before glazing. Warm scones melt the glaze straight off the top.
For the glaze: whisk the powdered sugar with 2 tablespoons of cream, pull out 1 tablespoon of it for the spiced drizzle, then stir the puree, pumpkin pie spice, and extra powdered sugar into that tablespoon.
Starbucks Pumpkin Scones FAQs
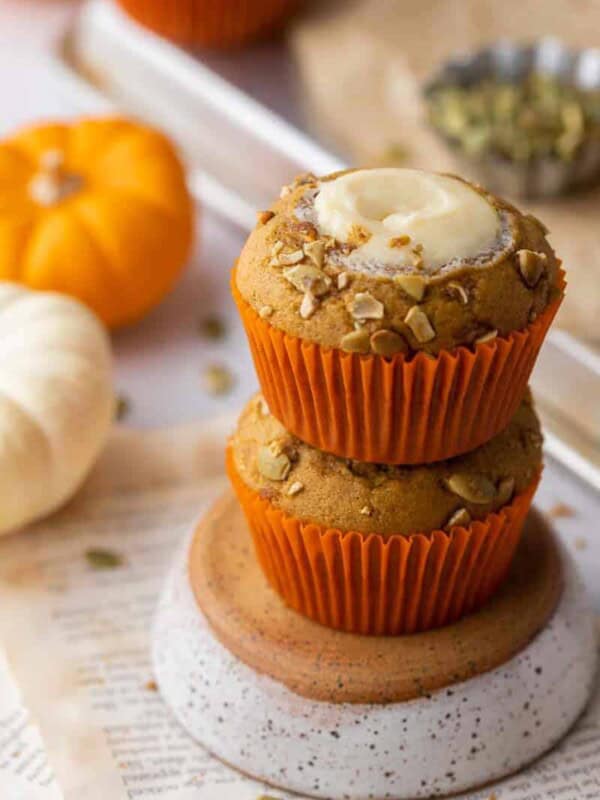
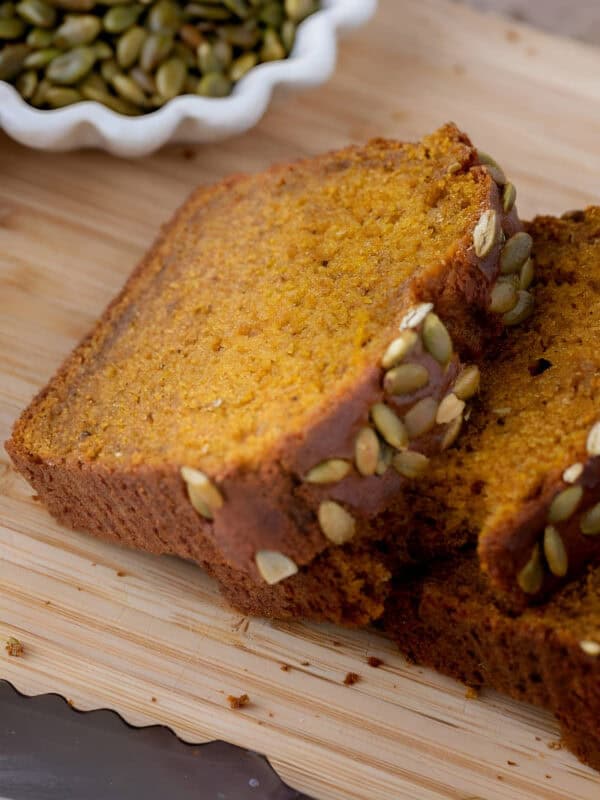
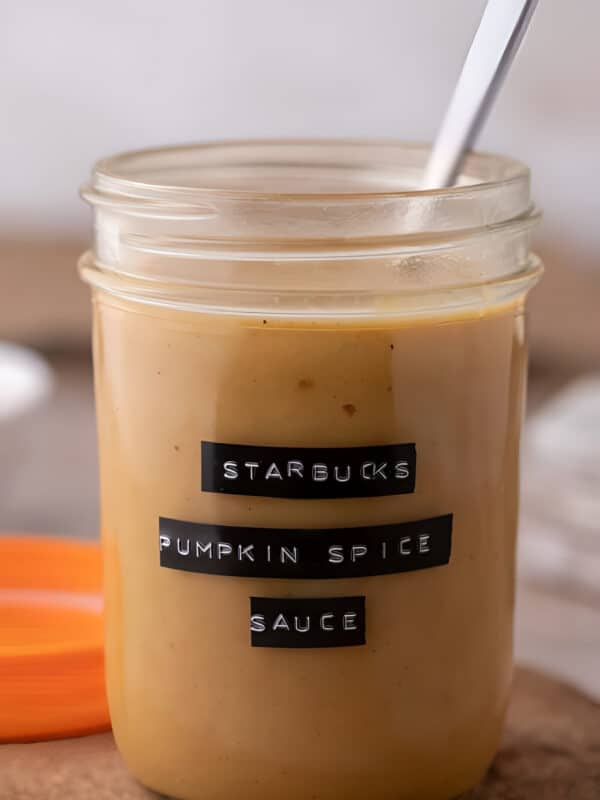
No. Starbucks discontinued the pumpkin scone and it has not returned to the US menu since 2022. When customers asked, Starbucks pointed them toward the pumpkin cream cheese muffin and the baked apple croissant instead. The seasonal drinks came back, and so did the loaf, which is why my copycat Starbucks Pumpkin and Pepita Loaf still gets made every September. The scone did not. That is the whole reason this recipe exists, and it is also why I keep a jar of copycat Starbucks pumpkin spice sauce in the fridge every September.
The last published nutrition data put the Starbucks pumpkin scone at roughly 500 calories for a 121g scone, with 46g of sugar. Mine works out to about 425 per scone at 8 scones per batch, and the sugar is lower because I pulled back on the glaze. Cut nine instead of eight and you are under 380.
Because there is too much liquid in it. The white glaze should be thick enough that a spoon dragged through it leaves a trail that closes slowly, not instantly. If it closes right away, add powdered sugar a tablespoon at a time. This is the single most common problem readers write to me about, and it is always fixable.
Yes, and this is the version I actually recommend. Cut the scones, freeze them flat on a parchment lined sheet, then move them to an airtight container for up to a month. Bake straight from frozen at 400F and add 3 to 4 minutes. Glaze after they cool.
Airtight at room temperature for 2 days, or refrigerated for up to 5. To freeze them baked, let the icing set fully, wrap each one in plastic then foil, and freeze for up to 2 months. Thaw in the fridge overnight. If you microwave them, go in short bursts, because the icing gets very hot very fast.
More Starbucks Pumpkin Favorites

If you make these, come back and leave a star rating. It genuinely helps other people find the recipe, and it tells me which recipes to keep testing. Tag me on Instagram at @chahinez_tbt so I can see them. And if you want more of these, my full collection of fall pumpkin recipes gets added to all season.

Copycat Starbucks Pumpkin Scones With Double Glaze
Equipment
Ingredients
Pumpkin scones
- 2 cup all-purpose flour
- 1/3 cup brown sugar packed
- 2 tbsp granulated sugar
- 2 tsp cinnamon Use Saigon cinnamon for a naturally stronger spice flavor.
- 1/4 tsp cloves
- 3/4 tsp ginger
- 1/2 tsp nutmeg
- 2 tsp baking powder
- 1/4 tsp baking soda
- 1/4 tsp salt
- 1/2 cup butter cold, cubed
- 2/3 cup pumpkin puree cold
- 2 tbsp milk cold, or cream
- 1 egg cold
- 1 tsp vanilla extract
Sugar glaze
- 1 cup powdered sugar
- 2-3 tbsp heavy cream add the third spoonful only if needed
- 1/2 tsp pumpkin puree
- 1/2 tsp pumpkin pie spice
- 1 tbsp powdered sugar to mix into the spiced glaze
Instructions
- Start by preheating the oven to 400F. Line a baking sheet with parchment paper or a silicone mat and set aside.
- In a medium bowl, whisk together the pumpkin puree, milk, egg, and vanilla extract.2/3 cup pumpkin puree, 2 tbsp milk, 1 egg, 1 tsp vanilla extract
- Place the bowl in the fridge to keep the mixture cold while you prepare the dry ingredients. Cold ingredients help create flaky, tender scones.
- In a large bowl, whisk together the flour, brown sugar, granulated sugar, cinnamon, cloves, ginger, nutmeg, baking soda, baking powder, and salt until well combined.2 cup all-purpose flour, 1/3 cup brown sugar, 2 tbsp granulated sugar, 2 tsp cinnamon, 1/4 tsp cloves, 3/4 tsp ginger, 1/2 tsp nutmeg, 2 tsp baking powder, 1/4 tsp baking soda, 1/4 tsp salt
- Add the cold cubed butter and cut it into the flour using a pastry cutter, fork, or your hands until the texture resembles coarse crumbs.1/2 cup butter
- Make a well in the center of the dry mixture. Pour in the cold pumpkin mixture, then gently stir with a rubber spatula until a soft dough forms.
- Don’t overmix, it’s okay if there are a few dry patches of flour.
- Turn the dough out onto a lightly floured surface. Gently fold it in half, then turn and fold again.
Option 1: Traditional Triangle Scones (Circle Method)
- Form the dough into a round disc, about 1-inch thick. Using a bench scraper or sharp knife, cut the disc into 8 equal wedges (like a pizza).
Option 2: Bakery-Style Squares or Rectangles
- Shape the dough into a rectangle, about 6×8 inches and 1-inch thick. Use a sharp knife or bench scraper to cut into 8 even pieces.
- After cutting, transfer the scones to a lined baking sheet and chill in the freezer for 20–30 minutes. Then preheat the oven to 400F while they chill.
- Bake the scones for 17–18 minutes, or until the tops are set and lightly golden.
- Let them cool on the baking sheet for 10 minutes, then transfer to a wire rack to cool completely before glazing.
Make the White Glaze
- In a medium bowl, whisk together the powdered sugar and 2-3 tbsp heavy cream until smooth.1 cup powdered sugar, 2-3 tbsp heavy cream
- If needed, add another ½ tbsp cream to thin it to a spreadable consistency.
Make the Spiced Glaze for Drizzling
- Remove 1 tablespoon of the white glaze and place it in a small bowl.
- Stir in the pumpkin puree, pumpkin pie spice, and extra powdered sugar until smooth. Transfer to a piping bag or ziplock bag for drizzling.1/2 tsp pumpkin puree, 1/2 tsp pumpkin pie spice, 1 tbsp powdered sugar
Glaze the scones
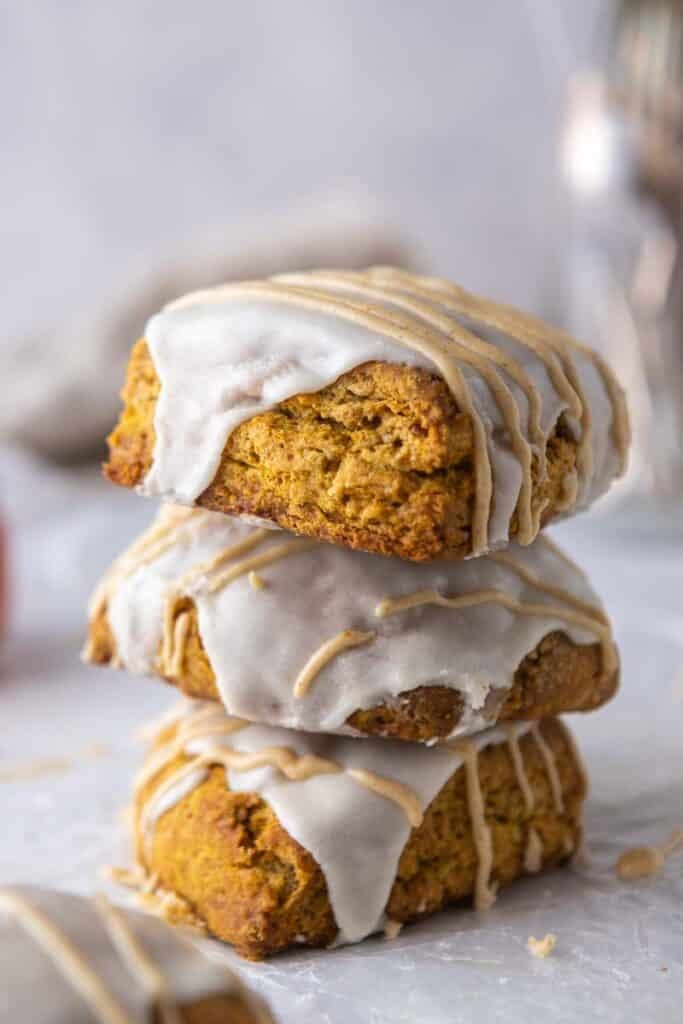
- Once the scones are completely cool, spread about a tablespoon of the white glaze evenly over each scone. Or just dip them directly into the white glaze.
- Let the glaze set for 5–10 minutes, then drizzle the spiced glaze on top in a zigzag pattern. Allow the scones to rest for 15–20 minutes before serving so the glaze can fully set.
Notes
Nutrition
Nutrition information is automatically calculated, so should only be used as an approximation.

Mine are tasty but very cakey instead of flaky. What could’ve I done wrong?
Hi Duda! Scones turn cakey when the butter or dough warms up or gets overworked. Keep the butter and pumpkin mixture cold, stir just until a soft dough forms (a few dry patches are fine), and only fold it twice. The 20 to 30 minutes in the freezer before baking helps the most. Also spoon and level your flour so it doesn’t pack in.
..
OMG, I made these this morning and they came out so good. Everything went perfectly, including the white glaze, but then S went sideways for me trying to use a piping bag, lol! I think I will stick to my fork or baby wisk next time or practie using a piping bag more, haha They are so tasty and perfectly moist. Thank you.
Piping is definitely an acquired skill lol took me awhile to get the hang of it as well but keep practicing and I’m sure you’ll get there too! 🙂
My only comment would be I’d enjoy them much more if there was more pumpkin flavor prominent. I do taste the cinnamon but am a pumpkin lover and it’s fairly faint. Any suggestions for next time? 😊
You can bump up the pumpkin puree to about 3/4 cup next time and cut the milk down slightly. You could also add 1/2 – 1 teaspoon of pumpkin pie spice or a touch more cinnamon to make that flavor pop. That should give you a stronger pumpkin taste without changing the texture too much!
A question I keep making my spice glaze and it’s been thin what do I do? I want it like Starbucks has it, firmed up. and the sugar glaze is too thin and not shell firm 🙁
Add a little extra powdered sugar to ensure that the consistency is on the thicker side for it to harden :)!
These scones were delicious and tasted almost exactly like the real thing! There were a few things in the recipe that confused me. The written instructions left out the baking powder but I added it anyway. However if you just use a little flexibility, it is all worth it. They are absolutely delicious and everyone in my family loved them! Totally worth it!
So glad to hear you enjoyed these!! And thank you for being patient with the confusing instructions, I just fixed them!
This recipe turned out really great. Better than *Starbucks*
One question though- the ingredients list calls for Baking Powder, but it does not say where to add that in later. I’m assuming with the dry mix but wanted to verify.
thanks
Better than Starbucks is all I strive for!! Thank you for trying it 🙂 The baking powder will be added with the dry ingredients. Hope this helped.
AMAZING recipe!!! Truly perfect. I was skeptical because the dough was a bit sticky but trust the process and they will turn out exactly perfect. Was a hit with my sister and her roommates!
Trusting the process is key!! Enjoy Regina!
I made these this weekend and they were amazing! So moist and fluffy!
The only change I made was that I wanted my scones to slightly smaller, so I split the recipe into 9 scones instead of 6 and baked them for 14 minutes
Thank you so much for trying these scones out Kristen! They are definitely huge, so making them a bit smaller is perfect!
Chahinez
These are fantastic! Recipe is clear and easy to follow. I swapped the flour for Bobs GF 1:1 Baking Flour because I’m gluten-free and they turned out great (I recommend adding an extra 1/2 Tsp baking powder for the gluten-free flour). I also swapped the egg for a chia egg and the milk for non-dairy milks and still, these turned out fantastic. They’re also beautiful! 10/10 recommend!
Thank you so much for trying these Katie! I’m happy to hear that you enjoyed them. Also, thank you so much for letting us know what you changed to make them GF, dairy-free, and egg-free!
Chahinez