This post may contain affiliate links. Please read our disclosure policy.
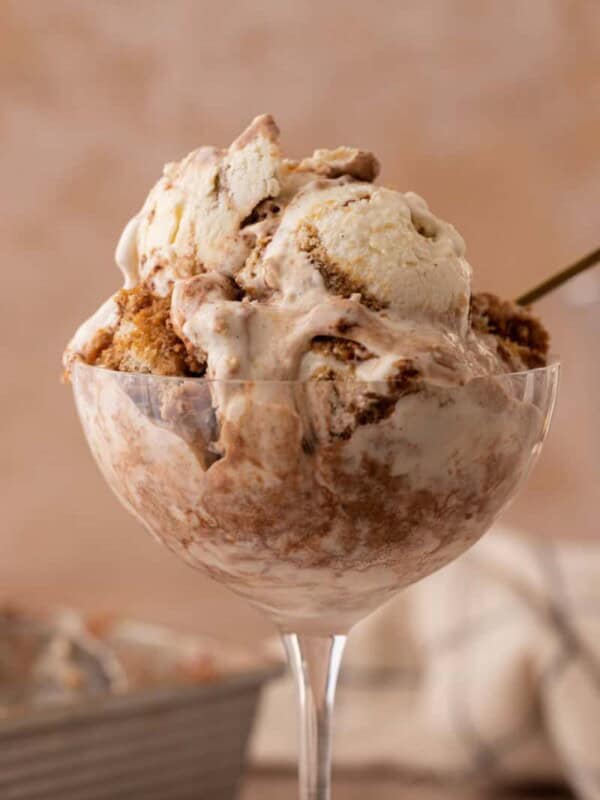
No churn tiramisu ice cream is everything you love about the classic Italian dessert, scooped straight from the freezer. It is made with a creamy mascarpone base, espresso-soaked ladyfingers, and a dusting of cocoa powder, and it comes together two ways: a no-churn version you fold by hand, and a Ninja Creami version for an ultra-scoopable, gelato-like texture. No eggs, no cooking, and no ice cream maker required (unless you want to use your Creami!).
If you have ever stood in front of the freezer wishing your favorite tiramisu came in scoopable form, this is the one. The coffee flavor is strong, the mascarpone keeps it luxuriously creamy, and the little pockets of soaked ladyfinger taste exactly like the real thing.
Let’s Chit Chat!
Here is the honest backstory. I am a coffee person down to my bones. I spent years pulling espresso shots at a coffee shop on the Las Vegas Strip, so a strong coffee dessert is basically my love language, and tiramisu has always been my desert-island dessert. Turning it into ice cream was never a question of if, but how.
The first few test batches taught me two things. One, you have to soak the ladyfingers lightly, just a quick dip, or they freeze into hard little ice shards instead of soft cake pockets (lesson learned the icy way lol). Two, so many of you have a Ninja Creami now and kept asking me for a version for it, so I tested that too. This post gives you both options so you can pick what works best for you ◡̈ . The no-churn one is what I make when I want zero fuss, and the Creami one is ridiculously creamy. Honestly, I cannot pick a favorite!
Since you are here and love homemade ice cream recipes, check out this Ninja Creami Protein Ice Cream Recipe, this Chocolate No Churn Ice Cream with Brownies, or this Ninja Creami Vanilla Ice Cream.
Table of Contents
- What is tiramisu ice cream?
- Ingredients for this No Churn Tiramisu Ice Cream
- How to make this No Churn Tiramisu Ice Cream Recipe
- Variations and add-ins
- Variations and add-ins
- How to make tiramisu ice cream in the Ninja Creami
- Why you’ll love this recipe
- How to store no churn tiramisu ice cream
- Frequently asked questions About No churn tiramisu ice cream – FAQ
- Tiramisu Ice Cream (No-Churn + Ninja Creami) Recipe
- Ninja Creami base
What is tiramisu ice cream?
Tiramisu ice cream takes the flavors of traditional tiramisu, espresso, mascarpone, ladyfingers, and cocoa, and turns them into a frozen dessert. Classic tiramisu layers coffee-soaked ladyfingers with a sweet mascarpone cream and a dusting of cocoa. This tiramisu flavored ice cream keeps every one of those flavors but swaps the assembled layers for a rich, scoopable mascarpone base studded with espresso-soaked ladyfinger pieces.
Unlike traditional tiramisu, this homemade tiramisu ice cream is completely eggless. There are no raw eggs and no cooking, so it is a great make-ahead dessert you can pull together in about 15 minutes of hands-on time.
Ingredients for this No Churn Tiramisu Ice Cream

Here are the ingredients you will need to make this homemade tiramisu ice cream. Scroll down to the recipe card at the bottom of the page for the detailed ingredient measurements.
- Heavy Whipping Cream: is the base of this ice cream.
- Mascarpone Cheese: You will need it to be softened to room temperature so make sure to pull it out 30 minutes to an hour before starting the recipe.
- Sweetened Condensed Milk: adds the perfect balance of sweetness and a creamy texture.
- Vanilla Extract: adds a touch of flavor while also enhancing the flavors of the coffee and chocolate as well. I love using vanilla bean paste as well to give it a little oomph.
- Cocoa Powder: You will need two separate amounts, so use two bowls when measuring it.
- Fresh Espresso: cooled (or instant coffee dissolved in water)
- Ladyfinger Cookies: broken into pieces.
No eggs needed: unlike custard ice creams, this base skips raw and cooked eggs entirely, so there is nothing to temper.
No mascarpone? Blend equal parts cream cheese and heavy cream until smooth for a close, tangy substitute.

How to make this No Churn Tiramisu Ice Cream Recipe
This is how you can make this coffee ice cream. Make sure to scroll down to the recipe card at the end of this post for the full step-by-step instructions!
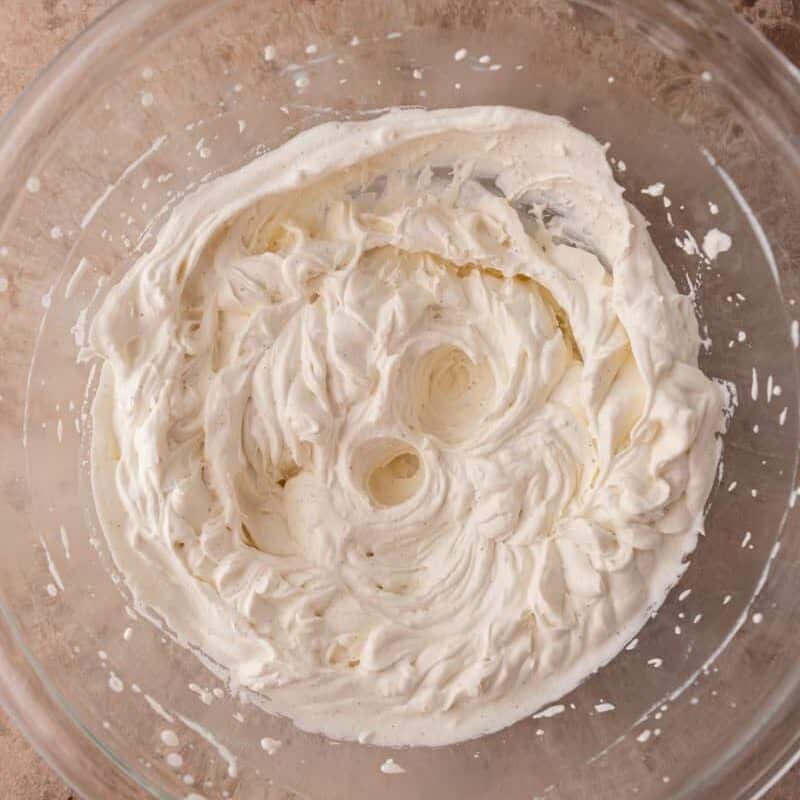
- In a large bowl, use a hand mixer or stand mixer with a whisk attachment to whip the heavy cream until stiff peaks form.
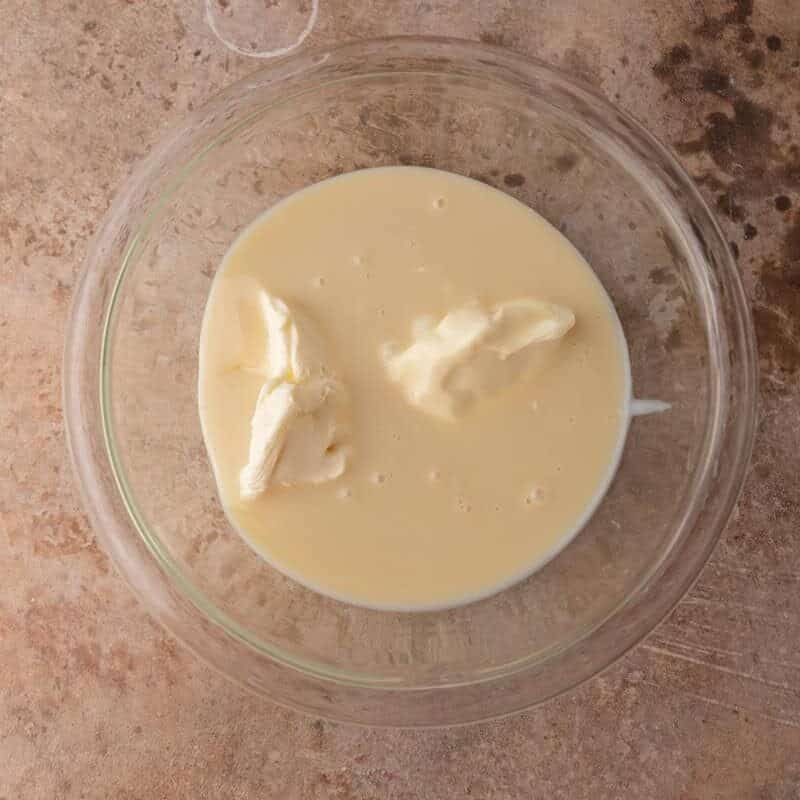
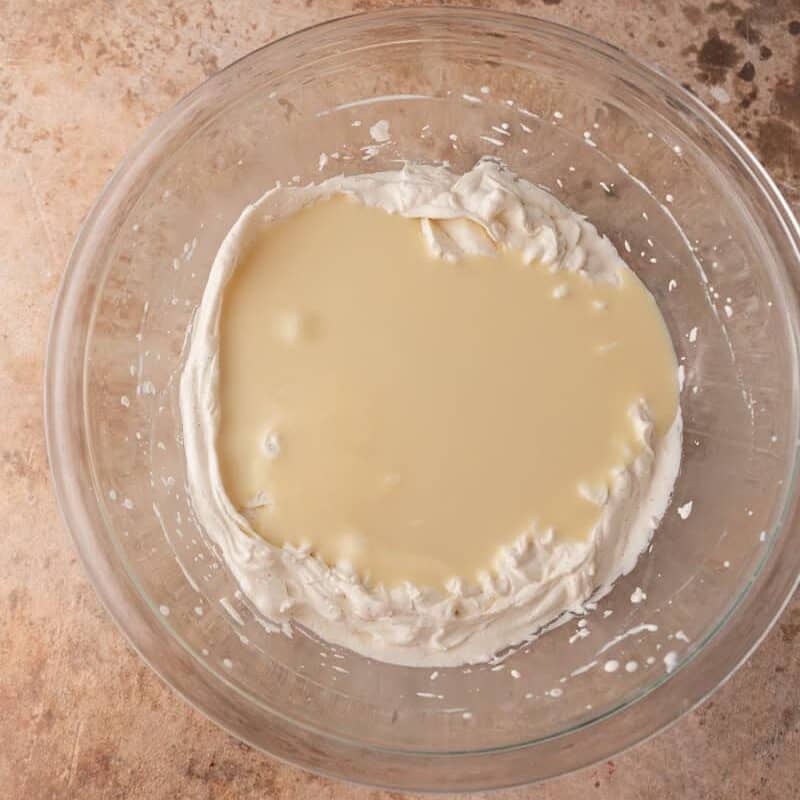
- In a separate mixing bowl, whisk together the softened mascarpone cheese, sweetened condensed milk, and vanilla extract until smooth and creamy.
- Pour the mascarpone and sweetened condensed milk mixture into the whipped cream mixture. Fold in gently to combine everything together.

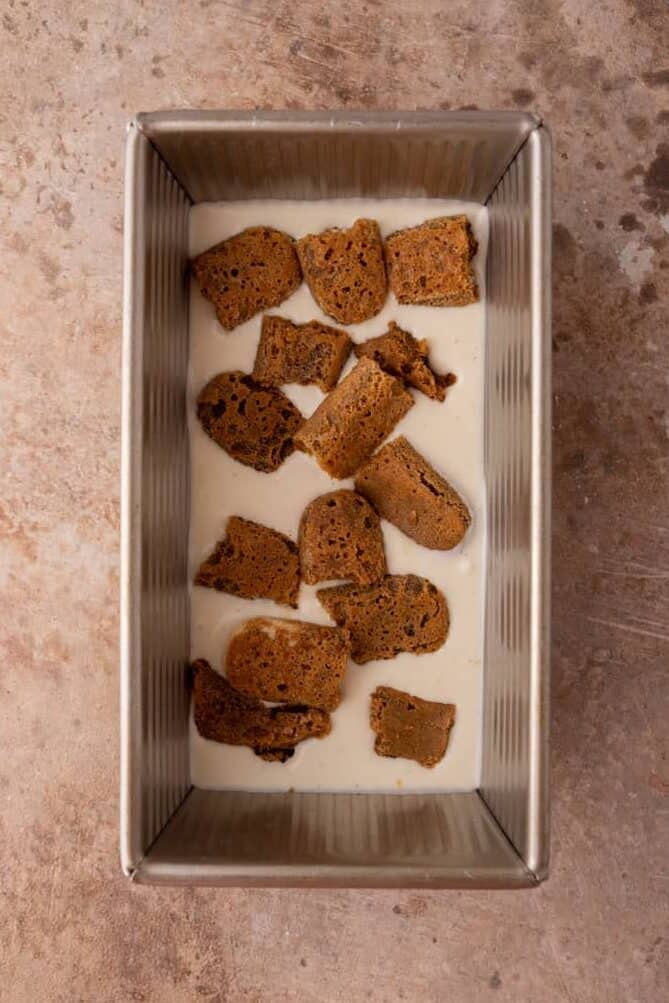
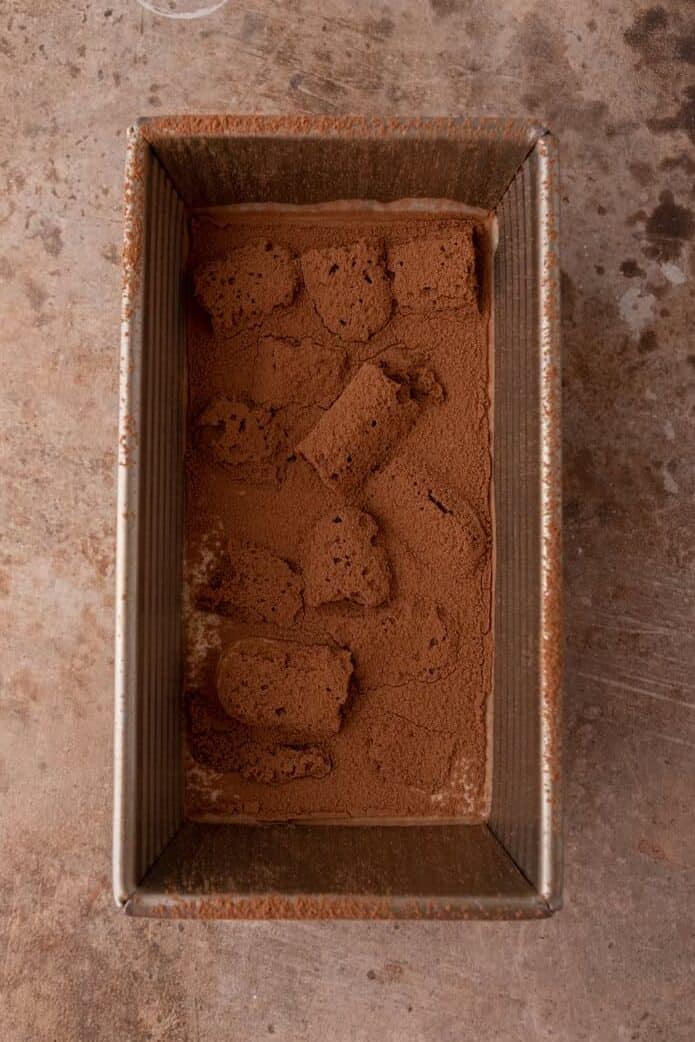
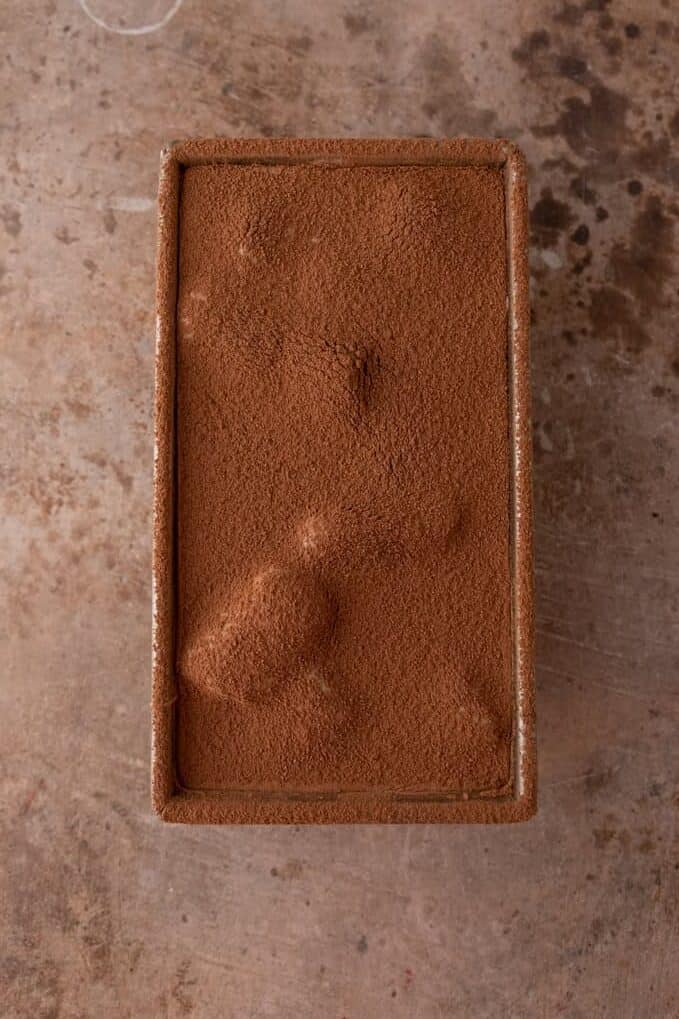
- Pour half of the whipped cream into your 9×5 inch loaf pan or freezer-safe container. Top the half of the ice cream base with the ladyfinger pieces soaked in espresso, then dust with cocoa powder. Repeat layers with remaining whipped cream mixture, lady fingers soaked in espresso, and cocoa powder.
- Cover the container with plastic wrap and freeze for at least 6 hours, or overnight, for a firmer texture.
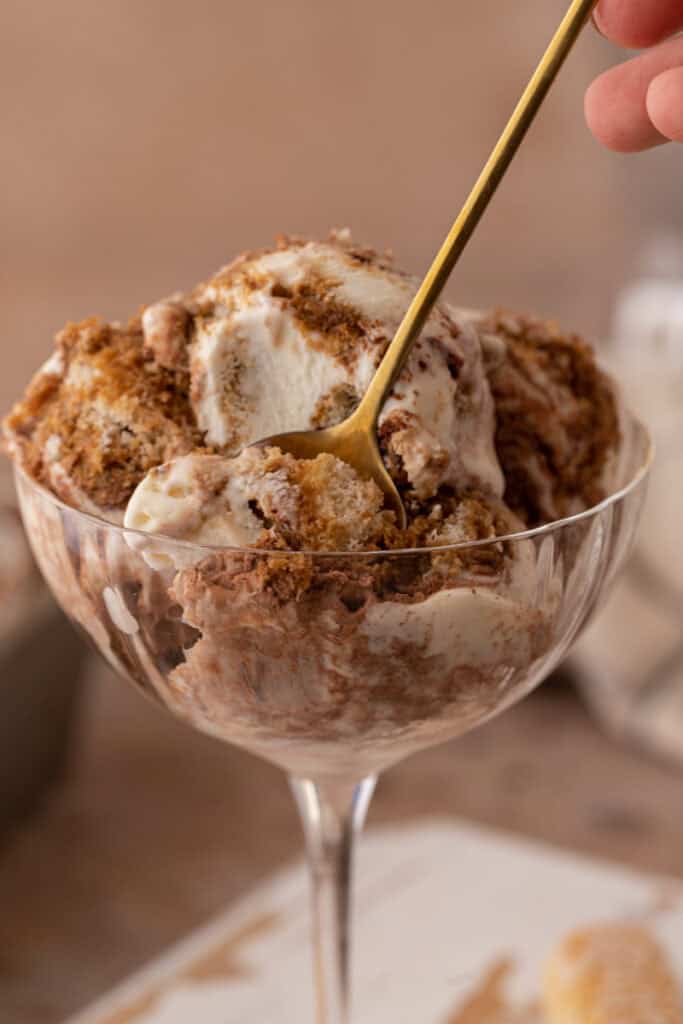
- When ready to serve, let the ice cream soften slightly for a few minutes. Scoop and enjoy the delicious taste of tiramisu in a cool and refreshing way!

Variations and add-ins
- Soak the ladyfingers lightly. A quick dip is all they need. Over-soaked ladyfingers freeze into hard, icy bits instead of soft cake pockets.
- Use cold heavy cream (no-churn method). Cold cream whips faster and holds more air, which keeps the ice cream scoopable.
- Make your espresso strong. Strong, cooled espresso gives the deepest coffee flavor. Instant espresso dissolved in a little hot water works too.
- Soften before scooping. Let it sit on the counter for 5 to 10 minutes so it scoops like a dream.
- Press plastic wrap on the surface. This stops ice crystals and freezer burn while it firms up.
Variations and add-ins
- Make it boozy. Add a tablespoon or two of dark rum, amaretto, or coffee liqueur like Kahlua to the espresso. Bonus: a little alcohol keeps the texture softer.
- Dairy-free. Swap the mascarpone for a dairy-free cream cheese and use coconut cream in place of heavy cream. Check that your ladyfingers are dairy-free too.
- Extra chocolate. Fold in shaved dark chocolate or a chocolate swirl along with the ladyfingers.
- No mascarpone. Blend equal parts cream cheese and heavy cream for a similar creamy, tangy result.
How to make tiramisu ice cream in the Ninja Creami
If you have a Ninja Creami, you can make an extra creamy, gelato-style version of this tiramisu ice cream. The method is different from the no-churn one because you do not whip anything. You blend a smooth liquid base, freeze it solid in the pint, and let the machine do the work.
- Blend the base. In a blender, combine the whole milk, heavy cream, mascarpone, sweetened condensed milk, instant espresso, vanilla, and cocoa powder. Blend until completely smooth.
- Freeze. Pour the base into a Ninja Creami pint, staying under the max fill line. Press the lid on and freeze on a level surface for a full 24 hours.
- Spin. Remove the lid and run the pint on the Ice Cream setting. If the first spin looks crumbly or powdery, do not panic, that is completely normal. Add a splash of cold milk or heavy cream, make a small well in the center, and Re-Spin until smooth and creamy.
- Add the ladyfingers. Make a well down the center, add your crumbled espresso-soaked ladyfingers, and run the Mix-In setting so they fold through.
- Finish. Dust generously with cocoa powder. Serve right away for soft-serve texture, or refreeze
Have the Ninja Creami Deluxe? Use the Gelato setting for an even denser tiramisu gelato Ninja Creami texture, and multiply the base by 1.5 to fill the larger pint.

Why you’ll love this recipe
- Two methods, one recipe. Make it no-churn by hand or in your Ninja Creami, whichever you have.
- No eggs and no cooking. The base is completely eggless, so there is no custard to temper and nothing to cook on the stove.
- No ice cream maker required. The no-churn method needs nothing but a bowl and a hand mixer.
- Real tiramisu flavor. Strong espresso, creamy mascarpone, and soft ladyfinger pieces in every scoop.
- Make-ahead friendly. It is even better the next day, which makes it perfect for parties and summer gatherings.
How to store no churn tiramisu ice cream
Store it in an airtight container in the freezer for up to 2 weeks. Before sealing, press a piece of plastic wrap directly onto the surface to prevent ice crystals and freezer burn. Let it soften on the counter for 5 to 10 minutes before scooping. The no-churn version holds its texture a little longer than the Creami version, which is best within a few days.


Frequently asked questions About No churn tiramisu ice cream – FAQ
Absolutely! Traditional Tiramisu often includes coffee liqueur like Kahlúa. You can add a tablespoon or two to the coffee mixture for an extra kick.
Strong, freshly brewed espresso is best. No espresso machine? Use strong brewed coffee or instant espresso dissolved in a little hot water.
Yes. Unlike custard-based ice creams and some traditional tiramisu, this recipe uses no raw or cooked eggs at all.
Crushed shortbread, vanilla wafers, or any crisp vanilla cookie work well. Soak them lightly, just like the ladyfingers.
Combine equal parts cream cheese and heavy cream and blend until smooth for a close match in texture and tang.
This recipe has about 469 calories per serving as written.

Tiramisu Ice Cream (No-Churn + Ninja Creami)
Ingredients
- 1 & 2/3 cups heavy whipping cream Cold
- 6 ounces mascarpone cheese softened to room temperature
- 14 oz sweetened condensed milk
- ½ teaspoon vanilla extract or 1 teaspoon vanilla bean paste
- 3 tablespoons Cocoa powder for dusting
- 1/3 cup fresh espresso cooled (or instant coffee dissolved in water)
- 8 ladyfingers broken into pieces
Instructions
- In a large bowl, use a hand mixer or stand mixer with a whisk attachment to whip the heavy whipping cream until stiff peaks form.1 & 2/3 cups heavy whipping cream
- In a separate bowl, whisk together the softened mascarpone cheese, sweetened condensed milk, and vanilla extract until smooth and creamy.6 ounces mascarpone cheese, 14 oz sweetened condensed milk, ½ teaspoon vanilla extract
- Pour the sweetened condensed milk and mascarpone mixture into the whipped cream mixture. Fold in gently to combine everything together.
- Pour 1/3 of the whipped cream into your 9×5 inch loaf pan or freezer-safe container. Top with the ladyfinger pieces very lightly soaked in espresso, then dust with cocoa powder. Repeat layers with 1/3 of the whipped cream mixture lady finger soaked in espresso, and cocoa powder. Top everything off with the rest of the whipped cream mixture, extra dusting of cocoa powder, and wrap with plastic wrap.3 tablespoons Cocoa powder, 1/3 cup fresh espresso, 8 ladyfingers
- Freeze for at least 6 hours, or overnight, for a firmer texture.
- When ready to serve, let the ice cream soften slightly for a few minutes. Scoop and enjoy the delicious taste of tiramisu in a cool and refreshing way!
Notes
If ladyfingers are unavailable, you can substitute with crushed cookies like shortbread or vanilla wafers.
To make it boozier, add a splash of rum or amaretto to the coffee mixture.
Feel free to get creative with toppings! Try a sprinkle of cocoa powder, shaved chocolate, or chopped nuts for extra flavor and texture.
Ninja Creami base
- 3/4 cup whole milk
- 1/4 cup heavy cream
- 3 ounces mascarpone cheese
- 1/4 cup sweetened condensed milk
- 1 to 1.5 teaspoons instant espresso powder
- 1/4 teaspoon vanilla extract
- 1 teaspoon cocoa powder
- 3 to 4 ladyfingers, crumbled (added as a mix-in, lightly soaked in espresso)
- Add all Ninja Creami base ingredients (except the ladyfingers) to a blender and blend until completely smooth.
- Pour into a Ninja Creami pint, staying under the max fill line. Freeze flat and level for a full 24 hours.
- Spin on the Ice Cream setting. If it looks crumbly, add a splash of cold milk or cream, make a well in the center, and Re-Spin until smooth.
- Make a well, add the lightly soaked, crumbled ladyfingers, and run the Mix-In setting.
- Dust with cocoa powder and serve, or refreeze 1 hour for firmer scoops.
Nutrition
Nutrition information is automatically calculated, so should only be used as an approximation.
This was amazing and so simple!! After trying and loving your normal tiramisu recipe, I knew this would be a hit and I was not disappointment. New dessert staple!!