This post may contain affiliate links. Please read our disclosure policy.
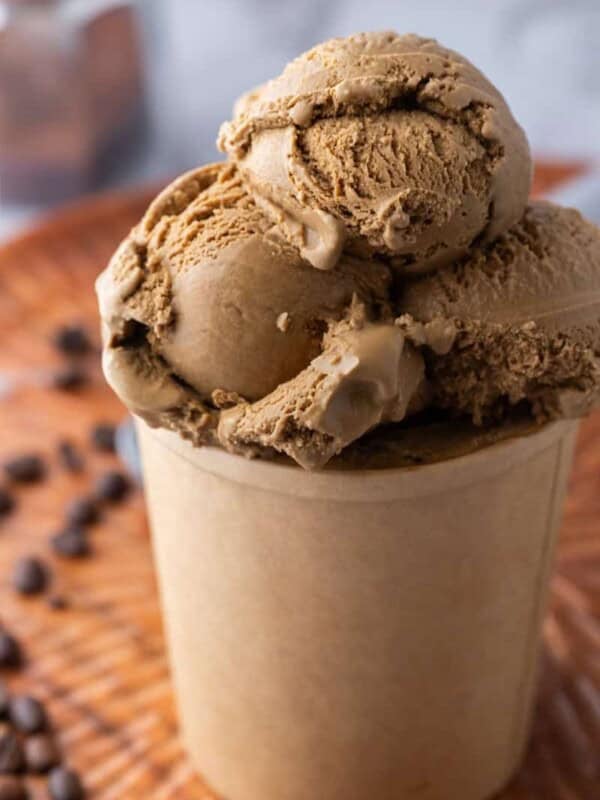
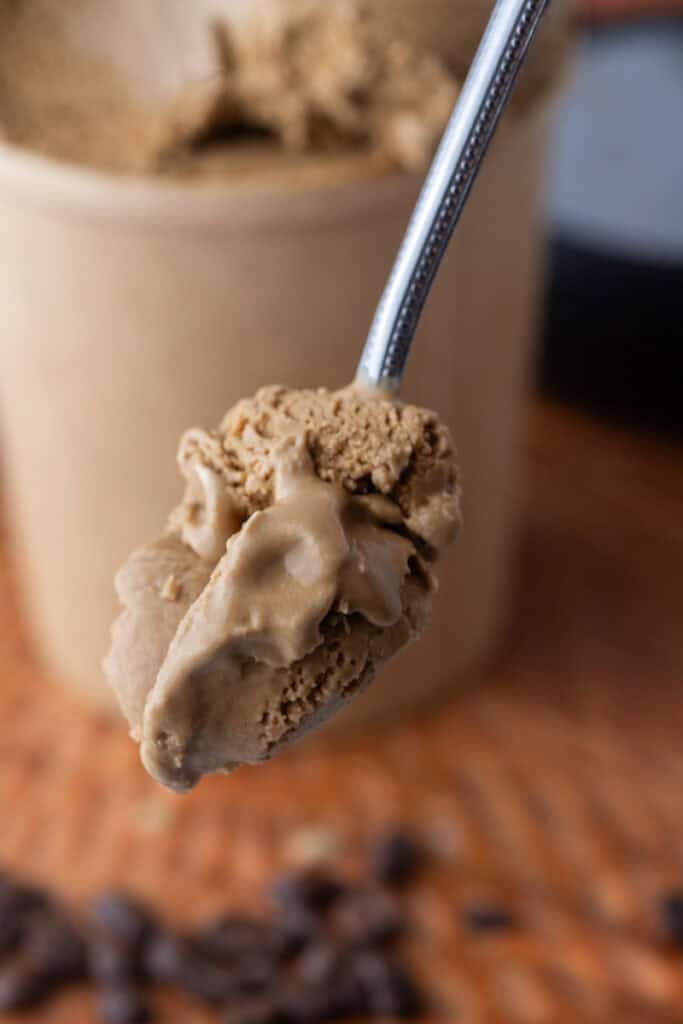
This intensely bold Espresso Coffee Ice Cream recipe is the perfect summer dessert for coffee lovers. It is made using an ice cream maker to give it an amazingly luscious texture and a rich coffee flavor. It’s probably one of the best ice creams you’ll ever try!
If you’re a fan of coffee-flavored desserts like tiramisu, then you’re in for a treat! This simple recipe is bursting with potent coffee flavor that will have taste buds jumping. And if the flavor wasn’t enough, the decadent texture will undoubtedly deliver.

This creamy ice cream is enhanced with the richness of egg yolks to create a custardy base that’s as soft as silk and espresso powder to make it as strong as your favorite coffee drink!
You can serve this on its own with a cone or in a bowl, or pair it with a brownie, cookie, or pie. Either way, this recipe will definitely become your new favorite ice cream. And on top of all that, it’s easier to make than you think. All you need is an ice cream machine and you’re good to go 🙂
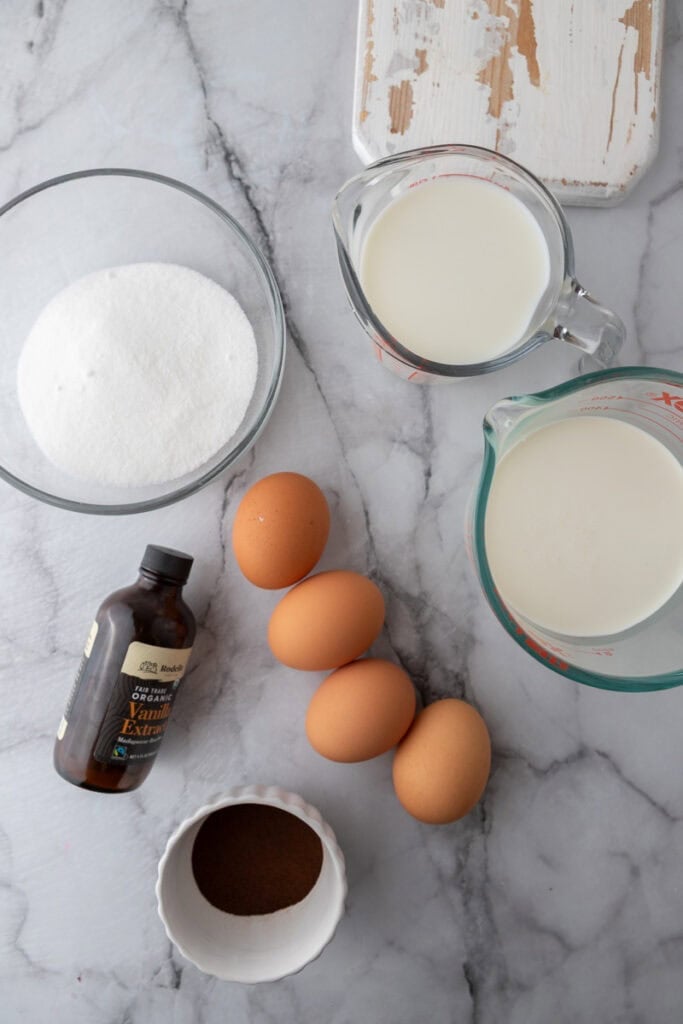
Ingredients for this rich and creamy espresso coffee ice cream recipe at home
Here are the ingredients you will need to make this homemade coffee ice cream with strong espresso flavor. Scroll down to the recipe card at the bottom of the page for the detailed ingredient measurements.
- Heavy Cream: provides the rich and creamy base.
- Whole Milk: balances the richness of the cream.
- Granulated Sugar: sweetens and lowers the freezing point. Or you can use brown sugar if you prefer that molasses flavor.
- Large Egg Yolks: create a luxurious custard-like texture.
- Instant Espresso Powder: infuses the ice cream with deep coffee flavor.
- Vanilla Extract and a Pinch of Salt: enhance and balance the overall flavor.
How to make espresso coffee ice cream from scratch
This is how you can make the best coffee ice cream recipe. Make sure to scroll down to the recipe card at the end of this post for the full step-by-step instructions!
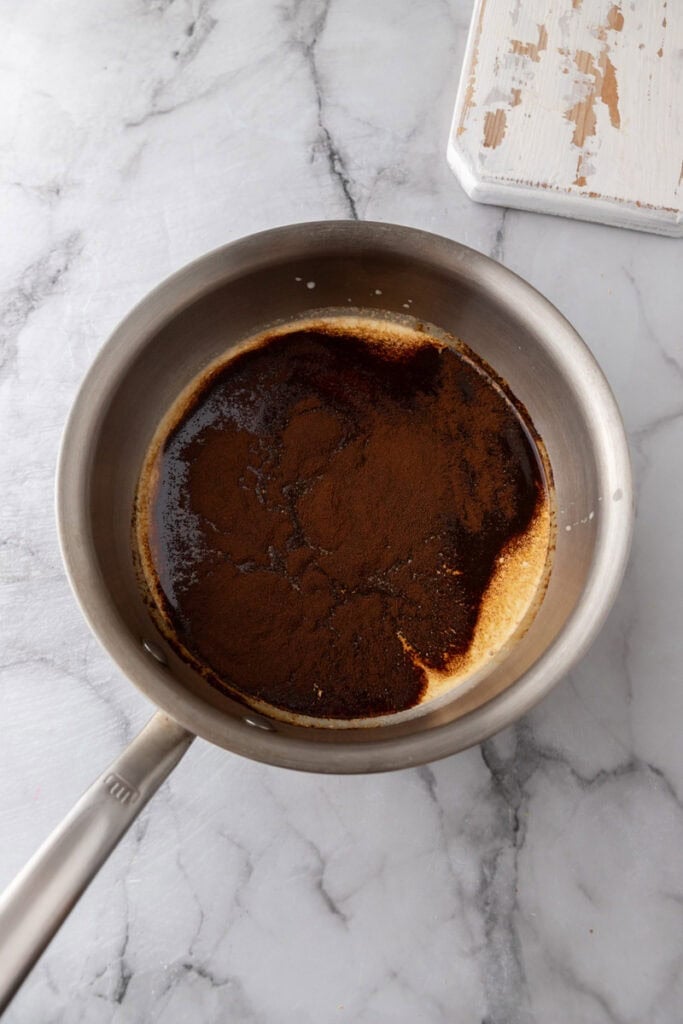
- In a medium saucepan, combine the whole milk, heavy whipping cream, instant espresso powder, and a pinch of salt. Set the pan over medium heat and warm the mixture until it begins to steam but not boil. Stir occasionally to help dissolve the espresso powder.
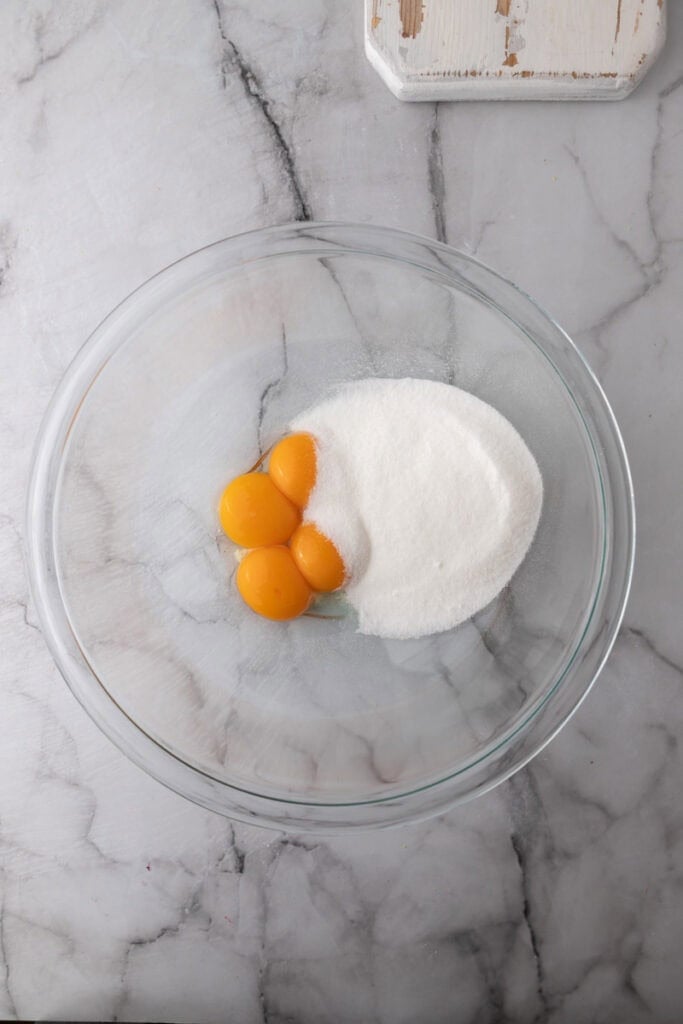
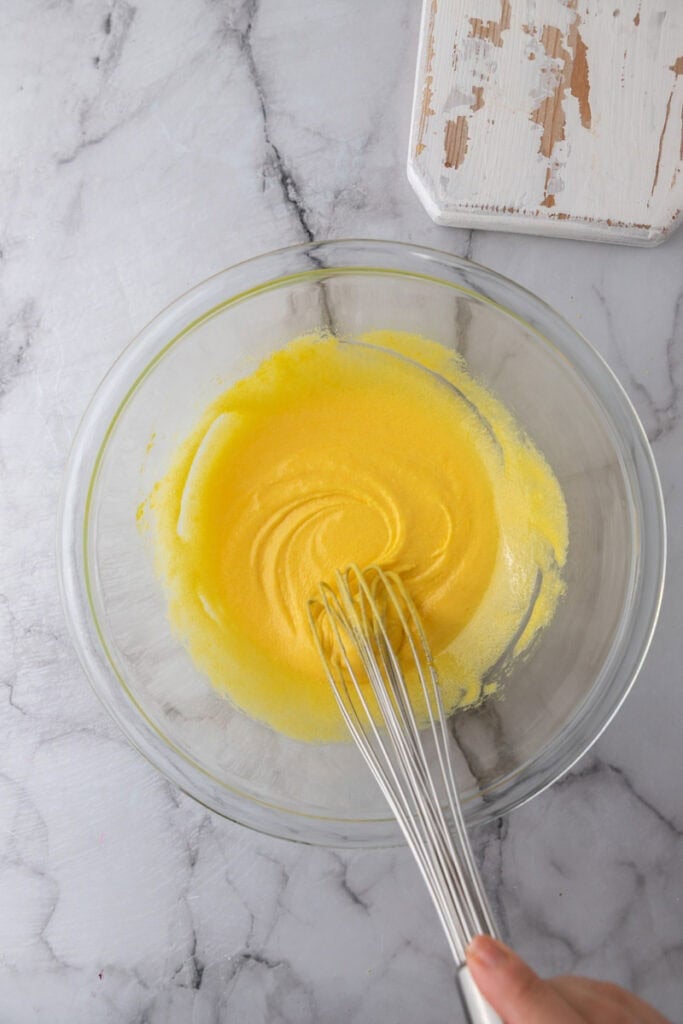
- In a large bowl, whisk the egg yolks and granulated sugar together vigorously until the mixture becomes pale and thick, nearly doubling in volume.
- Slowly pour in half a cup of the warm cream mixture, whisking constantly to gently raise the egg yolks to temperature without scrambling them. Then, gradually whisk the tempered egg mixture back into the saucepan with the remaining cream.


- Continue to cook the custard over medium-low heat, stirring frequently with a heatproof spatula or wooden spoon. Continue cooking until the mixture has slightly thickened and can coat the back of a spoon. Be careful not to let it come to a boil.


- Remove the pan from the heat and pour the mixture through a fine mesh strainer into a clean bowl to catch any remaining bits of cooked egg. Stir in the vanilla extract. Allow the custard base to cool fully at room temperature, then cover and refrigerate for at least 4 hours or overnight for best results.
- Once chilled thoroughly, pour the custard into your electric ice cream maker and churn according to the manufacturer’s instructions or until the ice cream mixture reaches a soft-serve texture.
- Scoop the churned ice cream into an airtight container. Cover and freeze for a minimum of 4 hours to allow it to firm up fully before serving.


Tips and Tricks for the Best Results
- Since it’s the main flavor, use a higher quality instant espresso powder.
- Choose the more patient option and chill the ice cream overnight for the best end result.
- Swap out a tablespoon of sugar for corn syrup or sweetened condensed milk for an enhanced texture.
- For even more flavor, steep crushed coffee beans in the milk while heating, and then strain them out before adding the eggs.
- Since this ice cream uses real espresso, that means that it will have a small amount of caffeine as well. For those who don’t want this, use decaf espresso powder.

Why do you need to make this espresso ice cream recipe?
- This is the best espresso coffee ice cream recipe with real espresso and simple ingredients.
- The flavor of coffee takes this ice cream to the next level.
- It’s perfect for impressing a crowd and will get you loads of compliments.
- You can customize the intensity of the fresh espresso and make it fit your specific tastes.
- Making your own espresso ice cream at home will always be better than anything you get from a store.

Frequently asked questions – FAQ
How much does this espresso-flavored homemade coffee ice cream recipe yield?
This recipe should give you about 4 cups of ice cream. Which is perfect for sharing with a group or enjoying for an extended period of time.
Can I use liquid espresso instead of powder?
Technically yes, but I wouldn’t really recommend it. Liquid espresso or brewed coffee adds extra moisture to the ice cream base, which can mess with the texture and make it less creamy.
If you don’t have espresso powder on hand, here are a few better workarounds:
- Reduce espresso shots: Pull about 4–5 shots of espresso and simmer them down until you’re left with less than ¼ cup. That way, you get the flavor without throwing off the balance of the base.
- Infuse the milk: Another option is to simmer some roughly ground coffee beans in your milk and cream mixture, then strain them out before adding the milk to your eggs. It gives a deep, natural coffee flavor without watering things down.
- Instant coffee: Not ideal, but it works in a pinch. Just make sure it’s a strong blend and you dissolve it completely before adding it to your mix.
Espresso powder is definitely the easiest and most reliable for flavor and texture, but these tweaks can work if you’re in a pinch!

What different flavors or mix-ins can I add to enhance the taste?
- Add a splash of coffee liqueur for a boozy vibe. It even helps make the texture smoother and less icy because it prevents freezing, but you also need to make sure you don’t add too much for that same reason, or else your custard mixture won’t freeze.
- Mix in chocolate chips, dark chocolate shards, or chocolate sauce for a coffee-chocolate ice cream flavor.
- Swirl in ribbons of caramel sauce, melted peanut butter, or dulce de leche.
- Add a pinch of cinnamon or speculoos cookie crumbs for a fun twist.
- Crushed up coffee beans add even more flavor and an even more delicious crunch too!
How do I store leftovers?
I know we all know that ice cream is supposed to go in the freezer, but here’s a tip on how to keep it fresh for as long as possible. Place plastic wrap directly on the ice cream surface and press up the sides of the freezer-safe container before freezing to help prevent ice crystals from forming. I also love using these 16oz containers for my ice cream so they’re easy to grab too!
How do I know when the custard is done cooking?
Your custard will be fully cooked and can be removed from the heat when it reaches a temperature of around 170–175°F or 77–80°C. Don’t forget to use the “back of a spoon” method to see its consistency. (Check the above photo to see how I did it!)

Which ice cream machine brand and size should I use?
I personally use the 1.5-quart Cuisinart ice cream maker for my homemade ice cream recipes, but any high-quality one should work fine. The Ninja Creami also works well for people who prefer a faster churn method, but it won’t produce as soft a result, and you still have to wait the 24 hours for the pint to freeze fully!
Can I make a dairy-free coffee ice cream?
Yes! You can make a dairy-free espresso coffee ice cream recipe with coconut milk. Make sure to get the full-fat type for the best texture.
How long does it take to churn the ice cream?
It typically takes around 20 to 25 minutes for the churning process to be completed.

Creamy Espresso Ice Cream Recipe
Equipment
Ingredients
- 1 ½ cups heavy cream
- 1 ½ cups whole milk
- ¾ cup granulated sugar
- 4 large egg yolks
- 3 tbsp instant espresso powder
- 1 teaspoon vanilla extract
- Pinch salt to balance out the sweetness
Instructions
- In a medium saucepan, whisk the milk, heavy cream, espresso powder, and salt together. Heat over medium until it’s steaming and almost simmering, don’t let it boil.1 ½ cups heavy cream, 1 ½ cups whole milk, 3 tbsp instant espresso powder, Pinch salt
- In a separate bowl, whisk the egg yolks and sugar together until the mixture looks pale and slightly thickened. Slowly pour in about half of the hot cream while whisking constantly, this helps gently warm the yolks so they don’t scramble. Then, whisk the tempered yolks back into the saucepan with the rest of the cream.¾ cup granulated sugar, 4 large egg yolks
- Keep cooking over medium-low heat, stirring constantly with a wooden spoon or heatproof spatula, until the mixture thickens a bit and coats the back of your spoon—like a thin custard. It should reach about 170–175°F (77–80°C), but don’t let it boil.
- Take the pan off the heat and pour the mixture through a fine mesh sieve into a clean bowl to catch any bits. Stir in the vanilla extract, let it cool for a bit, then cover and chill in the fridge for at least 4 hours, or overnight if you’ve got the time.1 teaspoon vanilla extract
- Once it’s fully chilled, pour the custard into your ice cream maker and churn it following the machine’s instructions, usually about 20–25 minutes until it’s softer and more thick, like soft serve.
- Scoop the churned ice cream into an airtight container. Press parchment or plastic wrap right on the surface to keep it smooth and ice-crystal free. Freeze for at least 4 hours until it’s firm and scoopable.
Nutrition
Nutrition information is automatically calculated, so should only be used as an approximation.