This post may contain affiliate links. Please read our disclosure policy.
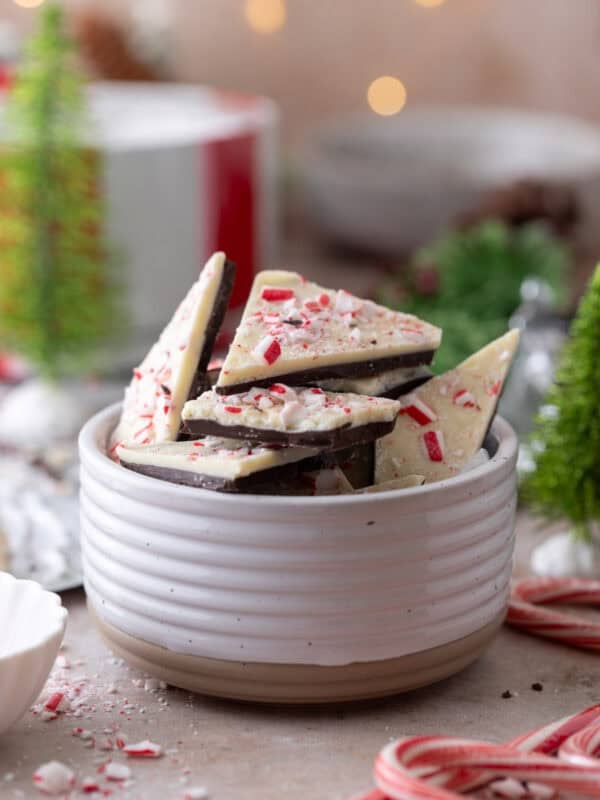
A foolproof homemade peppermint bark that gives you those clean layers, the perfect snap, and a crunchy sprinkle of crushed candy canes in every single bite. If you’ve ever struggled with peppermint extract seizing your chocolate, uneven layers, or candy canes melting on top, this recipe is going to change your life. It’s a classic holiday treat, but elevated and tested the way we actually bake at home.
Since you are here, I know you will also love this peppermint bark brownie cookie!

Why This Peppermint Bark Is Worth Making Every Year
- Clean, beautiful layers without blending or cracking
- Uses real semisweet chocolate + white chocolate, not chips
- A tiny bit of oil or shortening helps prevent seizing (trust me… learned the hard way)
- Perfect for gifting, it packages beautifully
- Ready in under 20 minutes of hands-on time
- No tempering required, but still has a gorgeous shine and snap right out of the fridge
LEt’s Chit Chat!
Peppermint bark seems so simple, right? Melt, spread, chill. But the first time I tested this recipe without the oil, my chocolate seized instantly the moment the peppermint extract hit it. I wanted to scream. Then I chilled the bark too long on my second test… and the layers refused to stick together. But here’s the good part: every “fail” turned into a tip you now get to skip. A couple things I learned:
- Peppermint extract and chocolate needs a fat buffer. A teaspoon of vegetable oil, coconut oil, or shortening saves everything.
- If your bottom layer is too firm, you can run a kitchen torch very lightly over the surface to re-warm it before adding the next layer. Game changer.
- When you think you’ve added enough candy cane pieces, add more. The crunch is honestly what makes peppermint bark exciting.
And once I got the formula right, this became one of my favorite holiday desserts to make in batches and stick in the fridge. Super easy recipe, super reliable, and ridiculously festive.
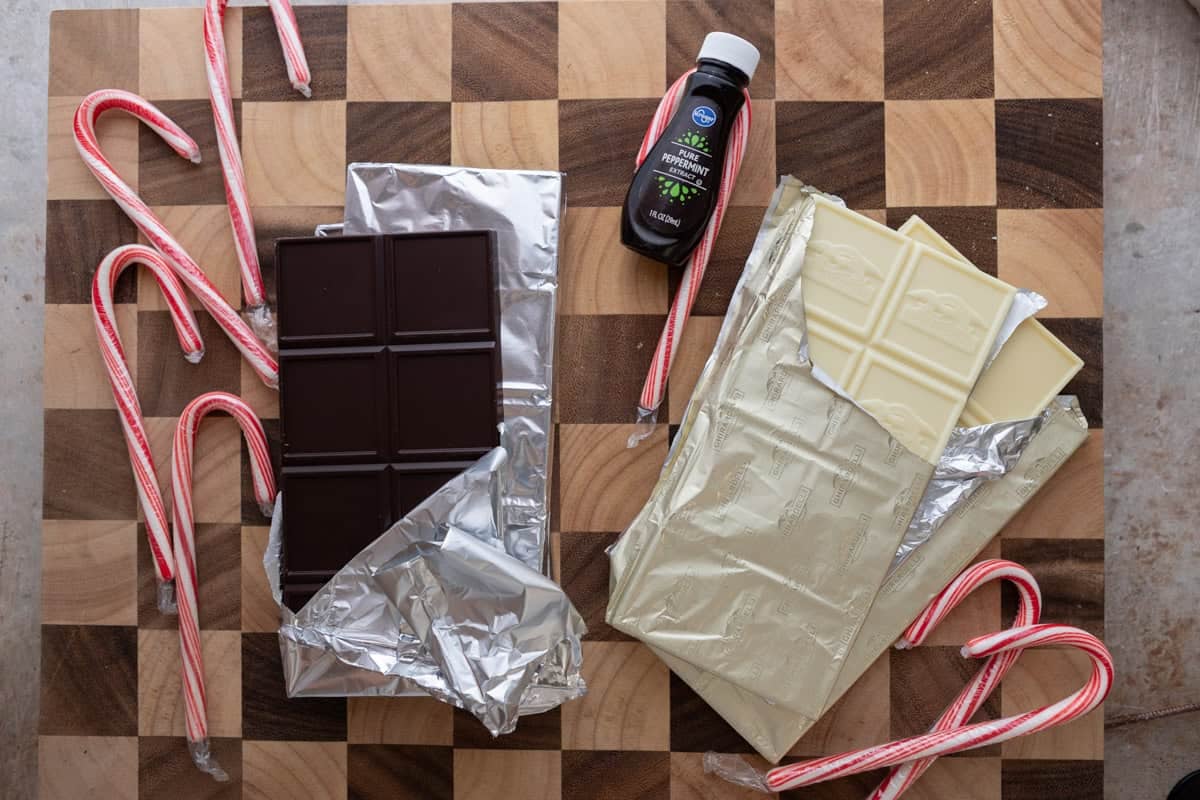
Key Ingredients
- Semisweet Chocolate – Use chopped bars or high-quality wafers like Ghirardelli or Guittard. They melt smoother than chocolate chips.
- White Chocolate – White chocolate scorches easily, so microwave in short intervals. This is your top layer, so choose a kind that actually tastes good — no waxy chips here.
- Peppermint Extract – You only need ½ teaspoon because peppermint flavor is strong. Too much and it turns medicinal.
- Vegetable Oil or Coconut Oil or Shortening – Optional, but strongly recommended. Helps prevent seizing and gives you that shiny, crisp finish without tempering.
- Crushed Candy Canes – Crush using a rolling pin or meat mallet inside a double bag. You want a mix of powder + chunks for both color and crunch.
How to Make Classic Peppermint Bark
- Prep the pan: Line your baking sheet or 9×13 pan with parchment paper, allowing extra to hang over the edges for easy lifting later.
- Crush the candy canes: Add candy canes to a zip-top bag inside another bag. Crush with a rolling pin until you have a mix of fine dust and small pieces.
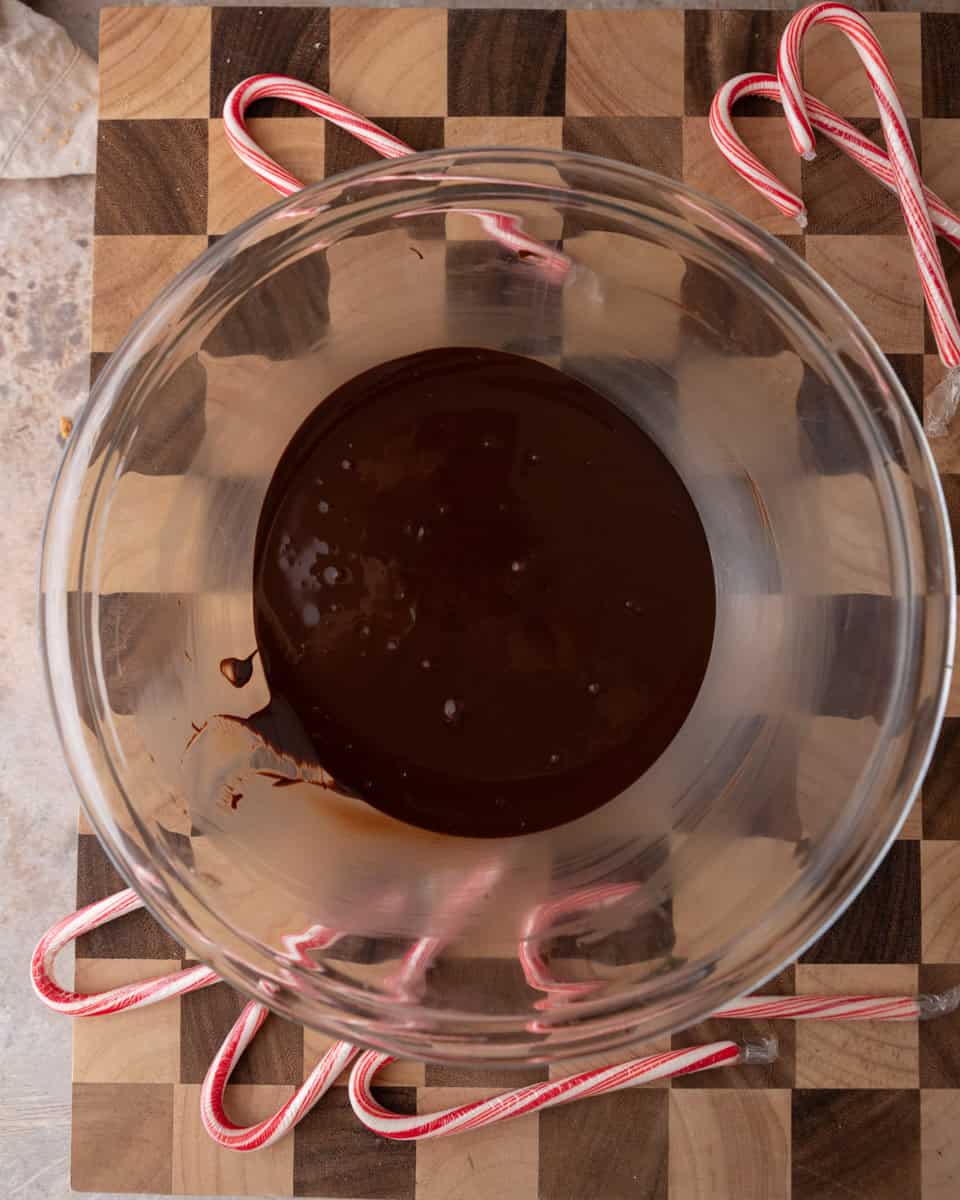
- Melt the dark chocolate (microwave method): Place semisweet chocolate in a microwave-safe bowl. Heat in 30-second increments, stirring after each one, until smooth. Stir in 1 tsp oil if you’re using it.
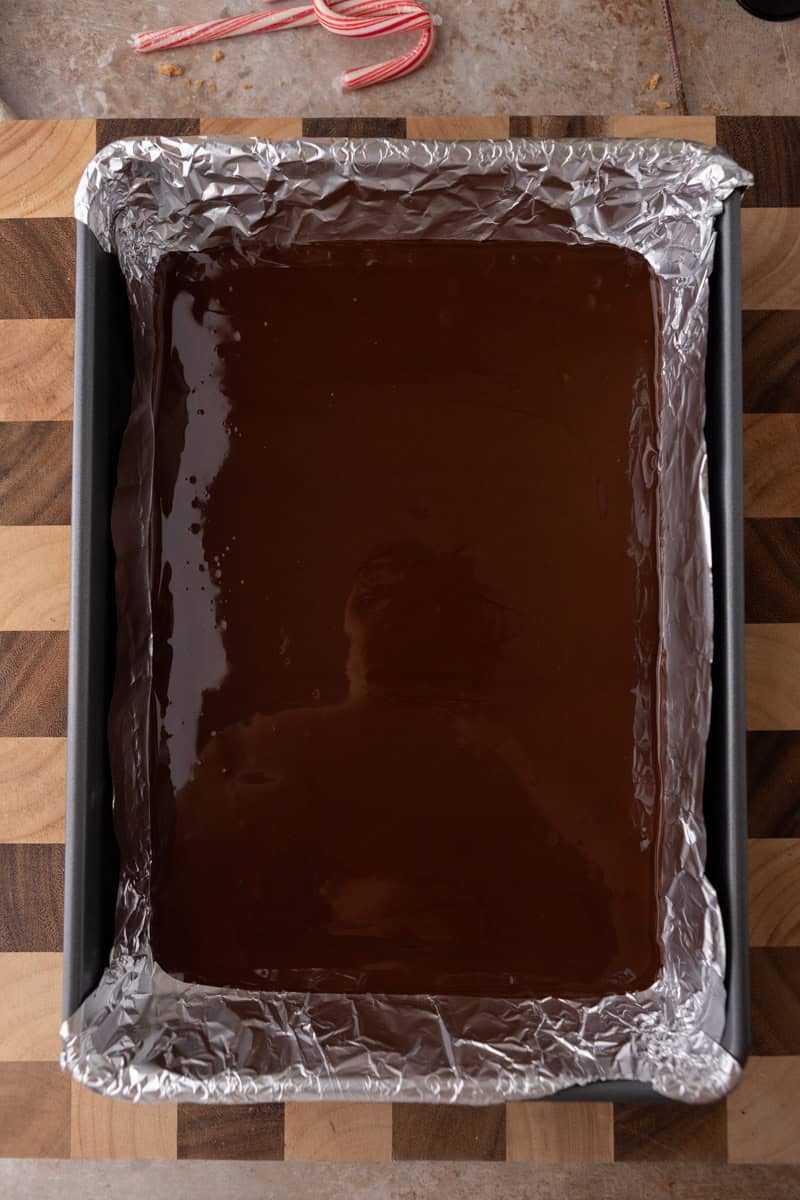
- Spread the base layer: Pour onto the parchment-lined baking sheet and spread with an offset spatula into an even layer about ¼ inch thick. Tap the pan a few times to release air bubbles.
- Chill: Refrigerate for 20–30 minutes until firm. You want it set but not rock-hard.
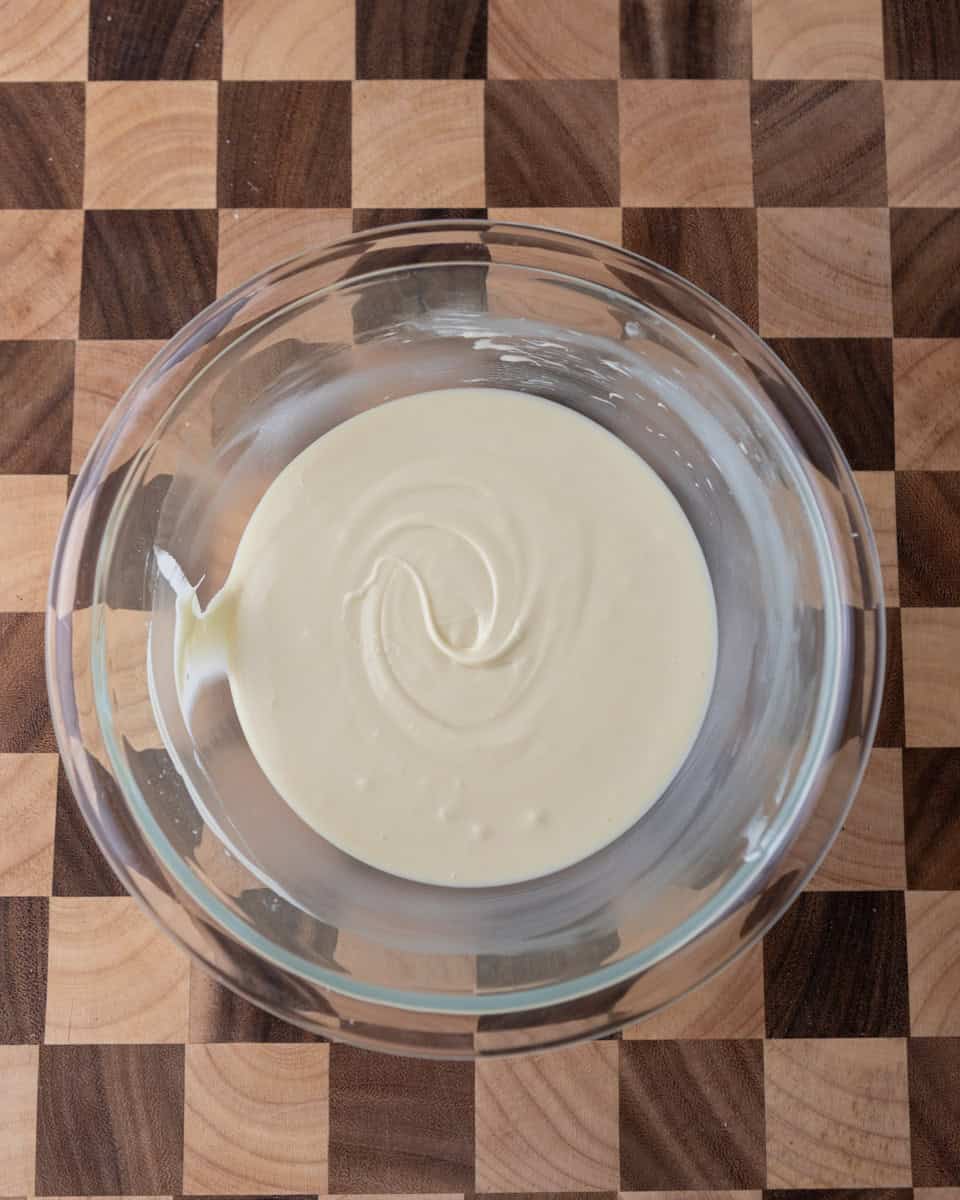
- Melt the white chocolate: Microwave in 20-second intervals (white chocolate burns quickly). Stir in the peppermint extract + remaining oil.
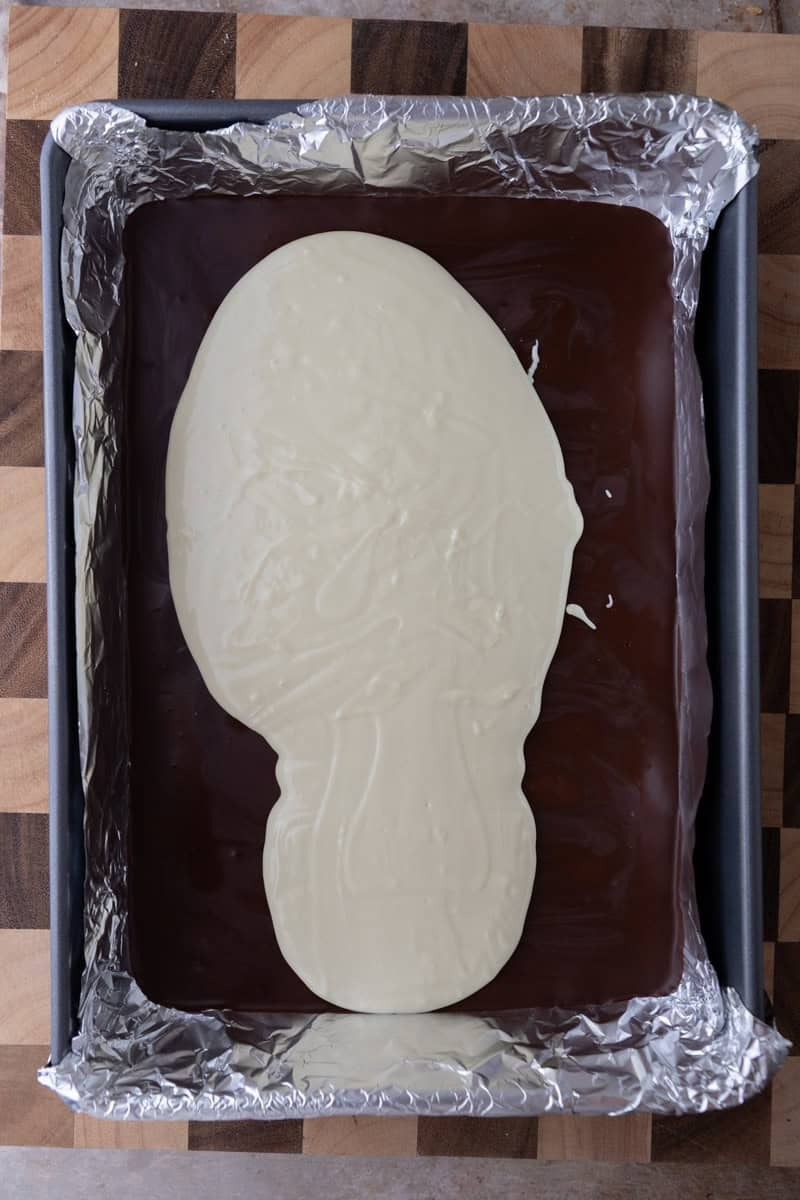
- Add the top layer: Pour the white chocolate over the dark chocolate and gently spread without dragging the bottom layer.
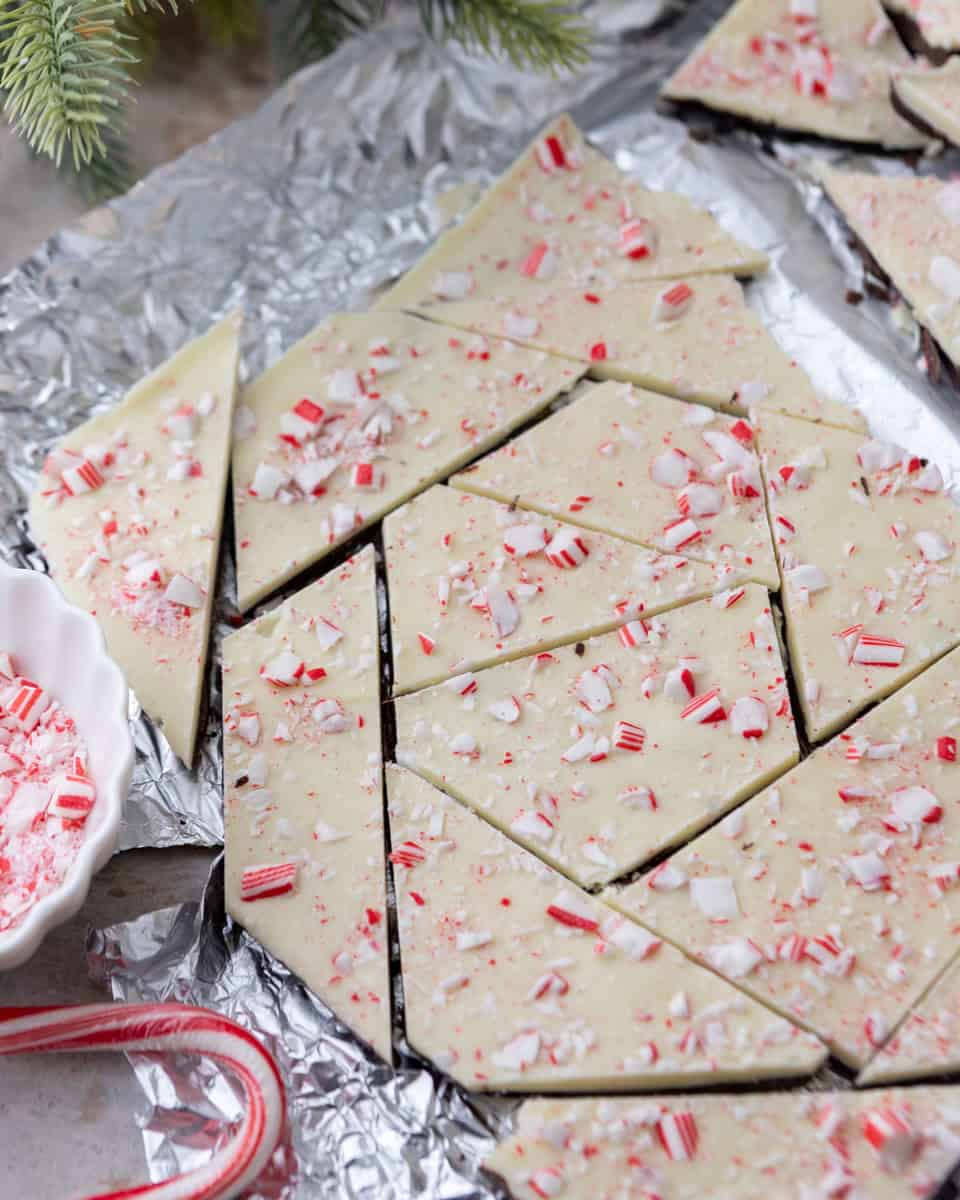
- Sprinkle generously: Add the crushed candy cane pieces immediately and lightly press them into the warm top layer so they stick.
- Final chill: Chill for at least 1 hour.
- Break into pieces: Lift using the parchment, then break into rustic shards or score for cleaner edges.

Expert Tips for Perfect Peppermint Bark
- Crush candy canes right before you use them – they clump if they sit too long.
- Use good chocolate. This whole treat is made of 99% chocolate, so make sure you use high quality chocolate bars so that the final result tastes as good as possible.
- Don’t skip the chilling step between layers or they’ll swirl together.
- If the layers separate: lightly torch or warm the first layer before adding the next.
- Humidity melts candy canes. Store in a cool, dry place. The easiest way to store these is in the fridge.
Storage Tips
- At room temperature: 3–5 days in a cool place
- Refrigerator: Up to 1 week
- Freezer: 2–3 months (store between parchment sheets)
Do NOT store in warm/humid rooms because candy canes will turn sticky!
Microwave vs Stovetop Melting
Microwave (preferred method)
Fastest and easiest. Just be consistent with short intervals and stirring.
Stovetop (double boiler)
If you want maximum control:
- Add 1–2 inches of water to a saucepan.
- Set a heat-proof bowl on top without touching the water.
- Add chocolate and stir until smooth.
Never let steam hit the chocolate, steam causes seizing faster than peppermint extract does!
Troubleshooting Common Issues for Peppermint Bark
Why did my chocolate seize?
Peppermint extract is alcohol-based, so adding it directly to warm chocolate without oil can make it clump instantly. The fix is to add 1 tsp oil before the extract, mix well, then add the extract. You could also omit that completely and just add an oil based peppermint extract.
Why did my layers separate?
Your bottom layer was too cold. Warm it slightly with a torch or let it sit at room temperature for a few minutes before adding the white chocolate on top next time.
Why are my candy canes melting into the chocolate?
Humidity. Store in a cool, dry place aka the fridge, or keep them in the freezer until you need them.
Gifting Ideas
Peppermint bark is one of the easiest desserts to gift:
- Package in clear cellophane bags
- Add a ribbon and a gift tag
- Stick in cookie boxes or holiday tins
- Add shards to hot chocolate kits
- Pair with other holiday cookies for a hostess gift
Frequently Asked Questions about this Peppermint Bark
You can but they won’t melt as smoothly as a chocolate bar because they contain stabilizers.
Yes! It’ll be a little sweeter so if you’re into that, go right ahead.
About ¼ inch per layer, if it’s too thick it will become a bit hard to bite.
You can, but if you use peppermint extract, there’s a high chance of seizing. Oil protects the chocolate from seizing on you. If you really want to skip it, use this oil based peppermint extract!
Use your hands for rustic pieces or lightly score with a knife first then break for a cleaner cut. Otherwise, allow your bark to sit at room temperature for a little before slicing into it with a sharp knife.

Classic Peppermint Bark
Equipment

Ingredients
- 12 oz semisweet chocolate or dark chocolate, chopped
- 12 oz white chocolate chopped
- 1 tsp coconut oil or shortening
- 1/2 tsp peppermint extract
- 7 candy canes crushed
Instructions
- Line a 9×13 inch baking sheet with parchment paper, letting it hang over the edges for easy removal. Set aside.
- Place the candy canes in a zip-top bag, seal it, then place inside another bag for extra protection. Use a rolling pin to crush them into a mix of fine pieces and small chunks. Set aside.7 candy canes
- Place the chopped semisweet chocolate in a microwave-safe bowl. Microwave in 30-second intervals, stirring thoroughly between each interval, until completely melted and smooth (about 1.5-2 minutes total).12 oz semisweet chocolate
- Pour the melted dark chocolate onto the prepared baking sheet. Use an offset spatula to spread it into an even layer about 1/4 inch thick. Tap the pan firmly on the counter 3-4 times to release air bubbles and create a smooth surface.
- Refrigerate for about 10-15 minutes, just until the chocolate has started to firm up but still has a slight tackiness when you press it lightly. You don’t want it rock-hard, a tiny bit of stick helps the white chocolate layer grip and bond.
- Place the chopped white chocolate in a clean microwave-safe bowl. Microwave in 20-second intervals (white chocolate burns more easily than dark/semi-sweet!), stirring thoroughly between each interval, until melted and smooth. Stir in the coconut oil, then add in the peppermint extract.12 oz white chocolate, 1 tsp coconut oil, 1/2 tsp peppermint extract
- Once the dark chocolate is fully set, pour the melted white chocolate over it. Quickly spread into an even layer with an offset spatula, working gently so you don't disturb the dark chocolate underneath. Tap the pan on the counter again to smooth.
- Immediately sprinkle the crushed candy canes evenly over the white chocolate layer while it's still wet. Gently press down with your hand to help them stick.
- Refrigerate for at least 1 hour, or until completely firm and set throughout.
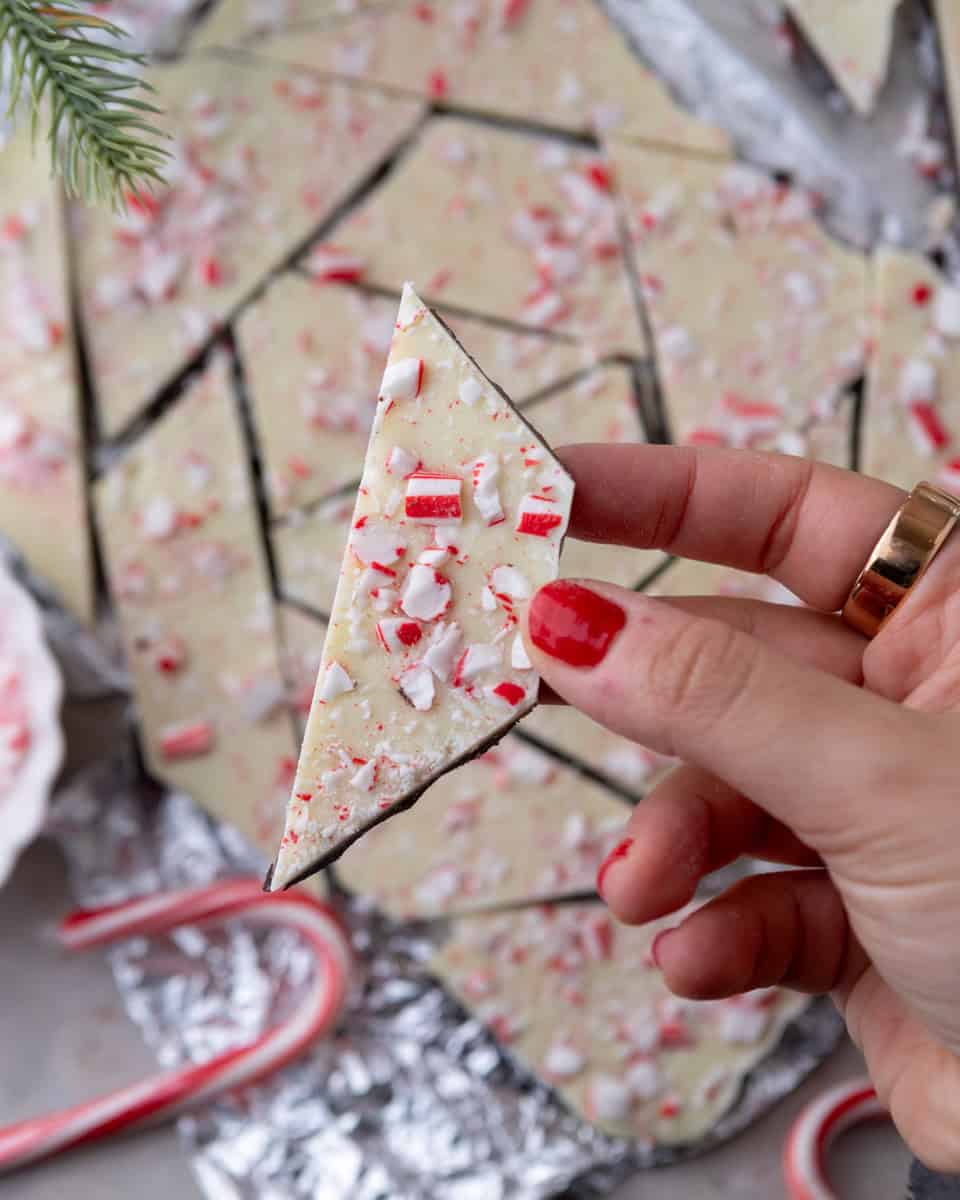
- Remove the bark from the pan by lifting the parchment paper. Break into irregular pieces by hand for a rustic look, or score lightly with a knife before breaking for cleaner edges. Let sit at room temperature for 10 minutes before serving for the best texture and flavor.
Notes
Nutrition
Nutrition information is automatically calculated, so should only be used as an approximation.


After making this recipe, I’ll never buy store-made peppermint bark again! It is absolutely addictive which gets me into trouble sometimes with slight belly-aches! Just so fresh and delicious!