This post may contain affiliate links. Please read our disclosure policy.
 I don’t know if you know but a year ago exactly, I started my food blog. I was in my last semester of college, 3 months away from getting my marketing bachelor’s diploma, a little bit confused and kind of scared. I really had no clue what I was going to do with my life.
I knew I wanted to be self-employed, set my own schedule, and work whenever wherever I wanted to do it. I also knew that it was going to be a long road ahead. it often is very hard too!! Many of us put in so much work while seeing little to no results at all whatsoever. This is the sole reason why so many people tend to quit, and yet here I am today writing my one-year anniversary blog post!
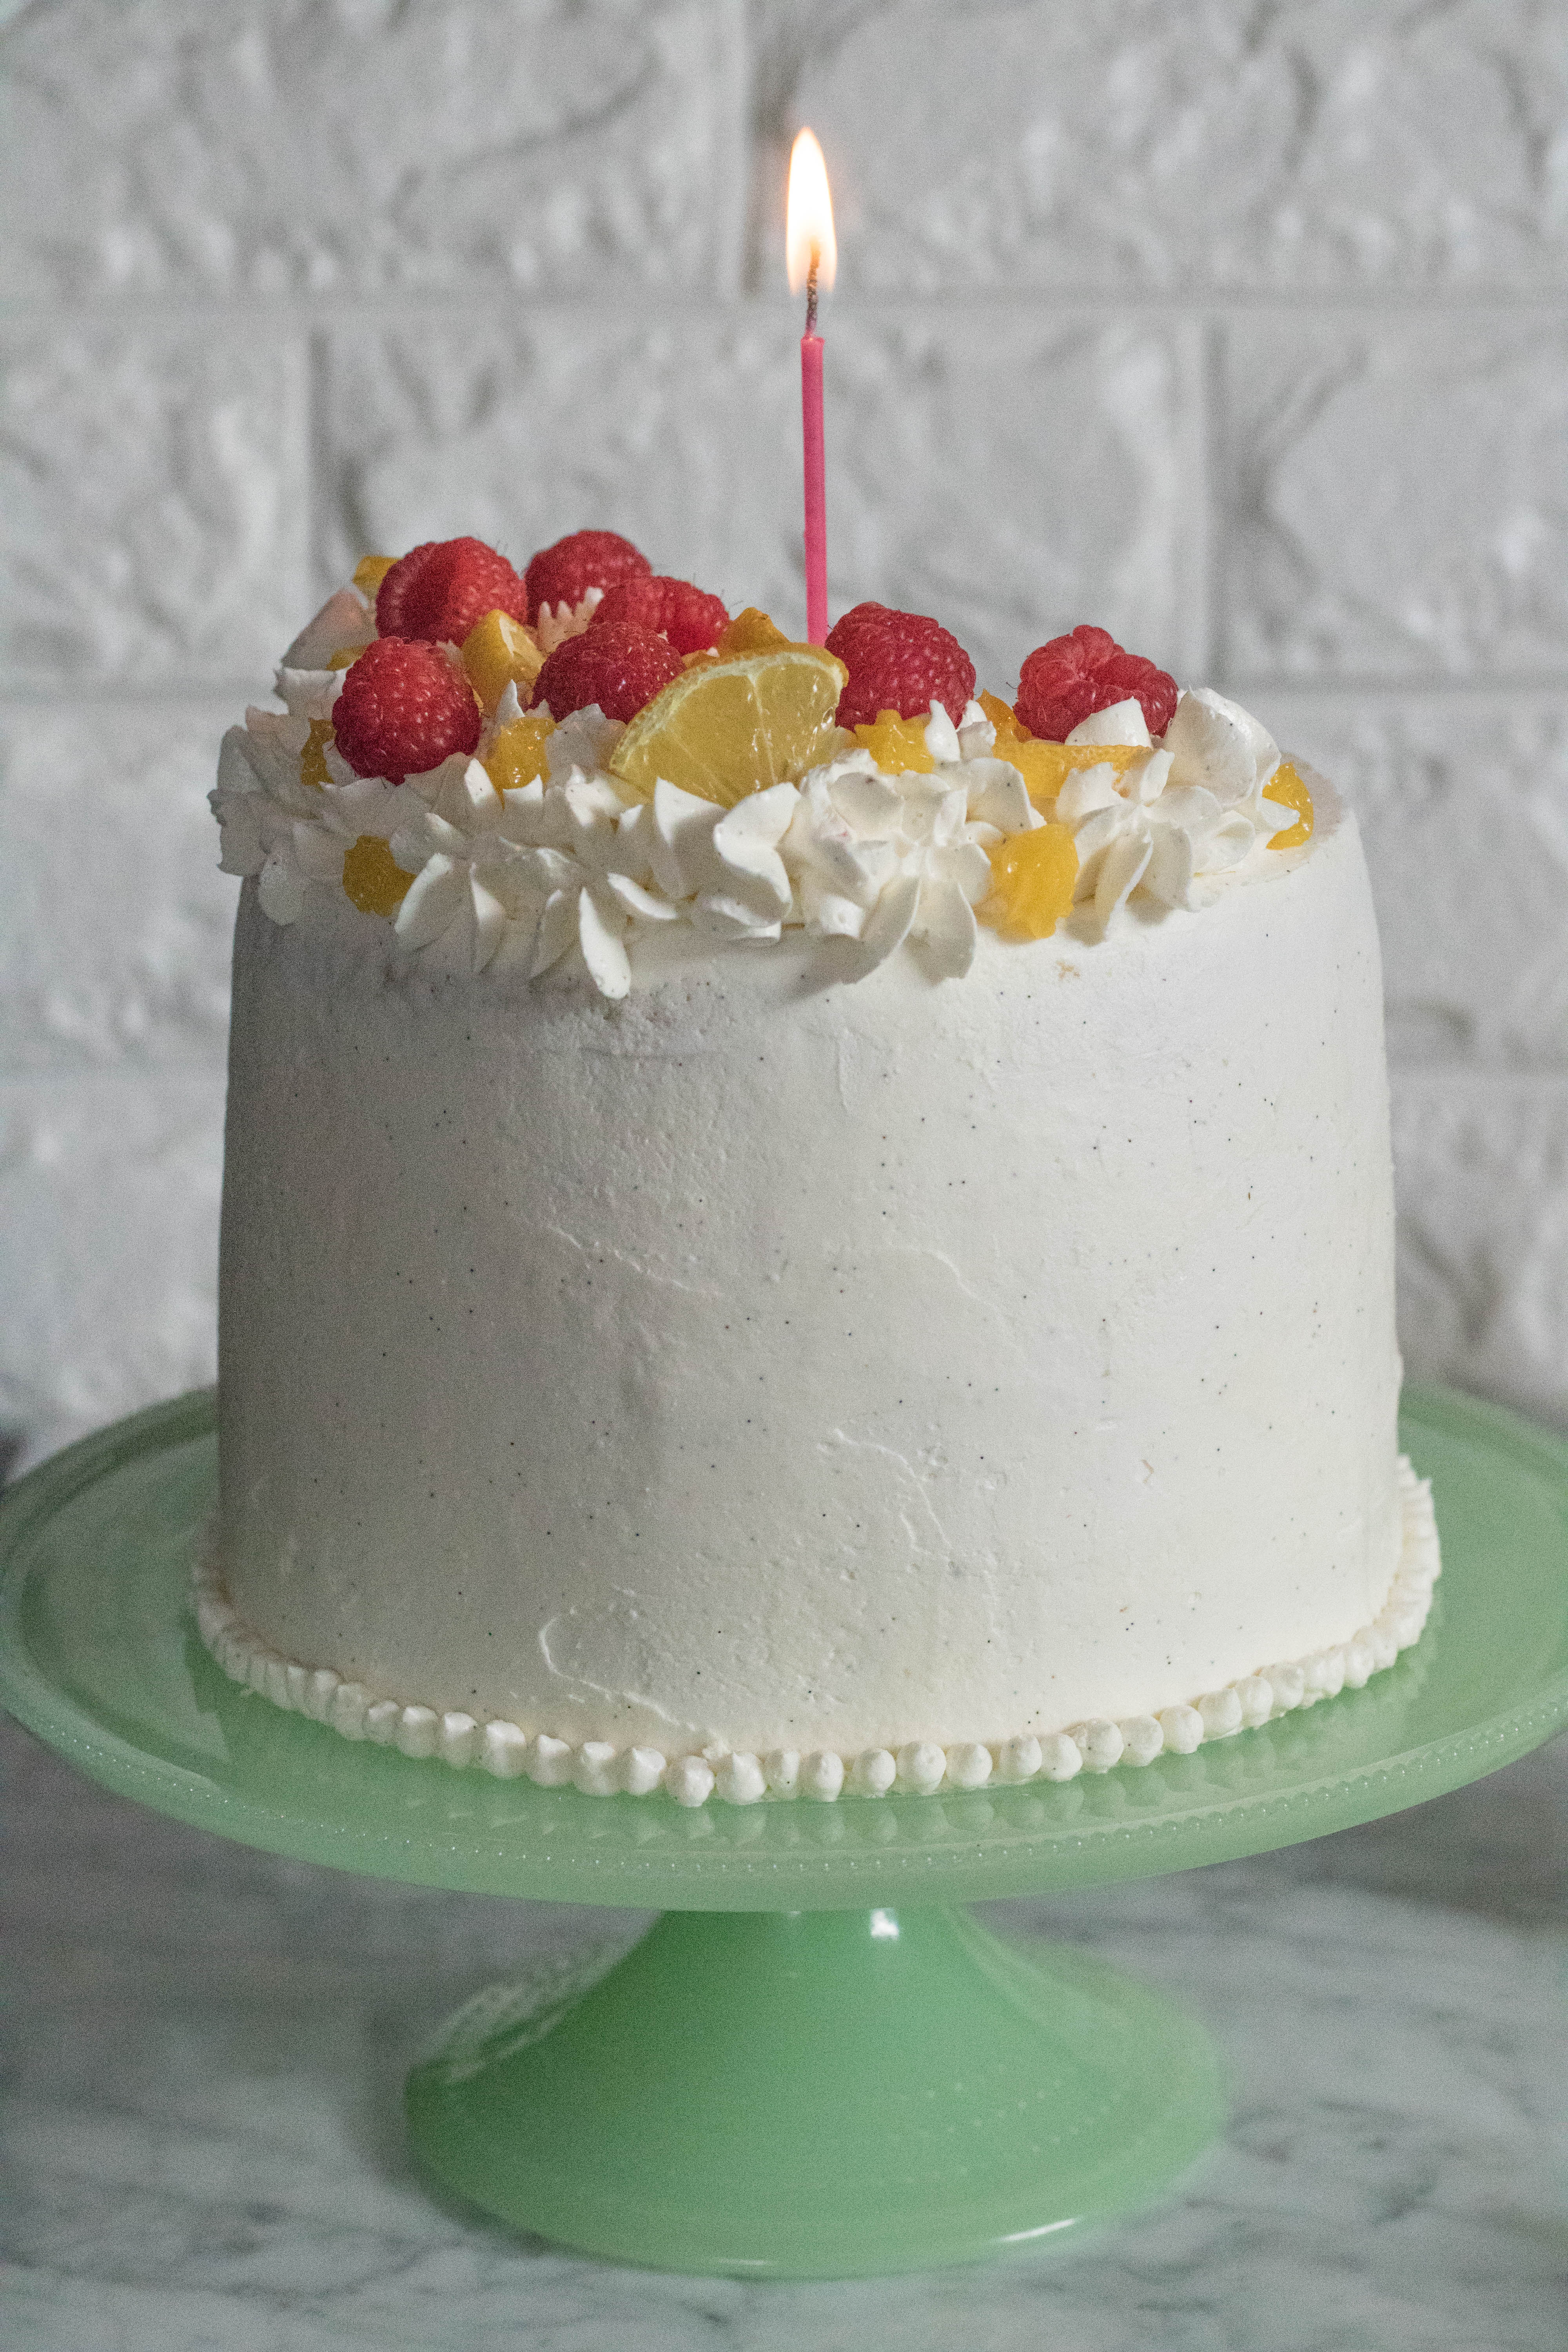
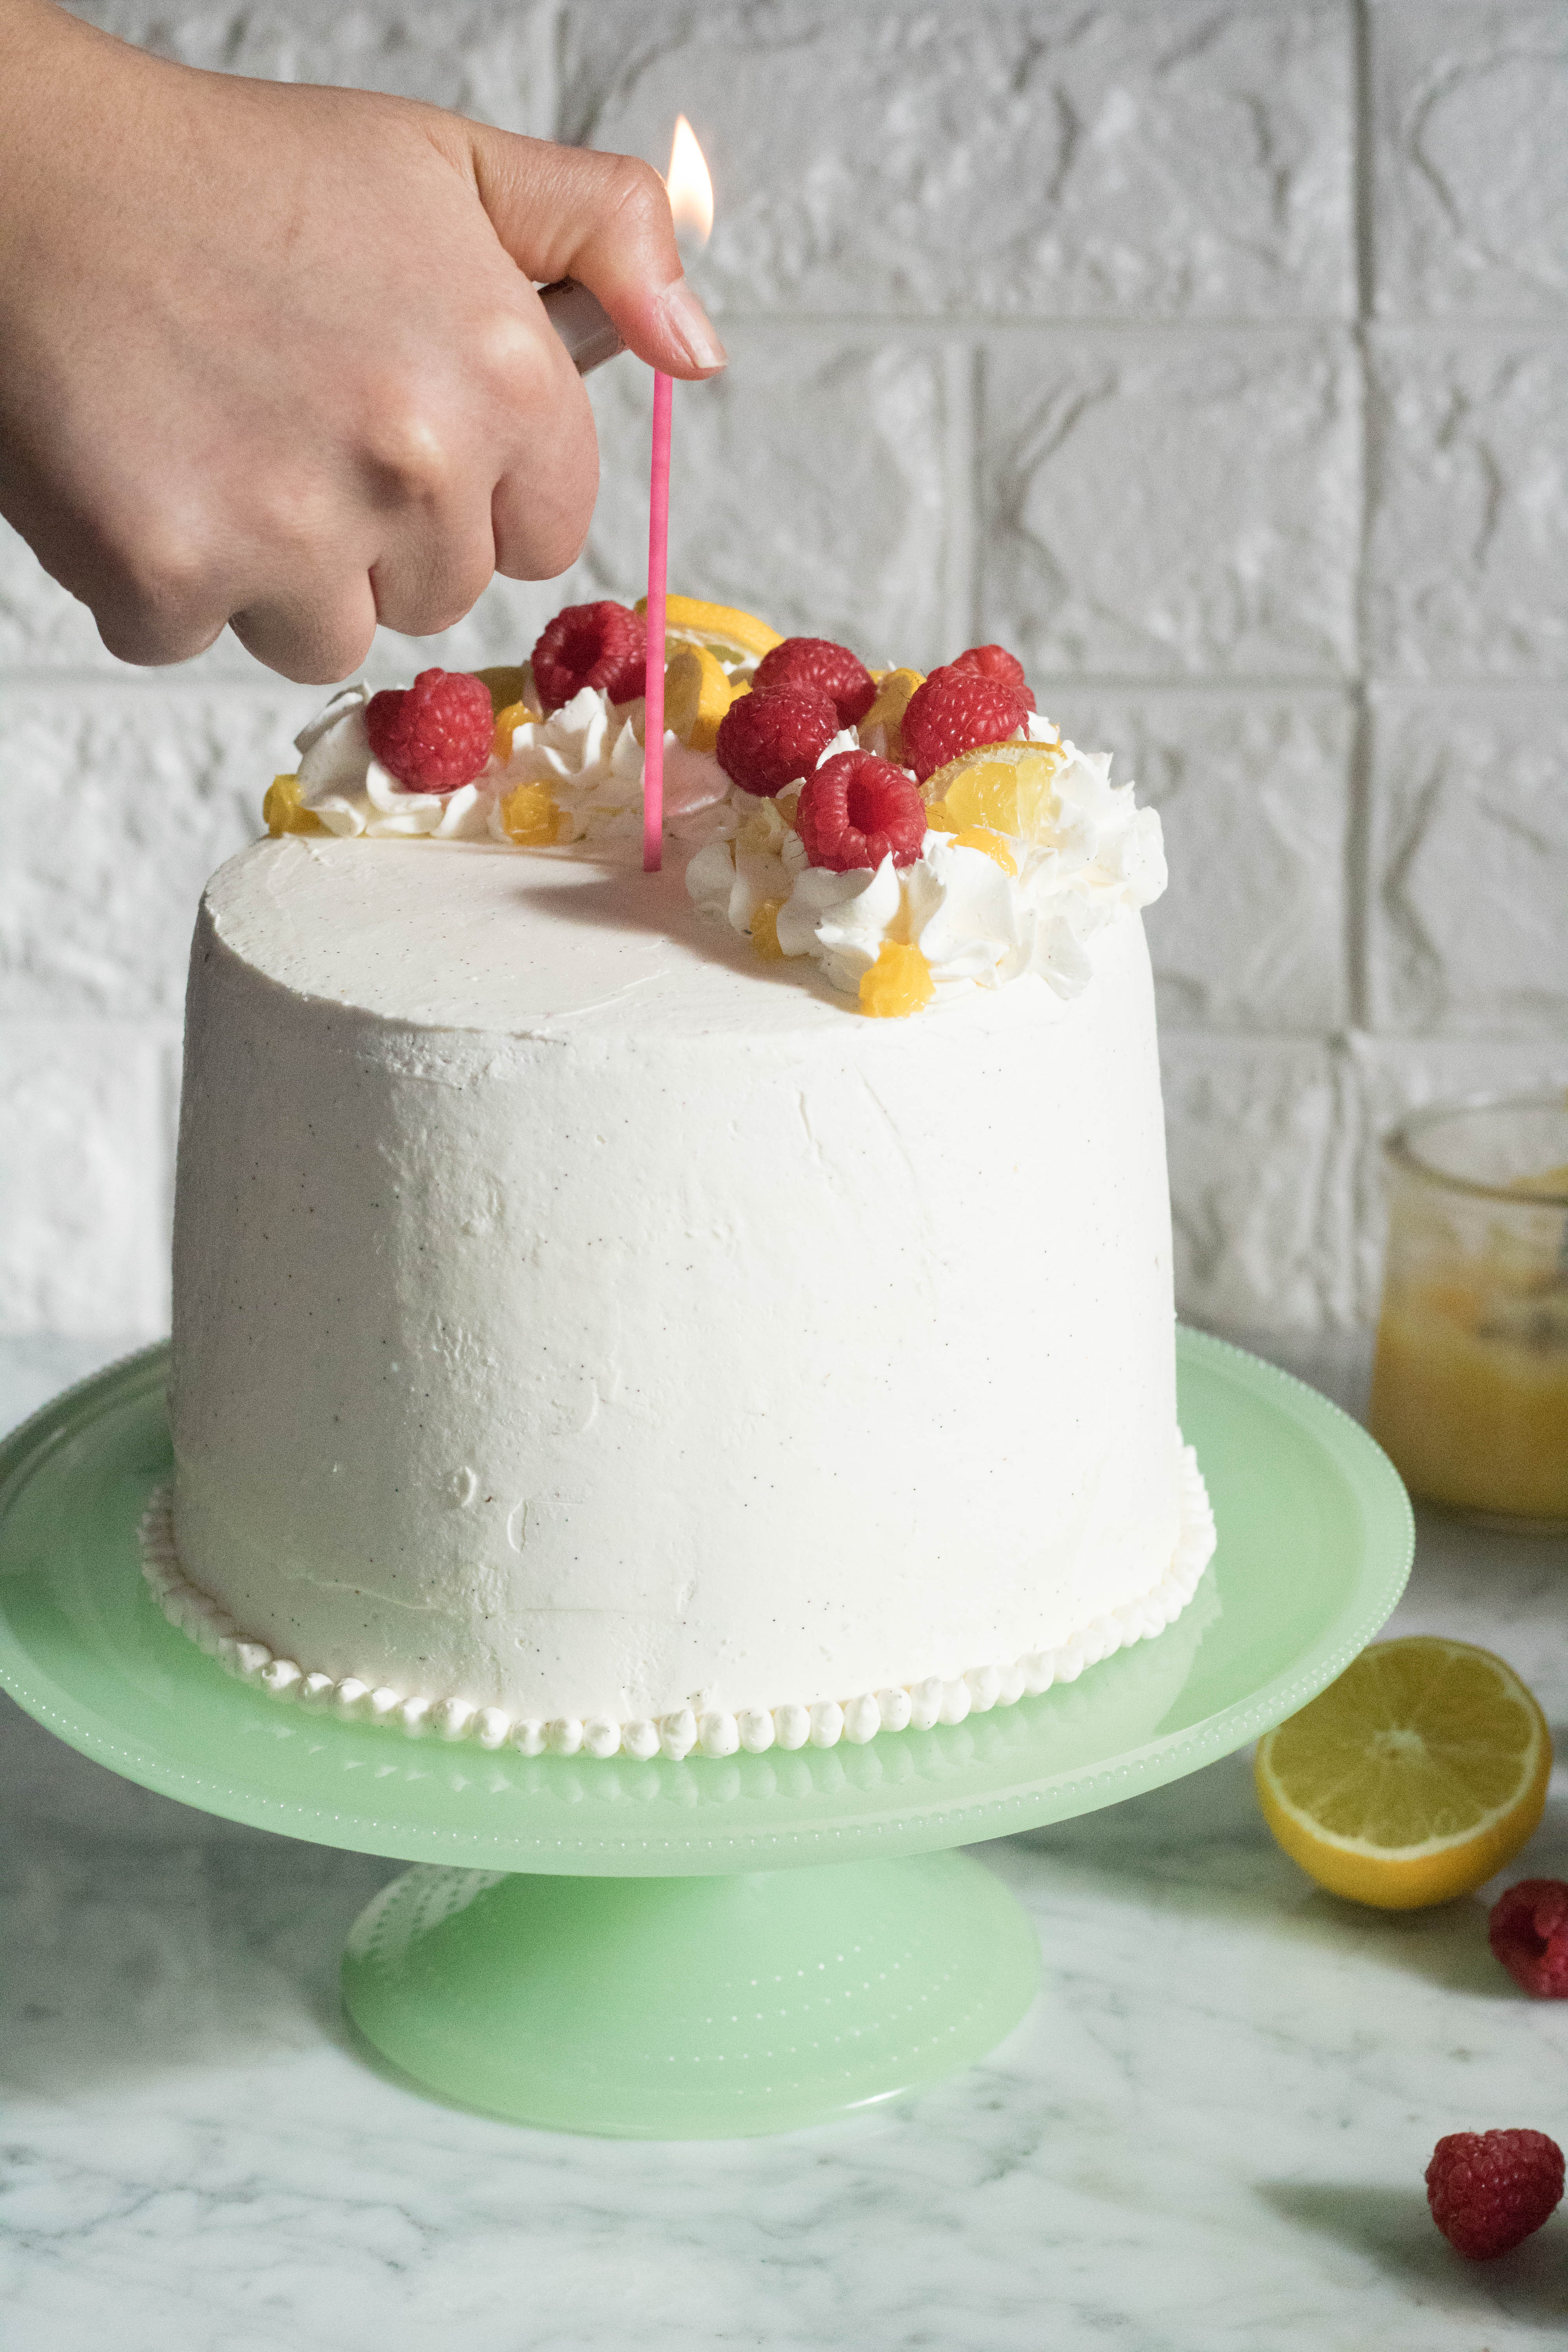 Today I am so happy to be able to share with you this cake that I have made in celebration of my 1 year anniversary on lifestyleofafoodie. To be completely real and transparent I did make this cake for my little sister’s birthday. It was on April 2nd and since it was so close to my 1 year anniversary, I thought why not !? this would be a great post to share for such an occasion.
First, I do want to tell every blogger that it is hard, and it could be such a struggle to make it in this oversaturated word of bloggers sometimes. But I truly believe that if we try hard enough we will make it. As for me, I will continue providing you guys with amazing recipes that I hope you love and enjoy making in the comfort of your own home.
 But all of this to say, that if you really want something do not give up keep going as hard as you can until you see the progress and the results that you have been working so hard for. let’s think about it this way, let’s say you have been doing something for a couple of years, if you quit when you feel discouraged, imagine what an extra day, week or month could’ve brought.
One thing is for sure, if you give up too soon, you don’t know what you will be missing 🙂
Anyways, time to give you guys some background about this oh so mouthwatering Layered Vanilla Cake with Lemon Curd & Vanilla Bean Italian Meringue Buttercream.
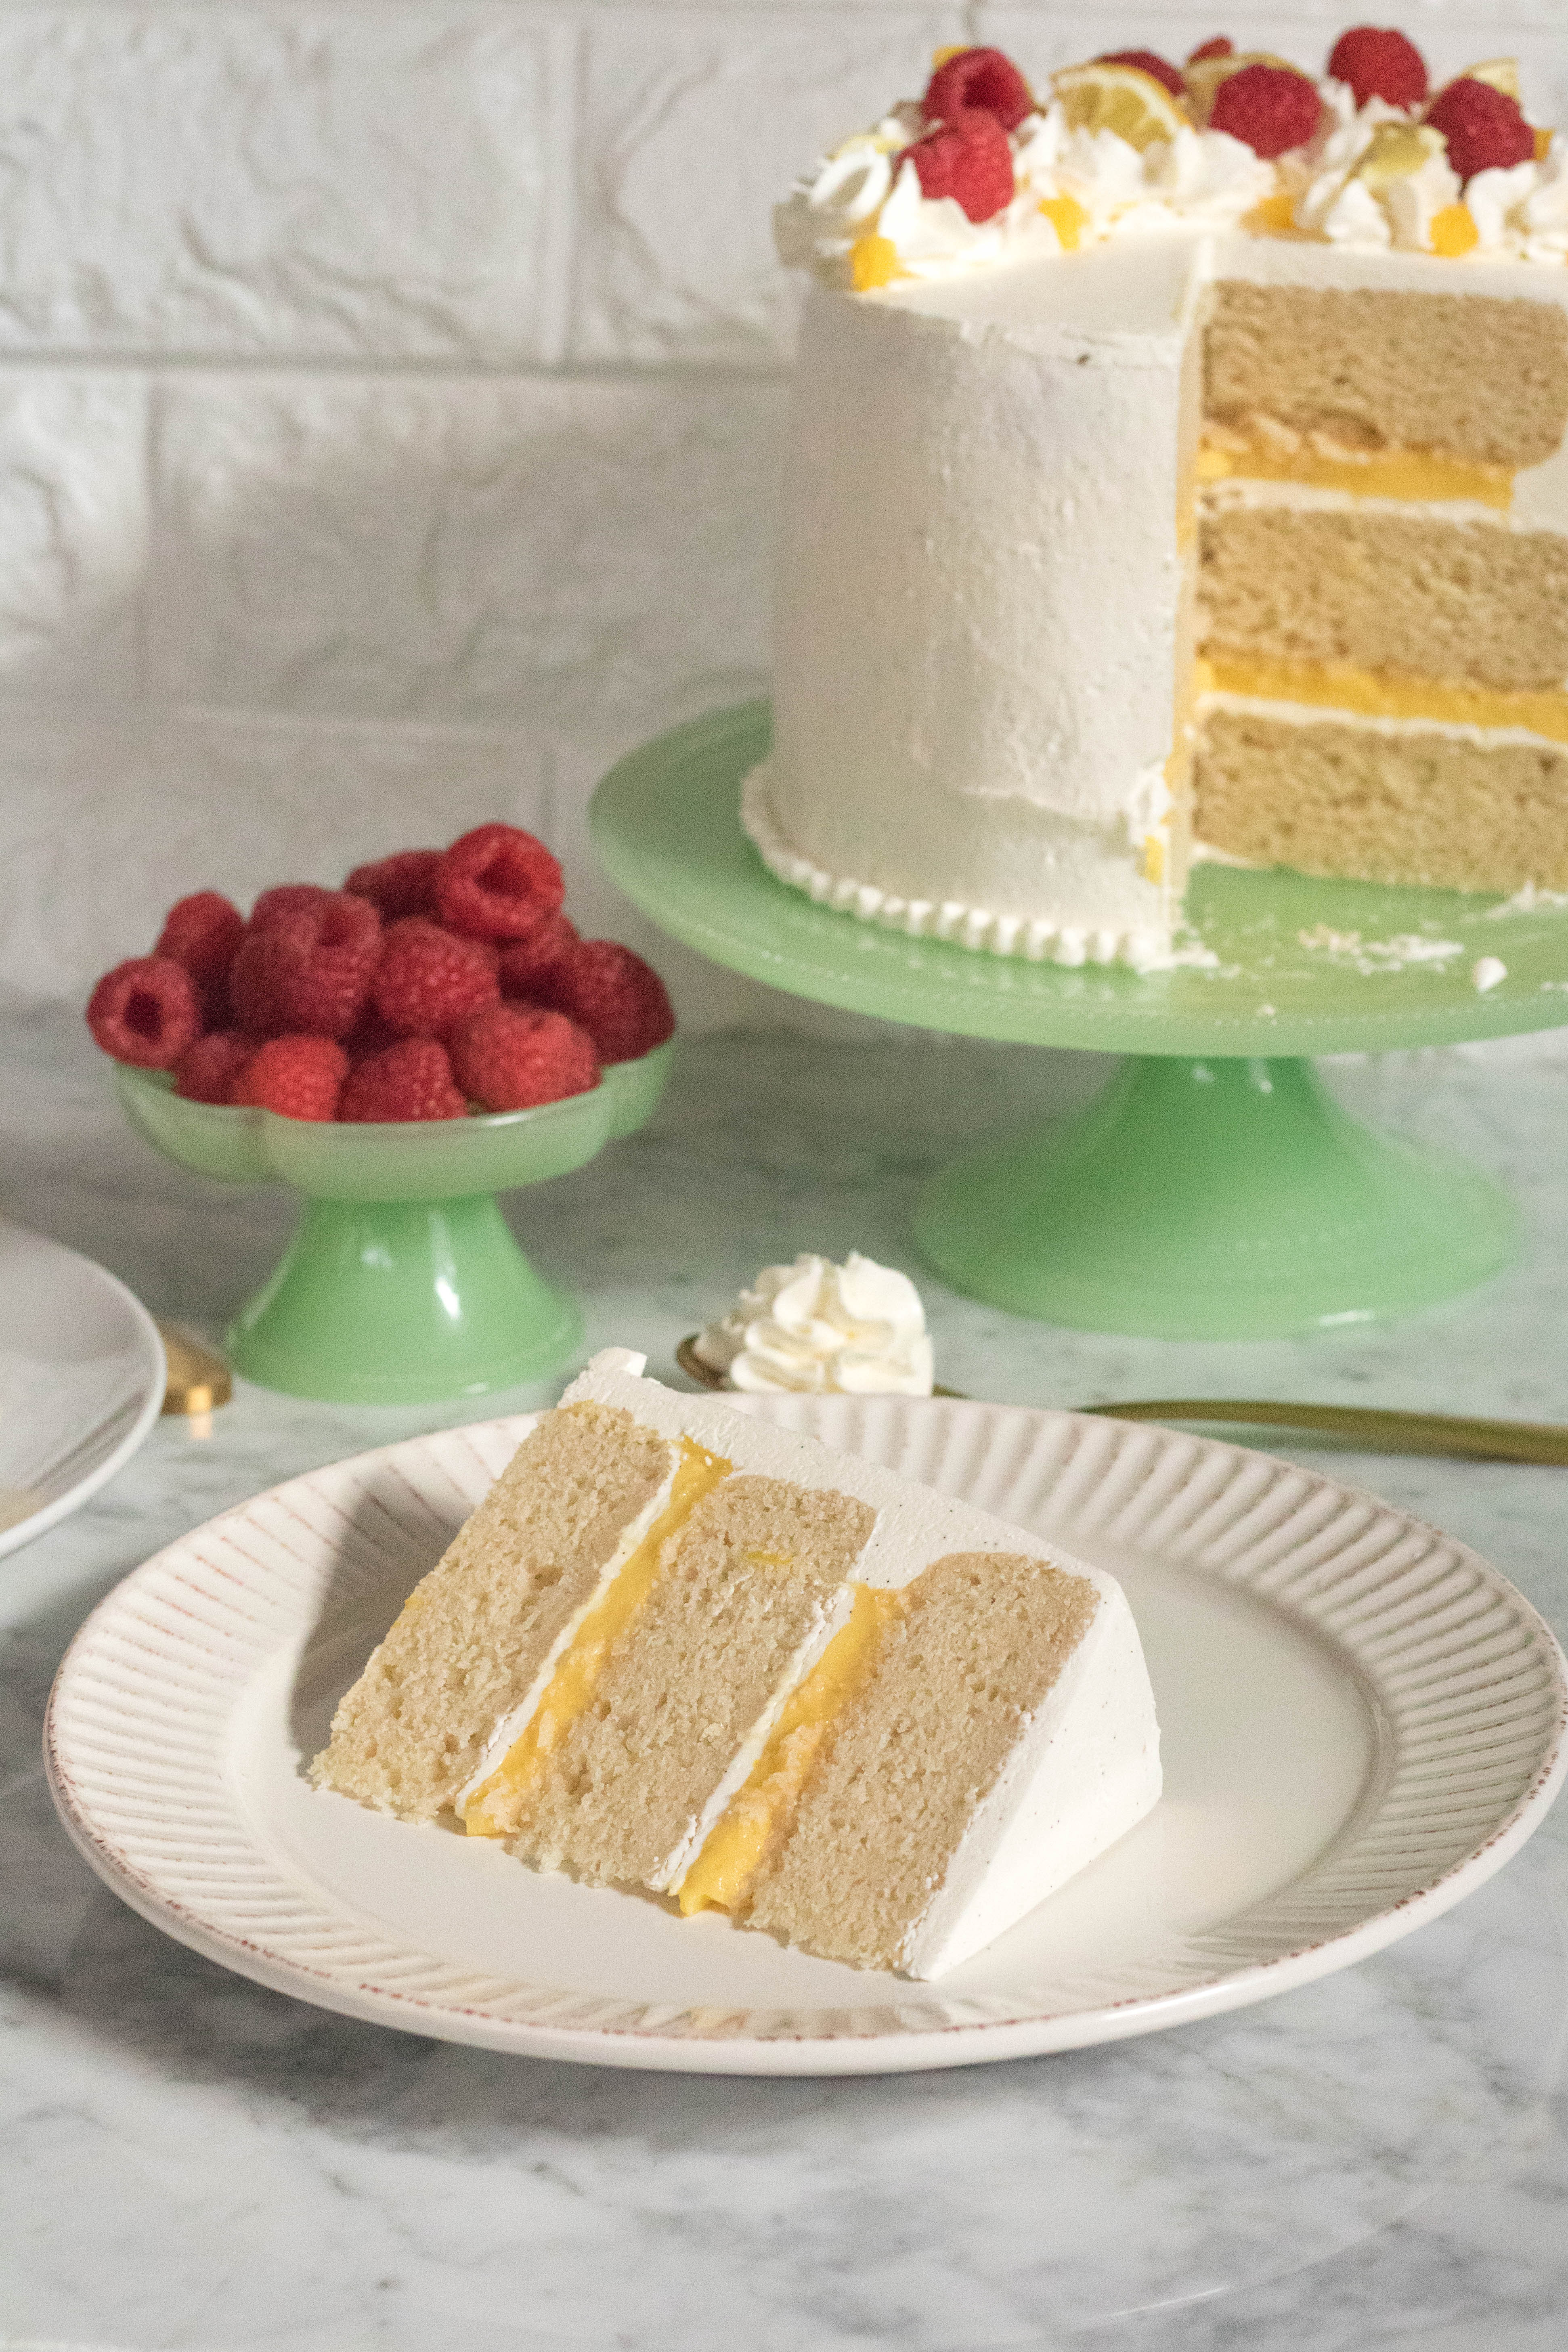 In this recipe, I wanted to highlight pretty much three of my favorite things. I love me some good vanilla cake, a little tangy and tart lemon curd, and a silky smooth vanilla bean Italian meringue buttercream. If you’re like me you know what I’m talking about, this combination of flavors and textures is one of the best out there and if you haven’t made something similar, I urge you to try this as soon as possible. But make sure to give yourself enough time to realize this recipe because it does take some effort. You could also prepare some components of this Layered Vanilla Cake with Lemon Curd in advance just to make your life easier.
Now, let me talk a little bit more about this amazing vanilla cake, I did some research on the internet to find the best vanilla cake that would work for this recipe!! After a couple hours of reading reviews, watching youtube videos, and trying to analyze every recipe, I decided to go with the recipe from The preppy Kitchen.
John the author on this blog had the perfect recipe to make 3 equal 6-inch cakes that have a flat top and stay moist! I was specifically looking for something that would not need any trimming because I always try to avoid wasting anything! When John was explaining how to make these, he stressed the fact that you should use fabric strips to ensure proper even baking throughout the whole cake. These work by cooling down the size of the cake, to allow the whole thing to bake at the same time. Without this, the cake sides bake a lot faster than the middle does which will then result in a bump in the middle of your cakes.
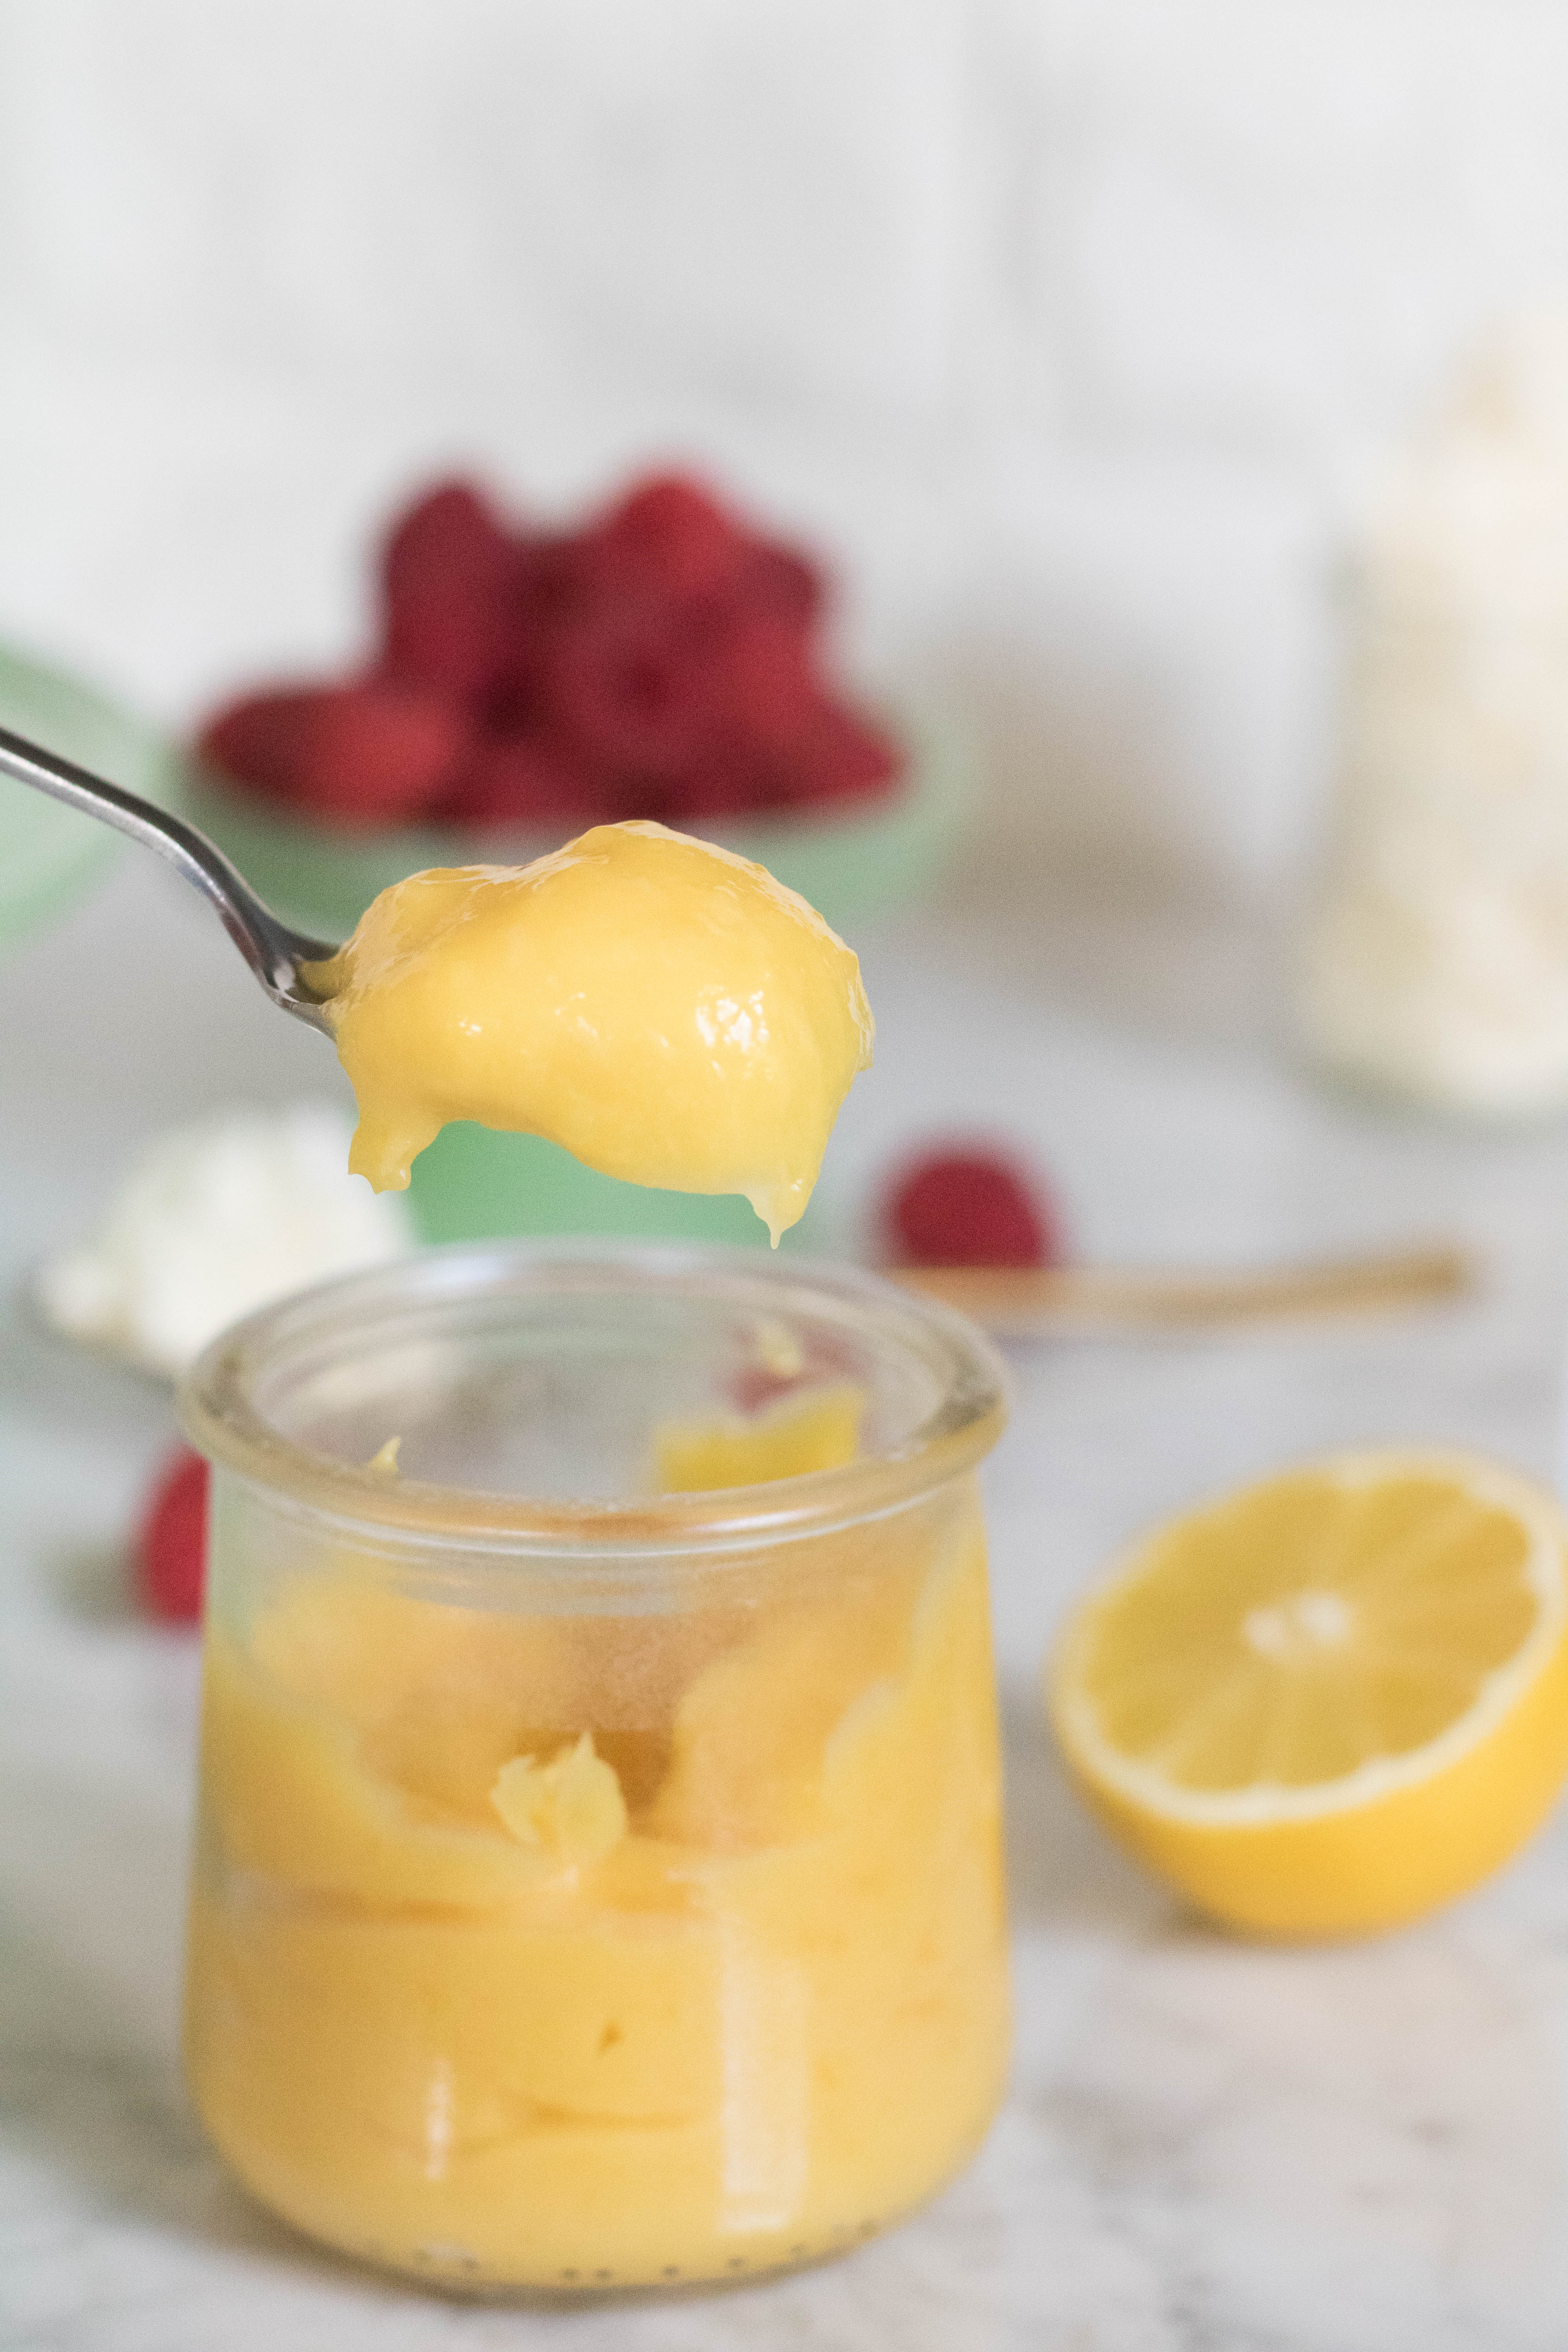 After talking about the layers of this vanilla cake, I want to highlight its filling!
To me, lemon curd is something that I have been making ever since I was a child (my mom loves to make and eat lemon pies so… I have a lot of practice under my belt.) I also have done a 3-month internship with a very famous pastry chef here in Las Vegas and had to make a lemon curd about twice a week, so that helped me learn the technique to the perfect lemon curd.
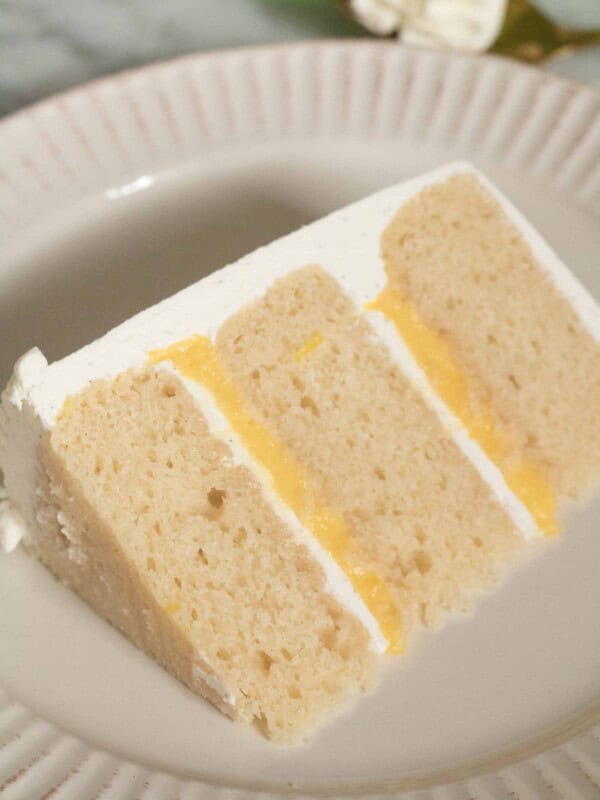
When making this lemon curd, we first start by heating up the lemon juice, then tempering that into the sugar and egg yolk mixture, and then we would hand blend the butter into it. The result will be a very stable lemon curd that works so well with this cake. When you cut into it you can see the exact layers in there which makes for a very satisfying cake.
Alright, I saved the best for last!!! One of the components that I am the proudest of has to be the vanilla bean Italian meringue buttercream.
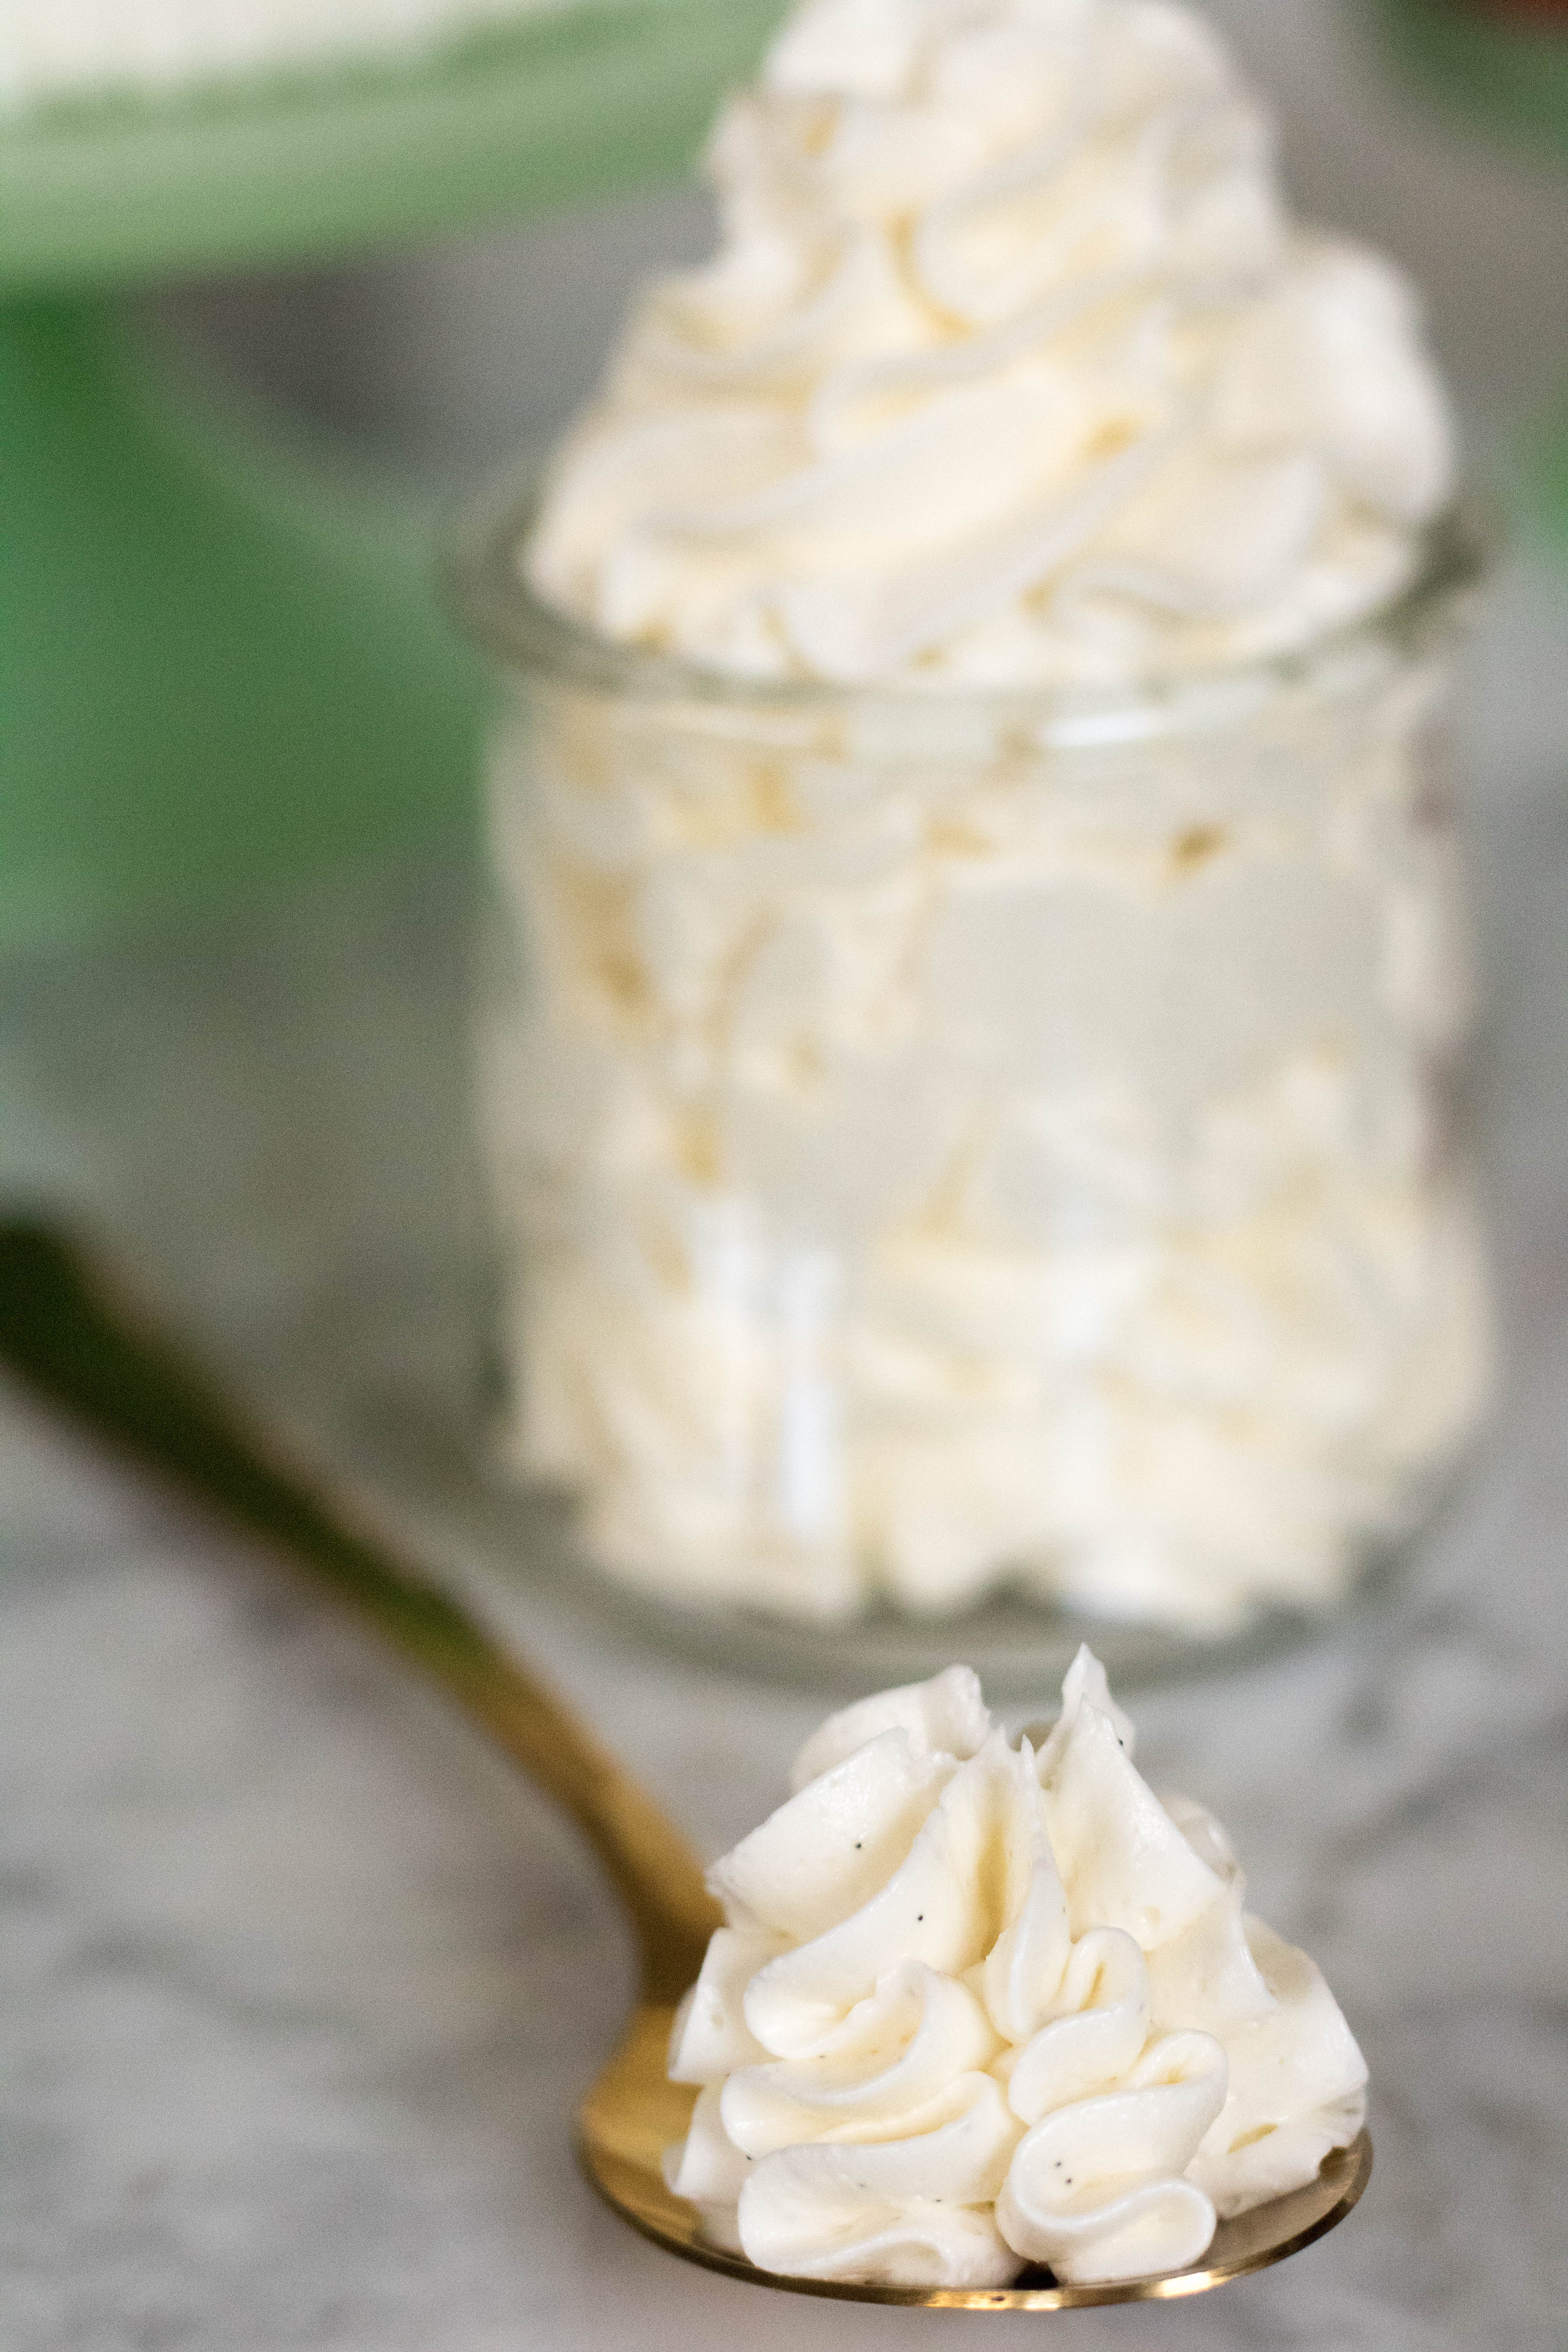 I’ve always made the regular American buttercream but I felt like it was often too sweet and did not taste good with the cakes that I would make. I would often be so heavy and sweet that it would take away from the beautiful flavors of the cakes and fillings!
So this time I took it upon myself to try something new. And Oh my!!! how proud of myself I was at the end of this little challenge. I actually had to make this buttercream twice because the first time I followed The recipe from Yolanda’s baking website “how to cake it”. But for some reason, my buttercream didn’t cool down enough even after 20 minutes of whipping. while whipping my meringue I added two little chunks of butter that were at room temperature, right away everything collapsed. it became a soupy mess.
Well, that was a fail…
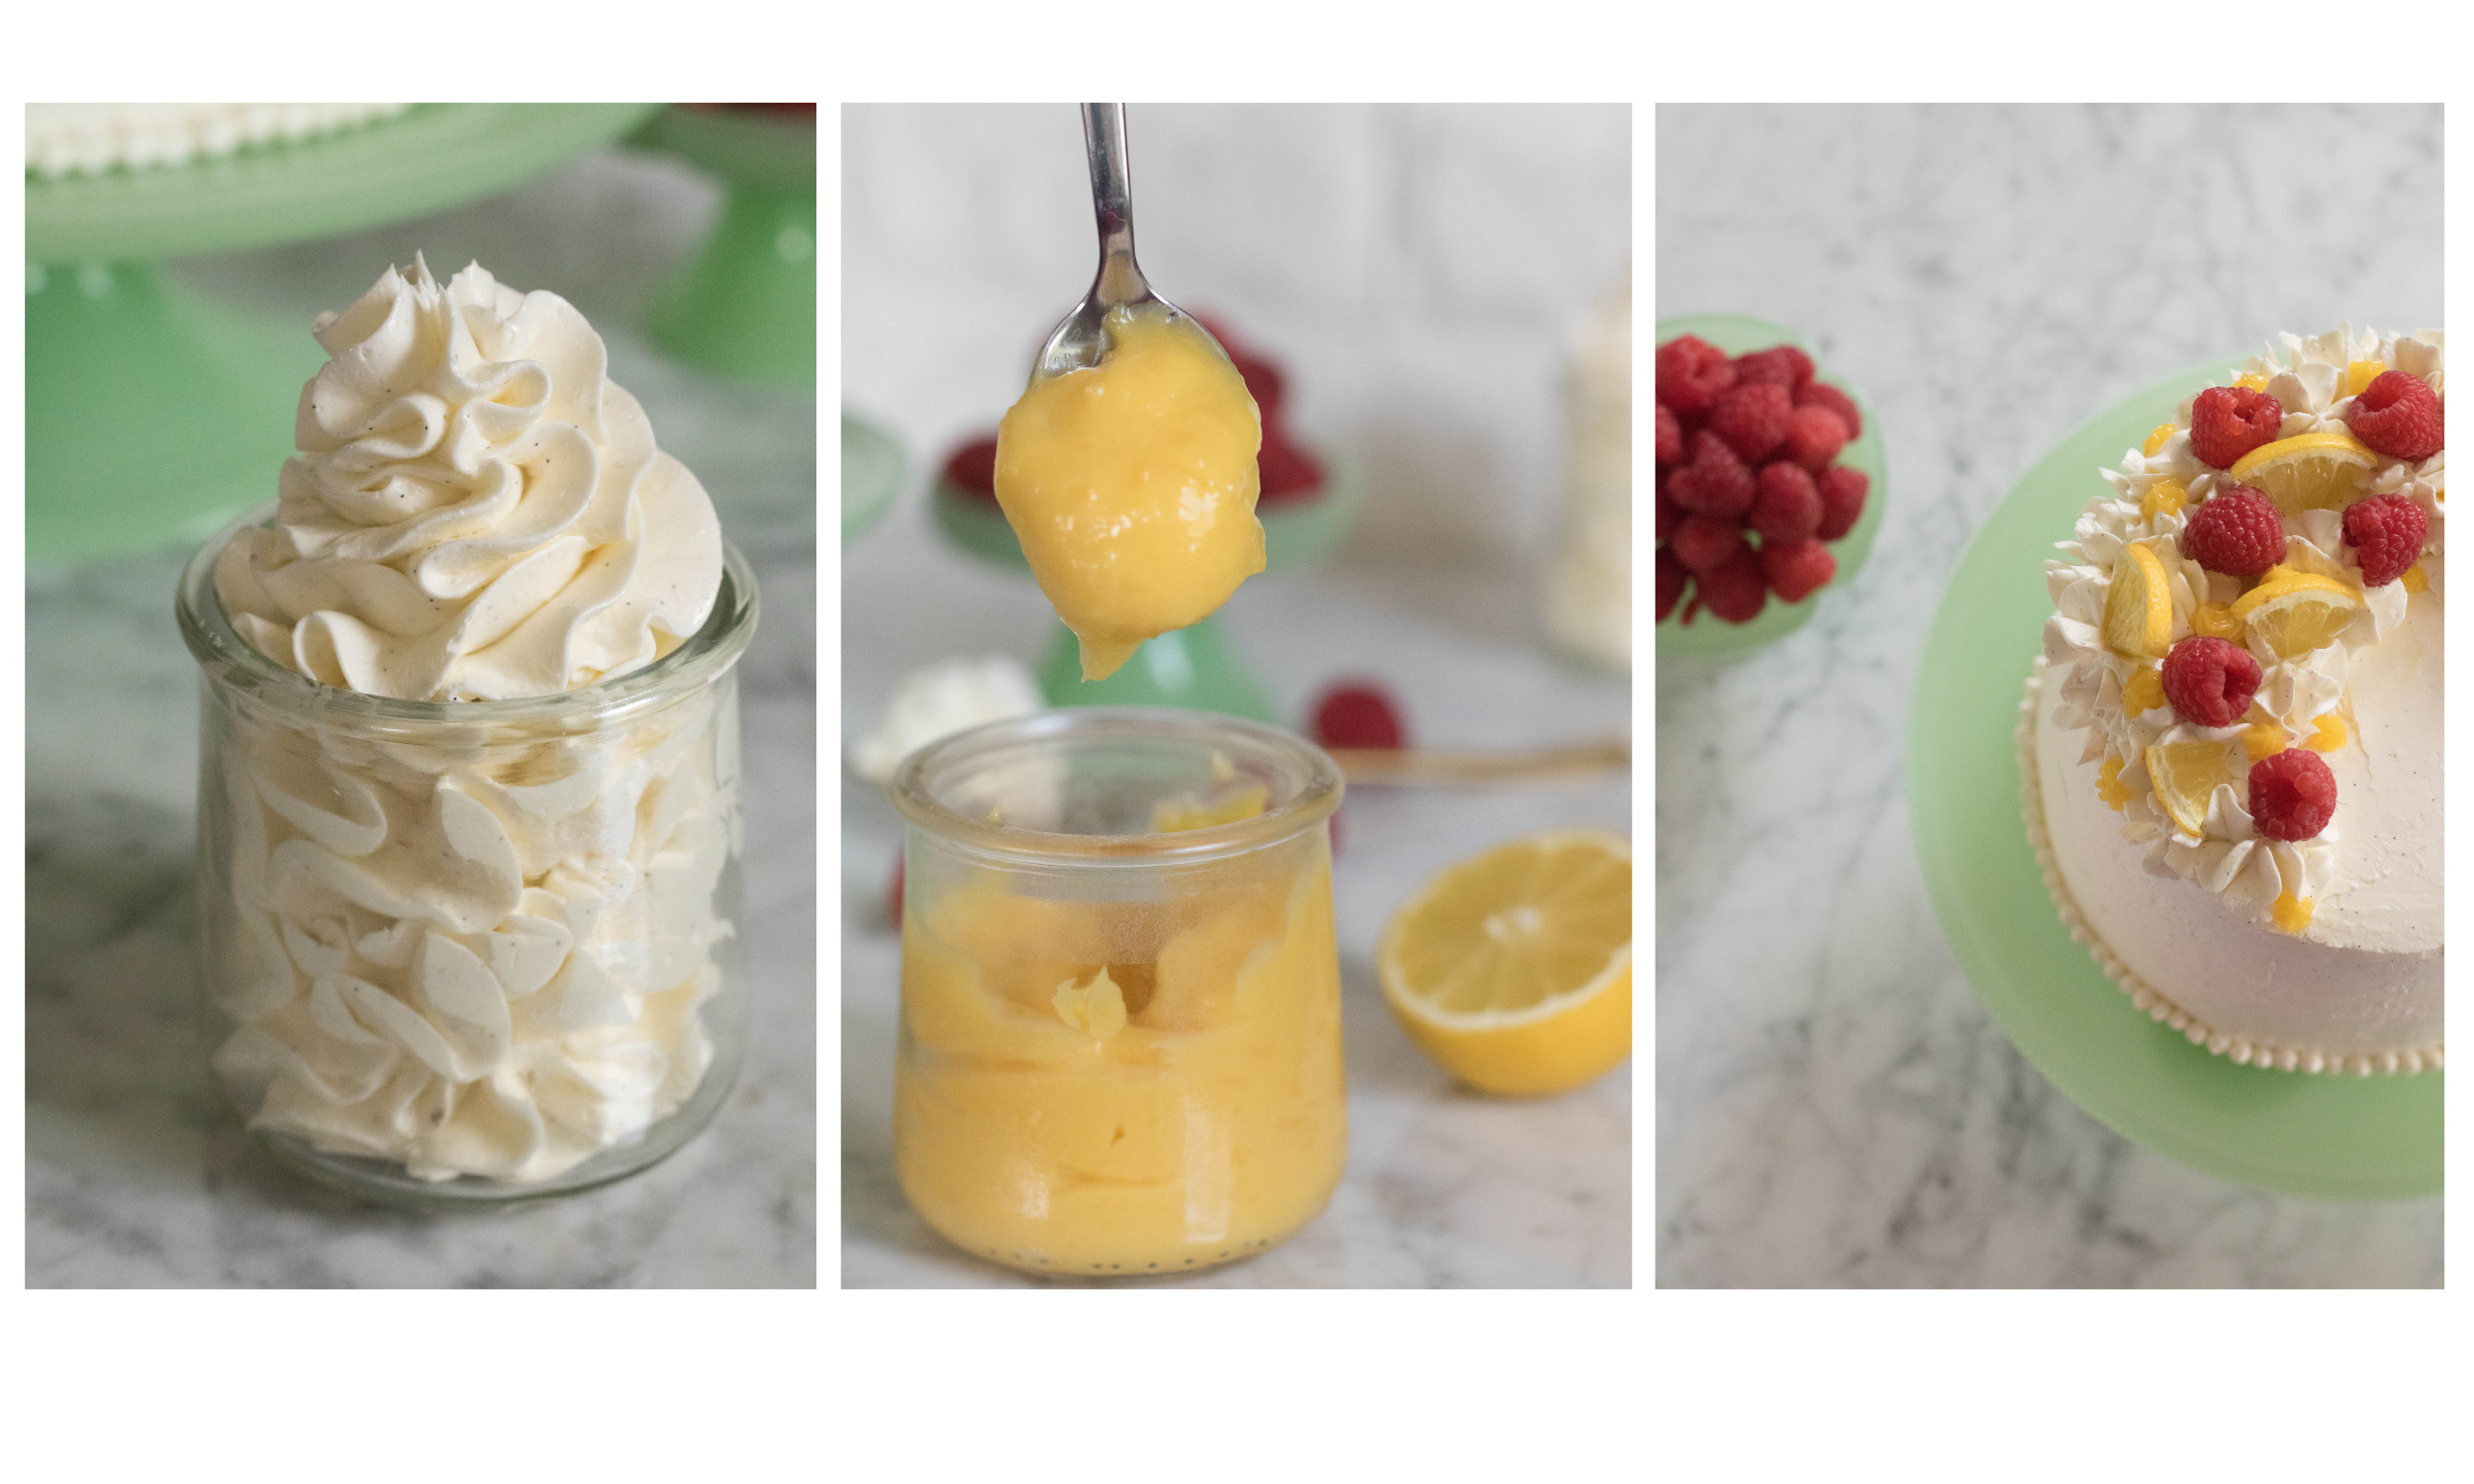
Right as that happened I knew that something went wrong so I put that batch away in the freezer to cool it down a bit and see if I could do something with it later and started another batch. For the second batch, I made sure that the meringue was at the right temperature, the mixing bowl had to be cool enough to the touch. I then started adding the butter slowly and the texture of this buttercream started coming together nicely. it was so smooth and silky with the specs of vanilla beans in there which added both great flavor and a sophisticated look to the buttercream.
Tips and Tricks to make the best-layered cake
For this section, I am so proud to have had the opportunity to collaborate with two other talented food bloggers. Below, I have guest posts from Ashley from Foodislife, as well as Ai from Aimadeitforyou.Getting the cakes out of the pan:
- One of the biggest keys to baking a beautiful cake is to make sure that the cake is going to come out of the pan! You’ve put in time, effort, and maybe even a little sweat from using elbow grease, so it’s incredibly heartbreaking when your beautifully baked cake stays stuck to the pan. Greasing the cake pan and lining it with parchment paper is so easy yet crucial. Trace the bottom of your pan on a piece of parchment paper with a pencil and then cut it out with scissors. You could even go an extra step and line the sides of the pan as well for an easier release!
Ai from Aimadeitforyou
Perfect Leveling:
- Occasionally the top of the cake bakes unevenly. If this happens, place the top face down on the cake board. On the side that it is uneven, place a dollop of icing on the cake board, and gently press the cake down to make it level. This also prevents the entire cake from moving around on the board once it’s decorated!
Ashley from Foodislife
- The most accurate way to make sure that the thickness of the cake layers are the same is to weigh the batter so each cake pan has equal amounts of batter in them. When pouring the batter into the cake pans, place each pan on a kitchen scale and make sure each weighs the same. If you don’t have a kitchen scale, you could use measuring cups, or eyeball it. It won’t be as accurate as using a scale, but it’ll do in a pinch.
Ai from Aimadeitforyou
- If your cakes have uneven heights or have domed tops, you could use a ruler and mark the sides of the cake and slice the top off. Lay your clean ruler against the cake vertically and go around the cake making marks with your knife at the height you want it to be at. Once you have several marks, use your knife to carefully slice the excess off while making sure to connect the marks you made. When I make cakes for a client, in addition to slicing the domes off, I also slice the caramelization off the bottom and sides. This creates for a more even and beautiful look when the cake is sliced.
Ai from Aimadeitforyou
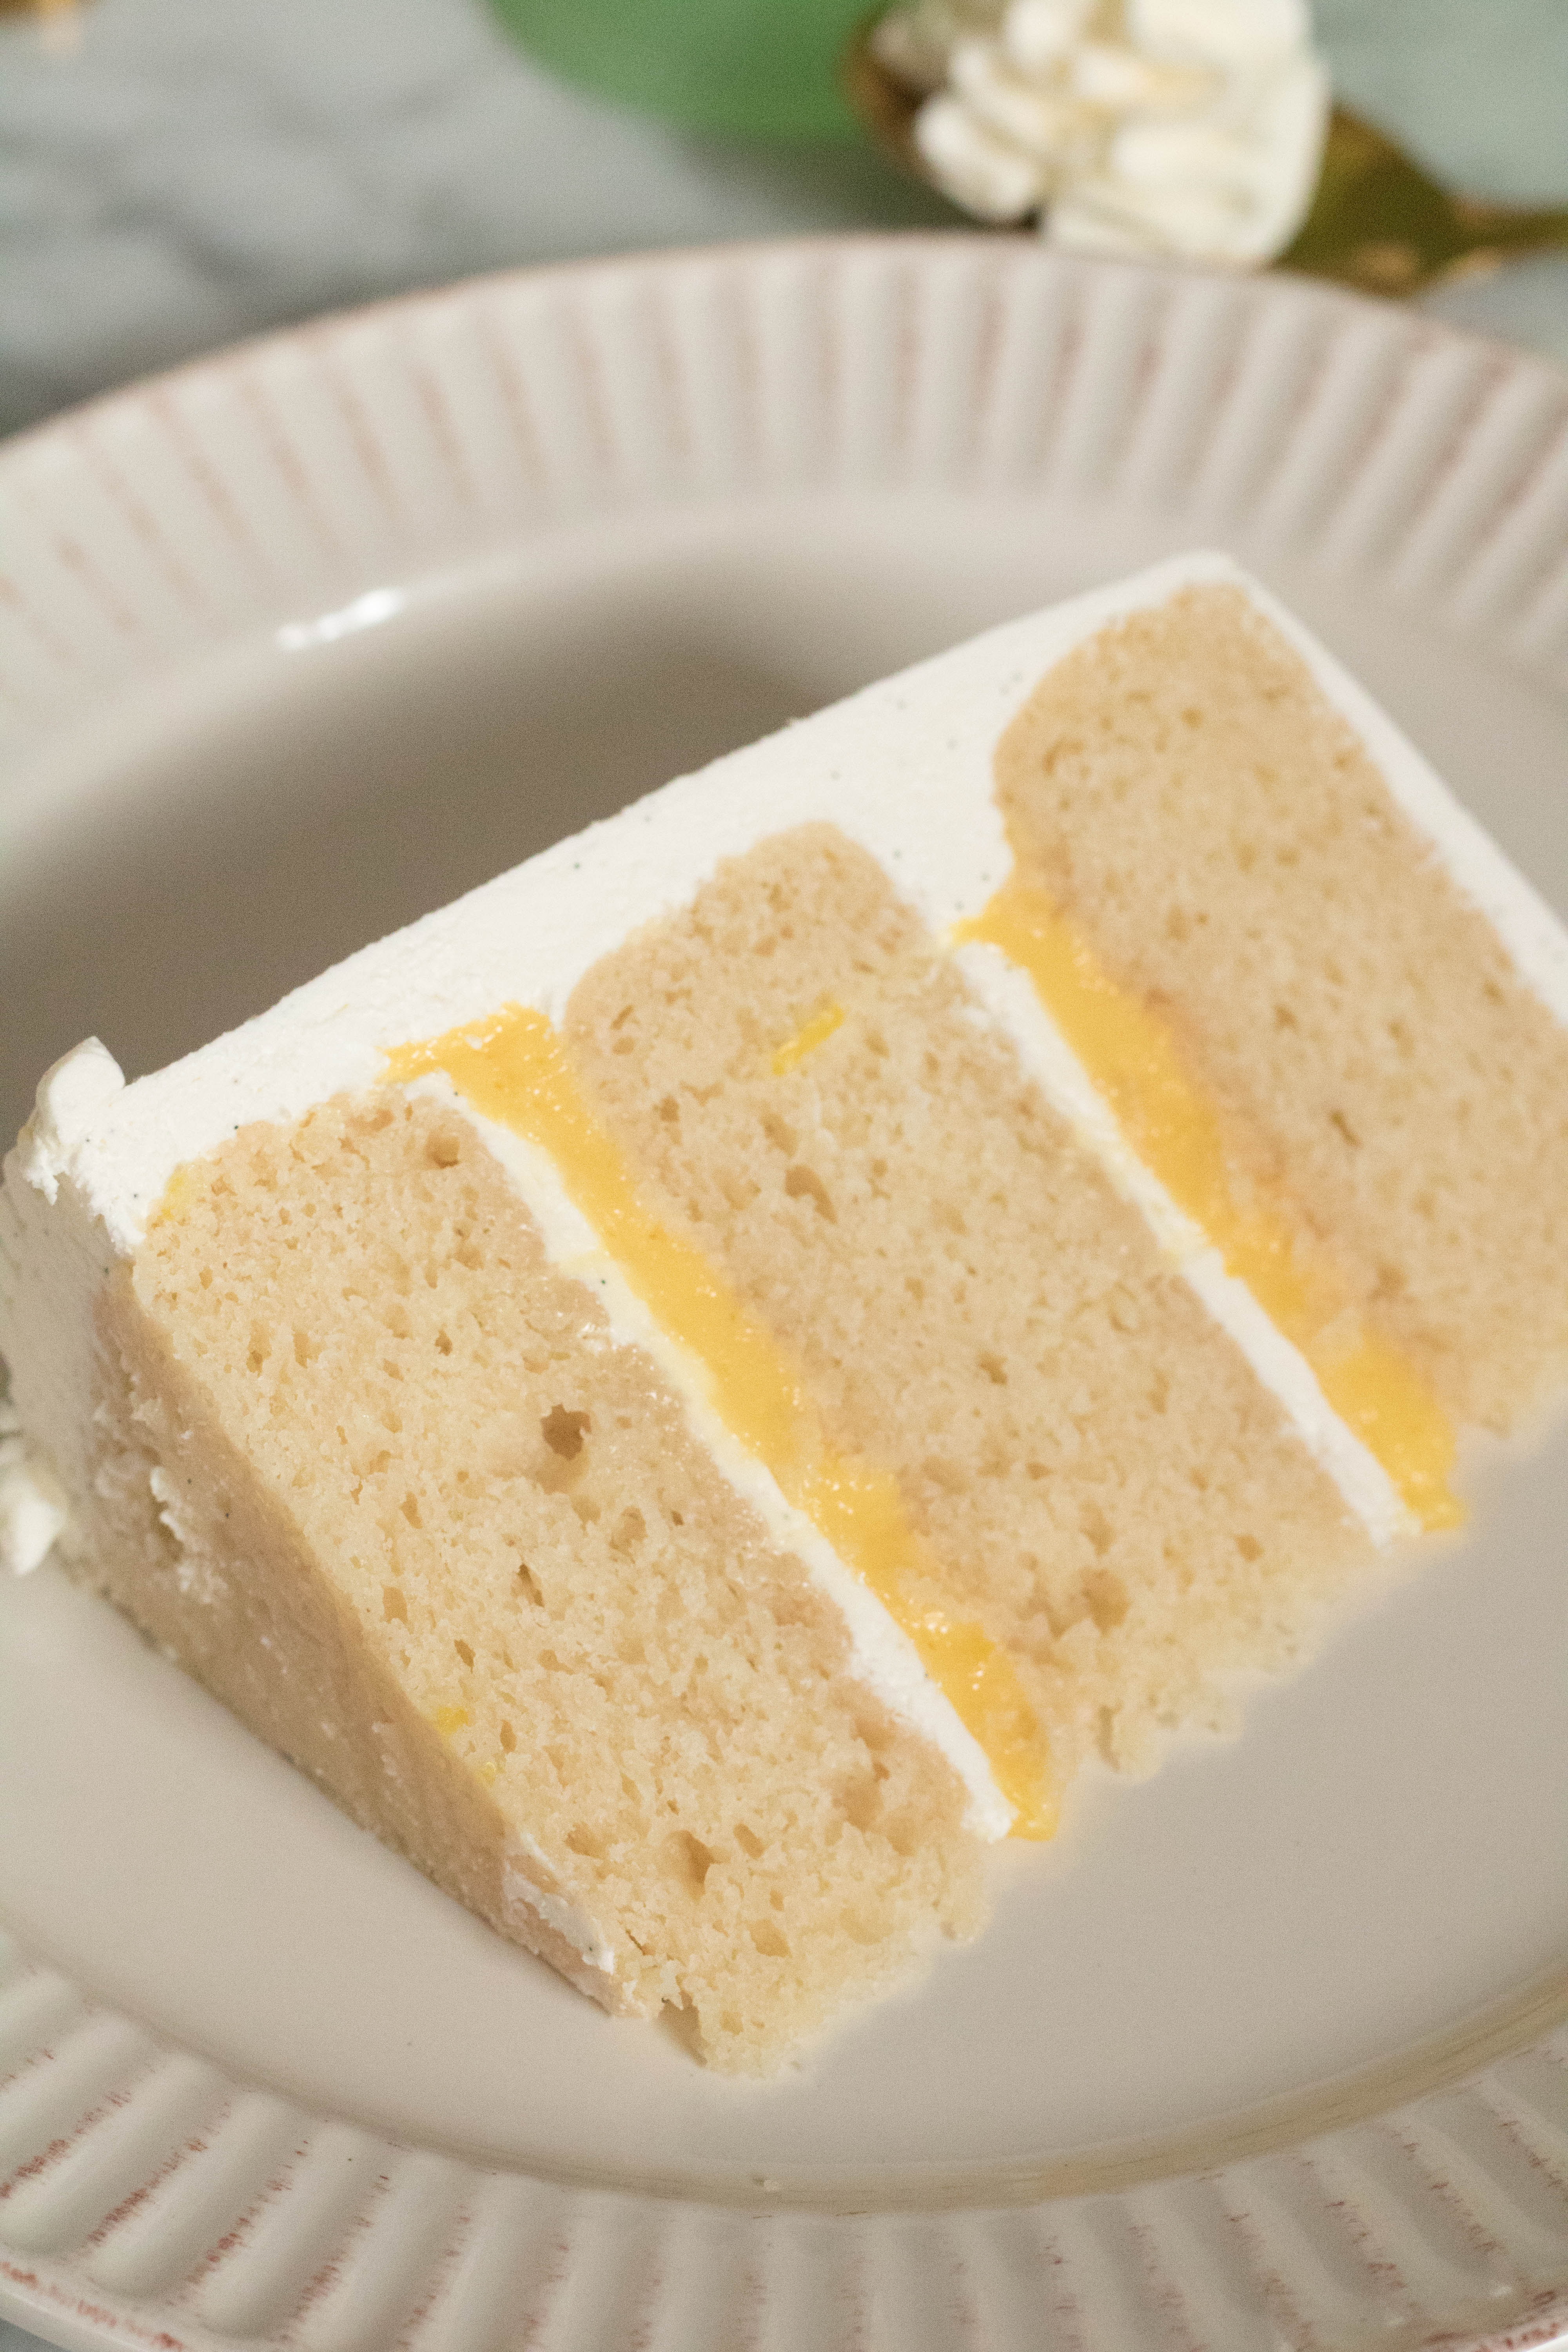
Cake Layering:
- The easiest way to add icing to layers and ensure they’re level is to take a piping bag and fill it with icing. Pipe all around the edges first, and then move towards the inside of the cake, ensuring you’re piping it evenly across the entire layer. Gently spread the icing out with a spatula, and repeat for each layer.
- If the cake is being layered with a jam or custard, pipe a line of icing around the inside edges of the cake to create a small “barrier.” Spread the filling in the middle, stopping around the inside edges of the icing. This will stop it from bleeding through the icing on the outside of the cake.
Ashley from Foodislife
Cake Decorating:
- Cakes are easier to work with when they are frozen. They are more forgiving and less crumbly. Wrap each cake in plastic wrap, and place in the freezer for at least two hours. Remove it from the freezer, apply the filling to each layer, and decorate the outside with your icing of choice.
- If there’s no time to freeze the cake, do a “crumb” coat on the outside of the cake. A crumb coat acts as a sealer for all those cake crumbs. Using an offset spatula, place a dollop of icing on the top of the cake, and evenly spread a thin layer of the icing all around the outside of the cake (top and sides). Place it in the fridge for 20-25 minutes to firm up, and proceed to decorate.
Ashley from Foodislife
Practice makes perfect when it comes to cake decorating. Once you get a few cakes under your belt, it’s smooth sailing and becomes easier each time!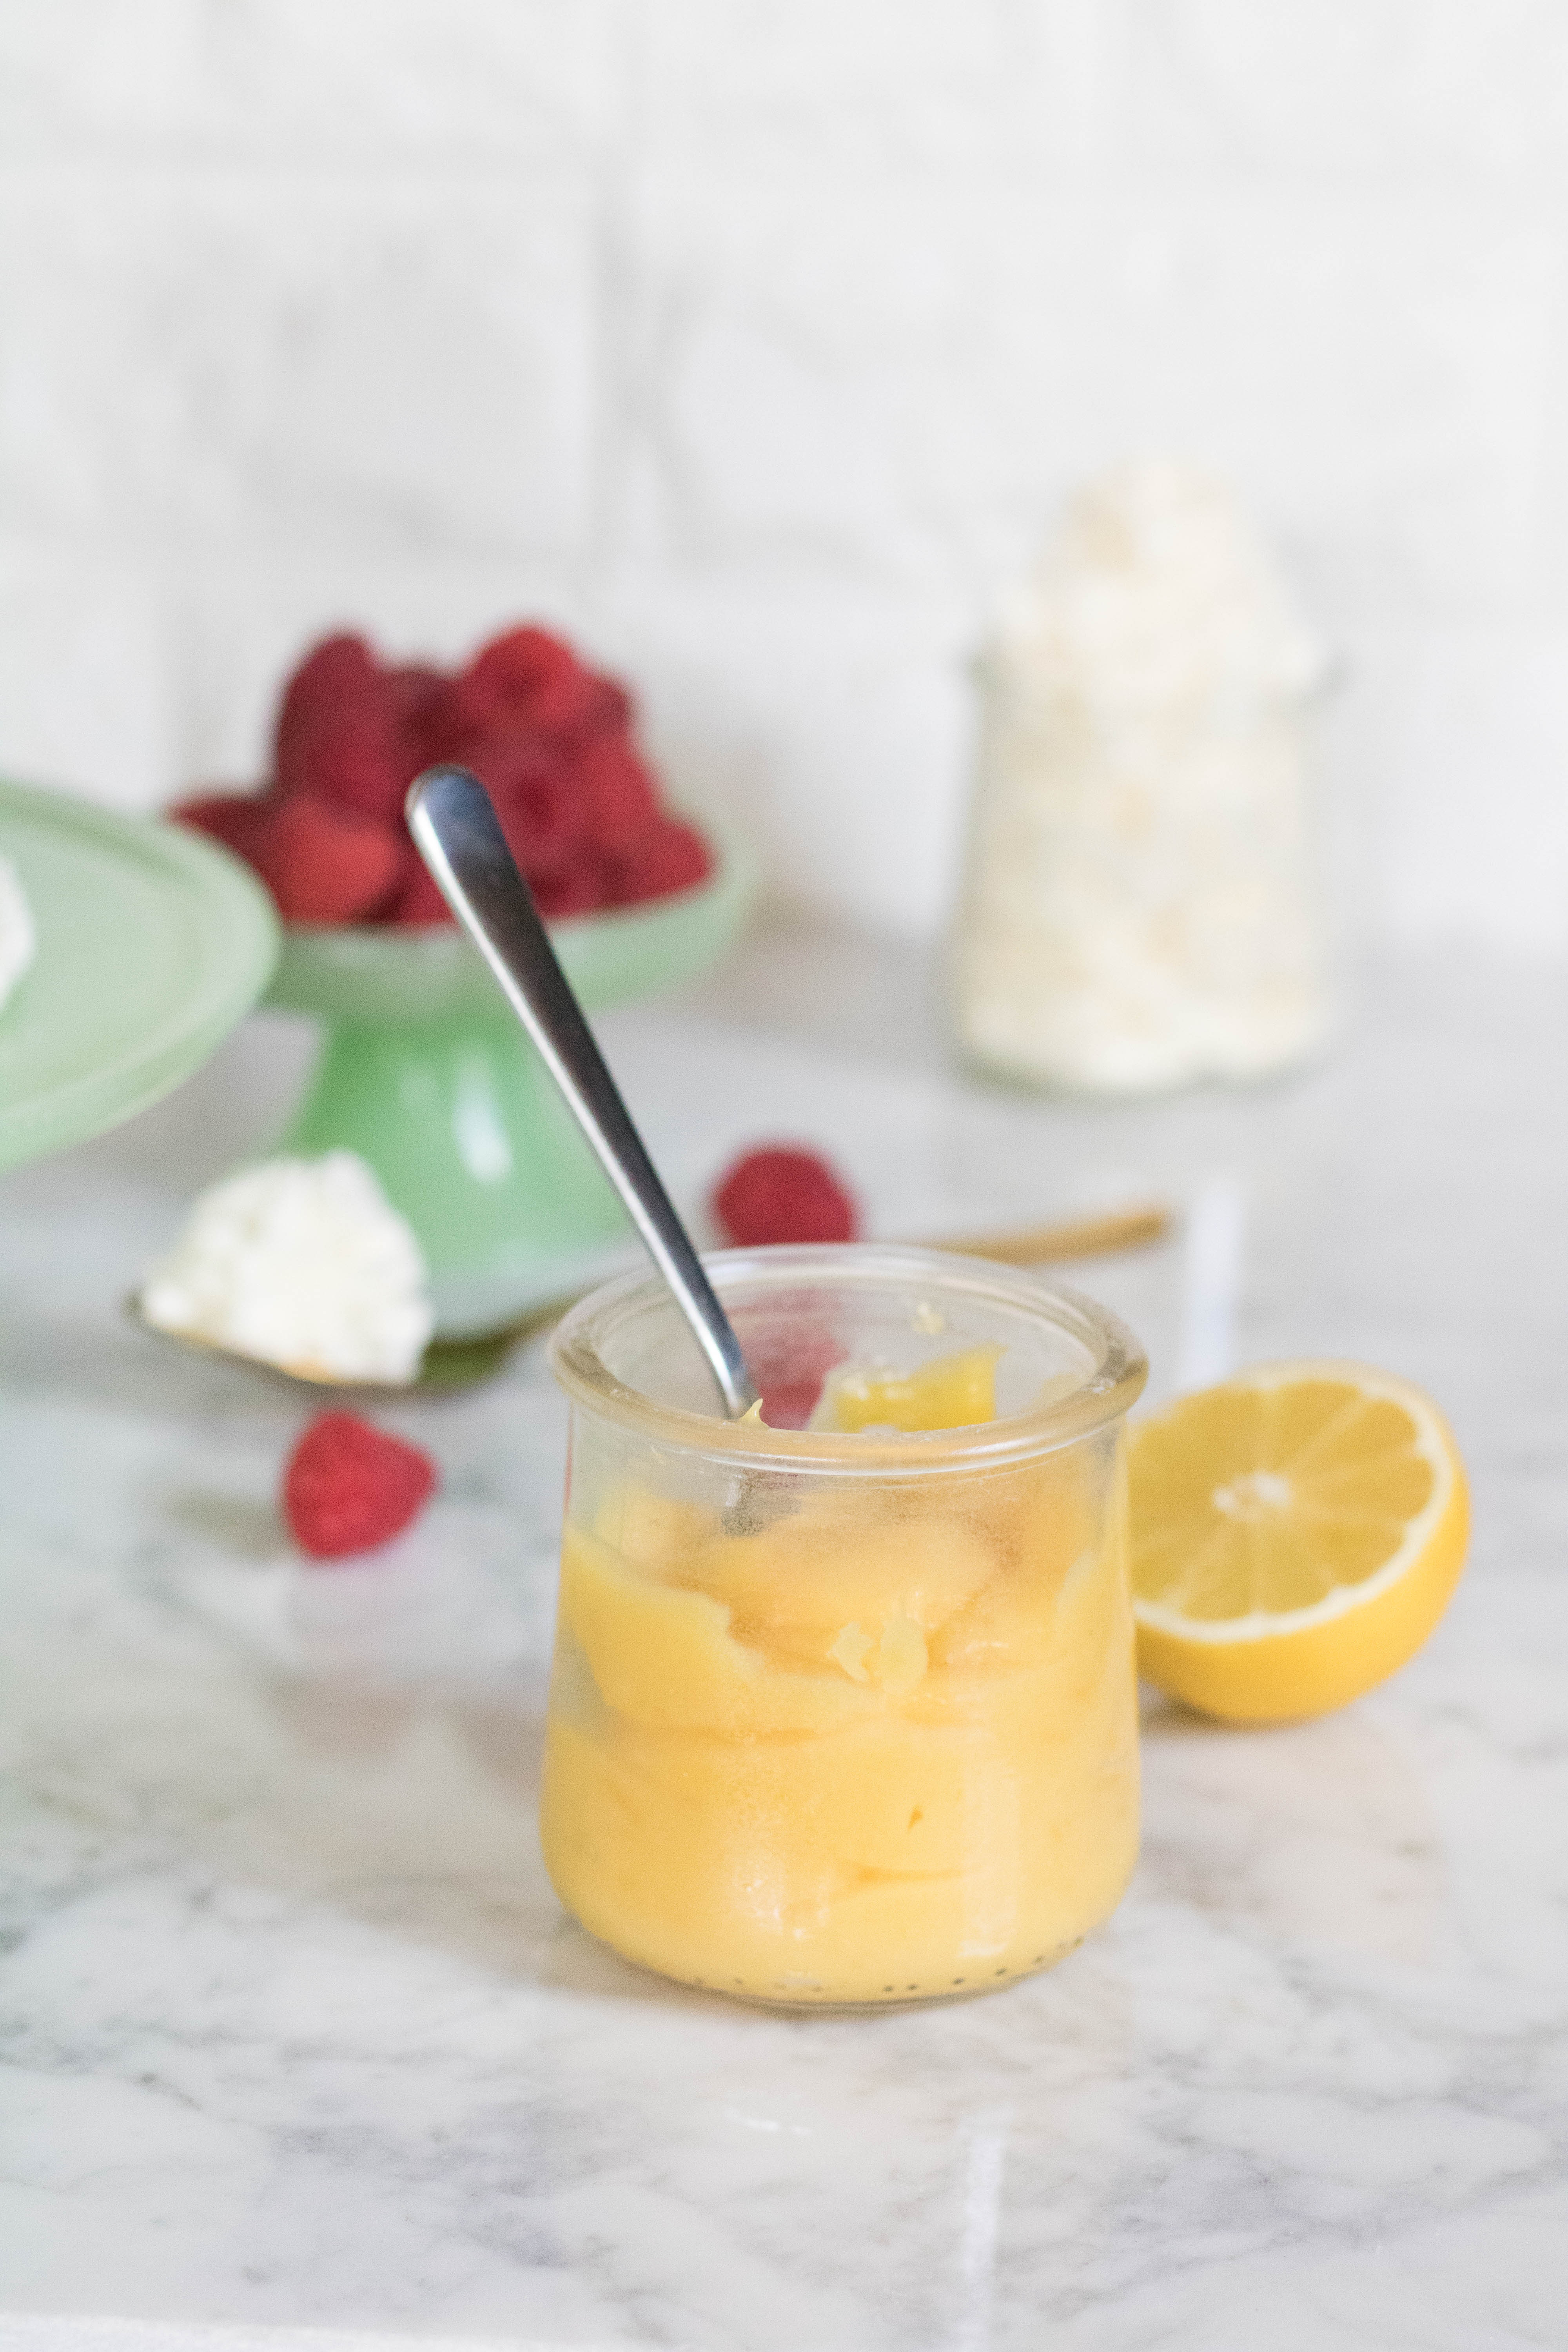
Lemon Curd Recipe
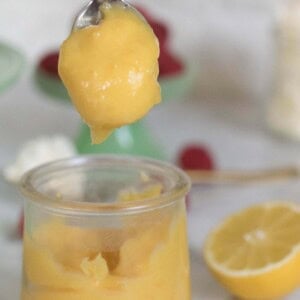
Thick Lemon Curd
Ingredients
- ½ cup fresh lemon juice about 3-4 lemons
- 3 tbsp grated lemon zest
- ⅔ cup caster sugar
- 8 egg yolks
- 6 tbsp butter
Instructions
- Start by heating up the lemon juice and the lemon zest in a small pot.
- While the juice is heating up, whisk the egg yolks and the sugar together in a separate bowl.
- When the juice mixture comes to a boil, slowly pour it in the egg yolk mixture a little at a time while whisking vigorously. This will temper your egg yolk mixture.
- Return the mixture to the pot, whisk over medium heat until the lemon curd thickens.
- Turn off the heat and let the curd rest for 5 minutes, add in the butter and use a hand blender to get that incorporated in.
- Pour the lemon curd into a large bowl and cover with saran wrap, making sure that it touches the curd to avoid it creating a film. Place in the fridge to chill for 30 minutes to an hour.
Notes
- This recipe will yield 1 & 1/2 cup!
- This lemon curd can stay covered in the fridge for 1-2 weeks
Nutrition
Nutrition information is automatically calculated, so should only be used as an approximation.
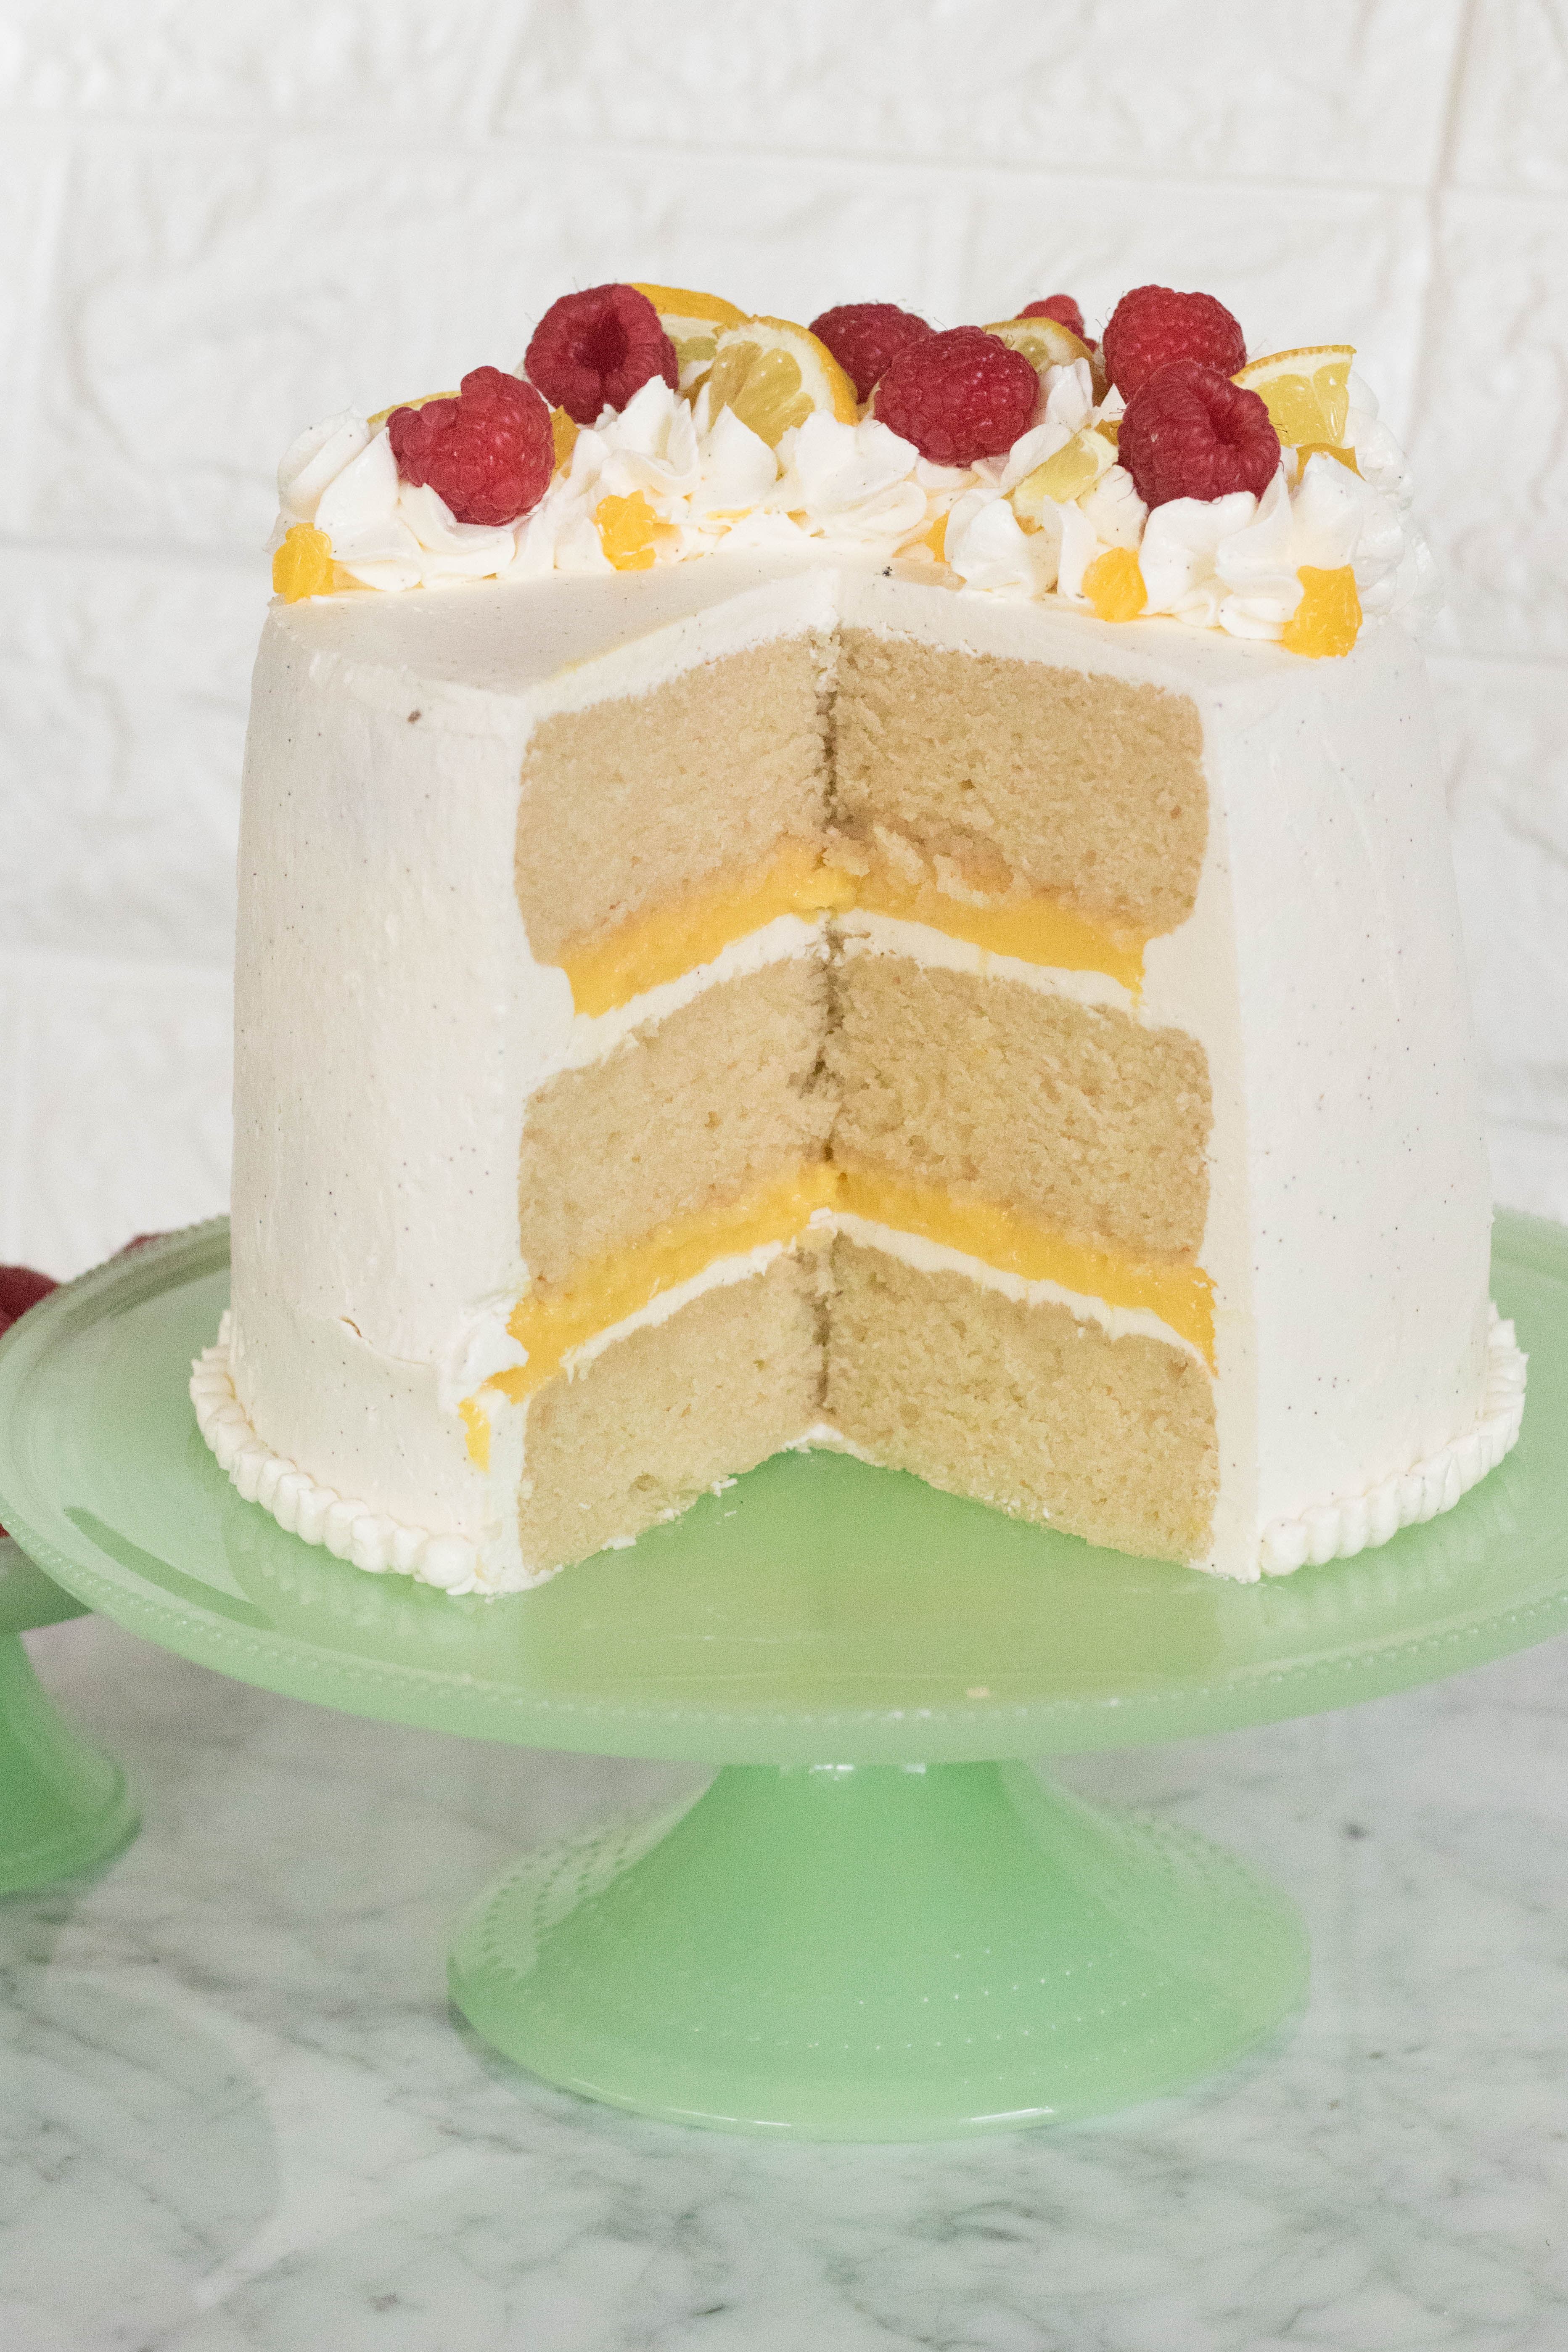
Vanilla Cake Layers 3 {6-inch cakes}
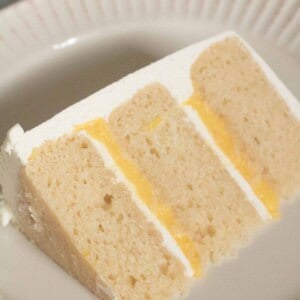
layered vanilla cake with lemon curd and vanilla bean Italian meringue buttercream
Ingredients
- 1 ⅔ cup flour
- 1 cup sugar
- ¼ tsp baking soda
- 1 tsp baking powder
- ¾ cup unsalted butter at room temperature
- 3 egg whites
- 3 tsp vanilla extract
- ½ cup greek yogurt
- ½ cup whole milk or 2%
Instructions
- Start by preheating the oven to 340 degrees, butter and flour your three 6-inch baking pans. Place the wet cake strips around your pan to ensure even baking.
- Sift the dry ingredients, including the sugar in a large bowl.
- In a separate bowl whisk the wet ingredients together, until well combined.
- Pour the wet ingredients over the dry ones and mix until just combined ( you don’t want to over mix and allow for too much gluten to form)
- Divide the cake batter evenly between the three pans, place the wet cake strips around to pan to ensure even baking and bake for 25 to 30 minutes or until the centers are springy to the touch.
Notes
- You could also double the recipe for 8-inch pans, or triple the recipe for 9-inch pans
- Having little clumps of butter after mixing your wet ingredients is ok. When you mix the wet and the dry ingredients together, everything will incorporate nicely!
Nutrition
Nutrition information is automatically calculated, so should only be used as an approximation.
To assemble the cake
- Pipe the buttercream between each layer, making sure to smooth it out in between. For the first two layers, you will want to pipe a ring around the top of the cake and add in your curd. This will ensure that the curd stays in place.
- After stacking the cakes, begin with covering the top with the Vanilla Bean Italian buttercream, then pipe some more of the buttercream around the outer layer and smooth it out with a scraper.
- Chill for 15- 30 minutes and then smooth it out again using your scraper.
- Decorate with the rest of the buttercream.
- For me, I used …. Tip for the buttercream decoration on the top and added some raspberries and lemon slices. I also piped some lemon curd on the top as well to add in some more pop of color!
- Vanilla Bean Italian Meringue Buttercream
- Small Batch Cream Cheese Frosting
- Easiest Cake truffles! No more leftover cake waste.
- The Best Vanilla Magic Cake


This cake looks amazing, I can’t wait to make it! The link to the frosting isn’t working anymore and needs a refresh. Thank you!
Thank you for bringing this to my attention, just fixed it. Hope you enjoyed the recipe!
That’s one gorgeous cake! Thanks for featuring my tips girl 😉
Of course! Thanks so much for the help!
Happy 1 Year Blog Anniversary Chahinez! It’s a great milestone, and I know you’ll have so many more great things to come. Your cake turned out beautifully, and makes me wish I could reach through the screen and grab a slice. Great job 🙂
Thank you so much Ashley! and thanks again for your help!
How much of the lemon curd does this cake use for the filling for the 1x version Athat makes 6” layers?
recipe for the cake not coming up curtain icing yeah