This post may contain affiliate links. Please read our disclosure policy.
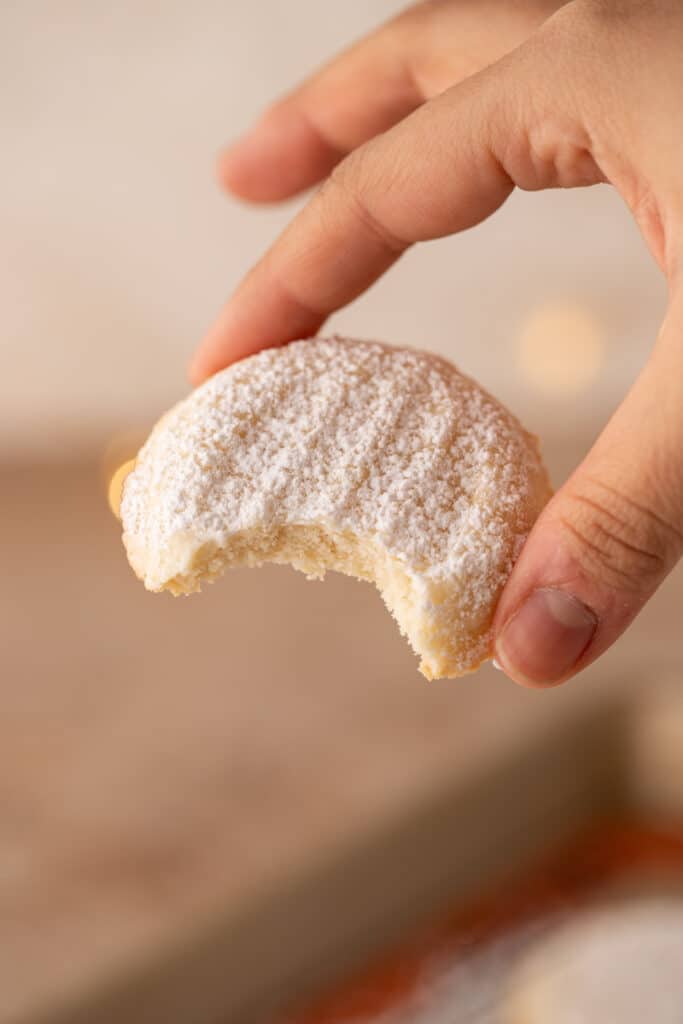
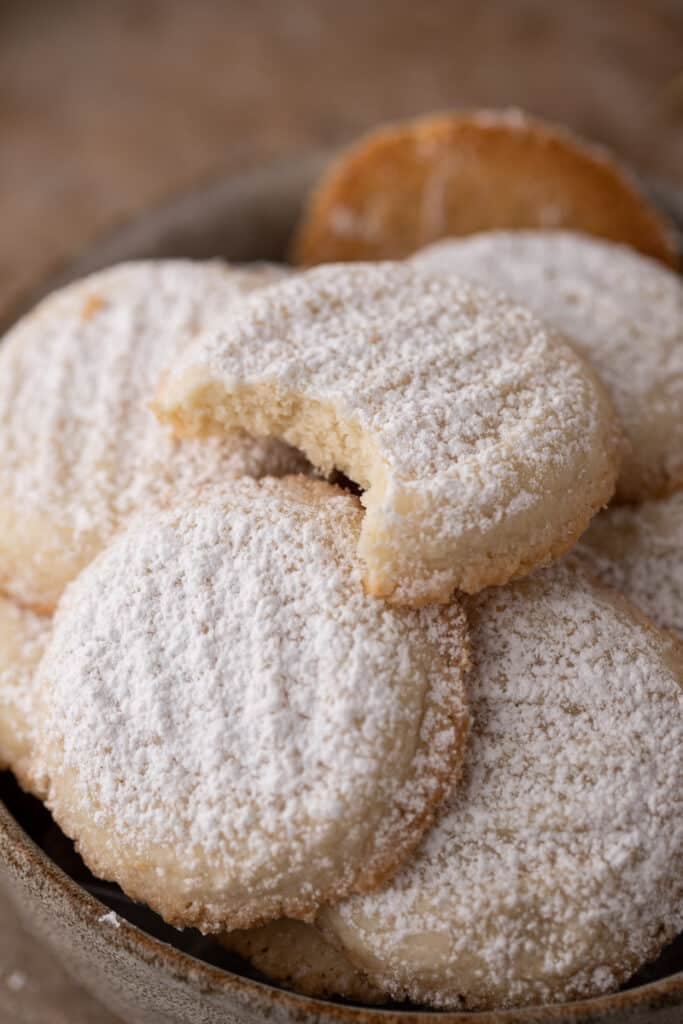
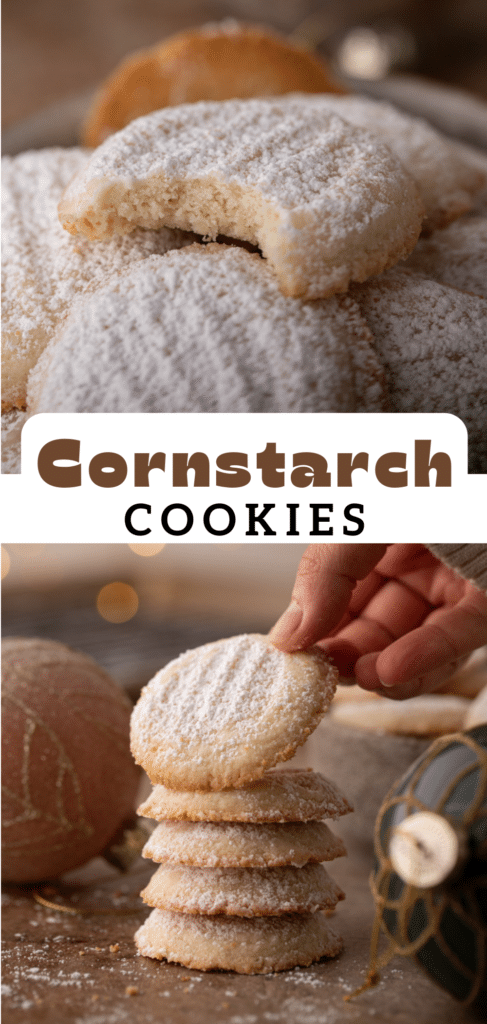
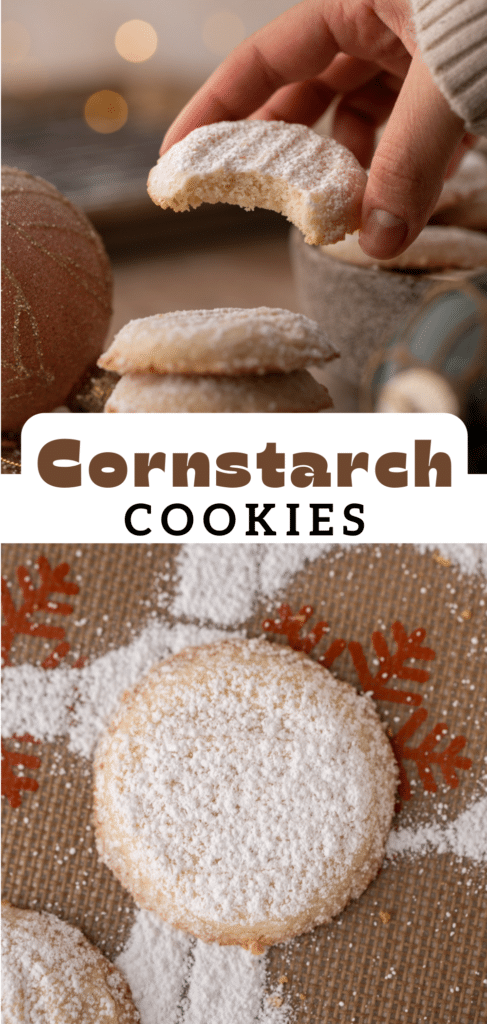
These melting moments cookies are the perfect addition to your holiday snack trays. Their soft and delicate texture and buttery flavor is so great it’s almost addictive, I guarantee you can’t eat just one, I know I definitely can’t.
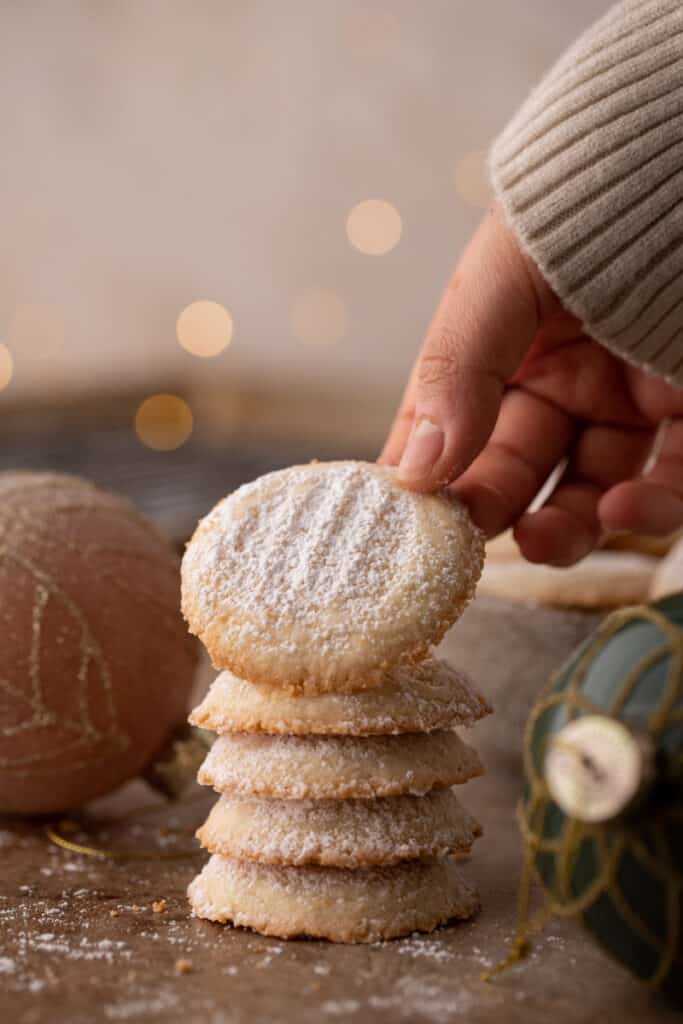
These delicious cookies are especially good around Christmas time. They’re light and airy and are dusted with powdered sugar to create a beautiful snowy-themed treat.
Grab yourself a tall glass of milk or a warm cup of tea and get ready to enjoy these melt-in-your-mouth cookies. Just make sure you make enough so they’re not gone in one sitting.
Since you are a cookie lover like me, check out these Brown Butter Cherry Chocolate Chip Cookies, these Original Quaker Oatmeal Cookie, this Soft Honey Cookies recipe, or this S’mores Cookie Bars recipe.
Table of Contents
- What Are Melting Moments Cookies?
- Ingredients For the Melting Moments Cookies
- How to Make Melting Moments Cookies
- Pro Tip:
- Why You Need to Make This Recipe
- Frequently asked questions – FAQ
- The Best Melting Moments Cookies Recipe
- Melting moments cookies Recipe
- If you enjoyed this melting moments cookies recipe make sure to pin it for later!
What Are Melting Moments Cookies?
Melting moments cookies, also known as cornstarch cookies, are essentially corn starch and butter cookies. If you’ve never had one before, the crumbly texture is comparable to that of a pecan sandy but even softer and crumblier.
Ingredients For the Melting Moments Cookies
Make sure to scroll down to the recipe card at the bottom of the page for the detailed ingredient measurements.
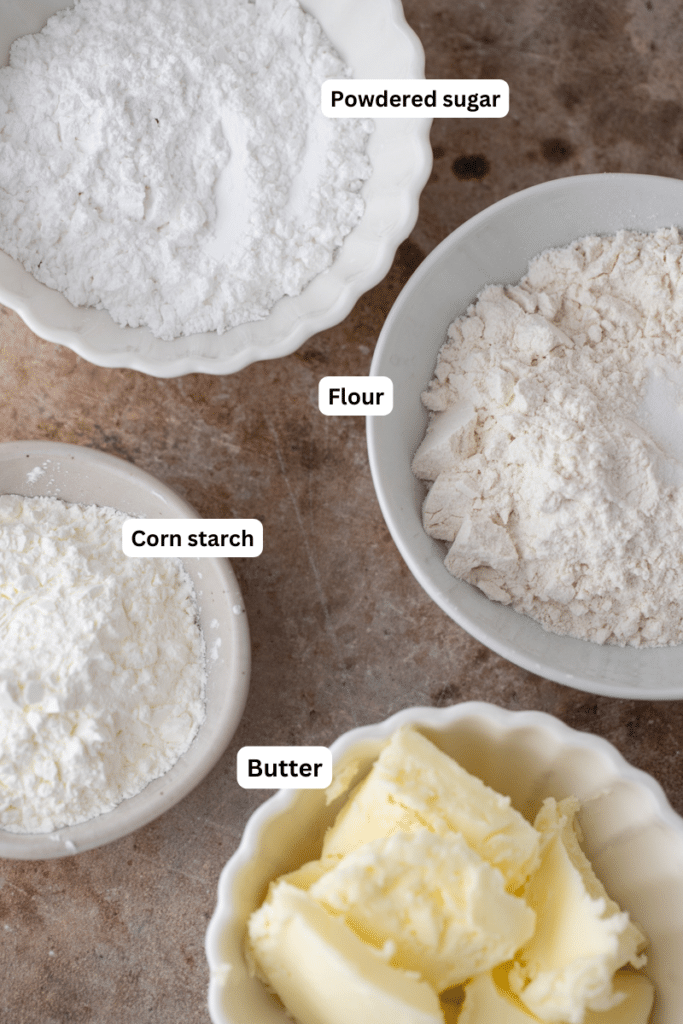
- Unsalted Butter: The butter provides a large portion of the flavor of the cookies. Be sure to use higher quality butter so that the flavor is purer and overall better. You will want the butter to be softened so it’s able to mix well, so pull it out of the fridge an hour before you start preparing the recipe. Also, make sure it specifically is unsalted butter, so your cookies aren’t overly salted.
- Powdered Sugar: The use of powdered sugar in the recipe gives the cookies their airiness and makes them so incredibly soft.
- Pure Vanilla Extract: Every great butter flavored cookie gets even better with the addition of vanilla.
- All-Purpose Flour: Just like a regular cookie, the flour is still necessary to give the cookie its shape and structure, you’re just going to use less of it than usual.
- Cornstarch: Corn starch is the key secret ingredient that truly gives these cookies that melt in your mouth texture. It literally creates an elevated shortbread, what could be better.
- Salt: Instead of using salted butter, we’re going to manually add the salt in separately so that we can have more control over how much is going in.
- Optional Toppings: Add colored sprinkles on top prior to baking or dust the cookies with icing sugar after they’ve been baked.
How to Make Melting Moments Cookies
Make sure to scroll down to the recipe card at the bottom of the page for the full step-by-step instructions!
- Preheat your oven. Line your prepared baking sheet with a sheet of parchment paper.
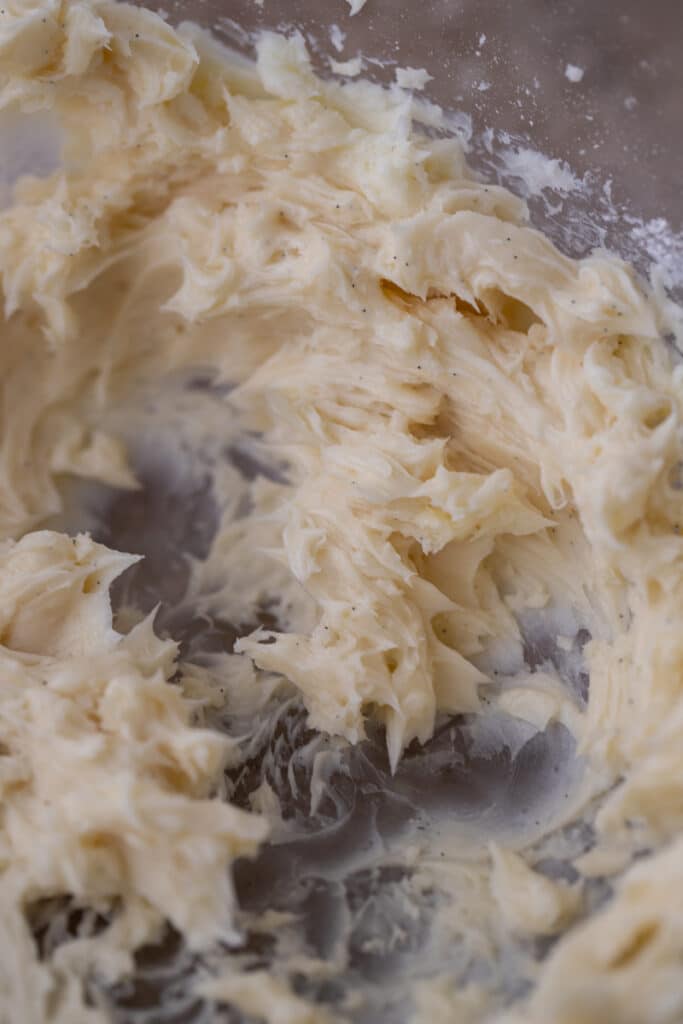
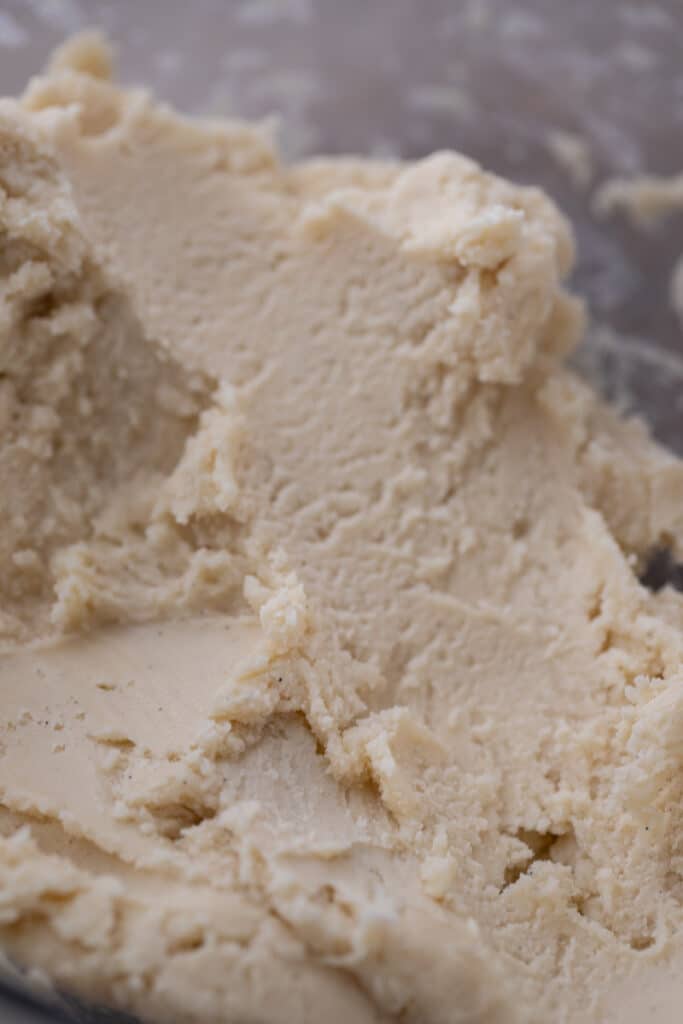
- In a large mixing bowl, cream together the softened butter and confectioner’s sugar. Add in the vanilla extract and mix again until combined.
- In a separate large bowl, whisk together the dry ingredients. Slowly add the flour mixture to the butter mixture. Make sure not to overmix so the cookies stay soft.
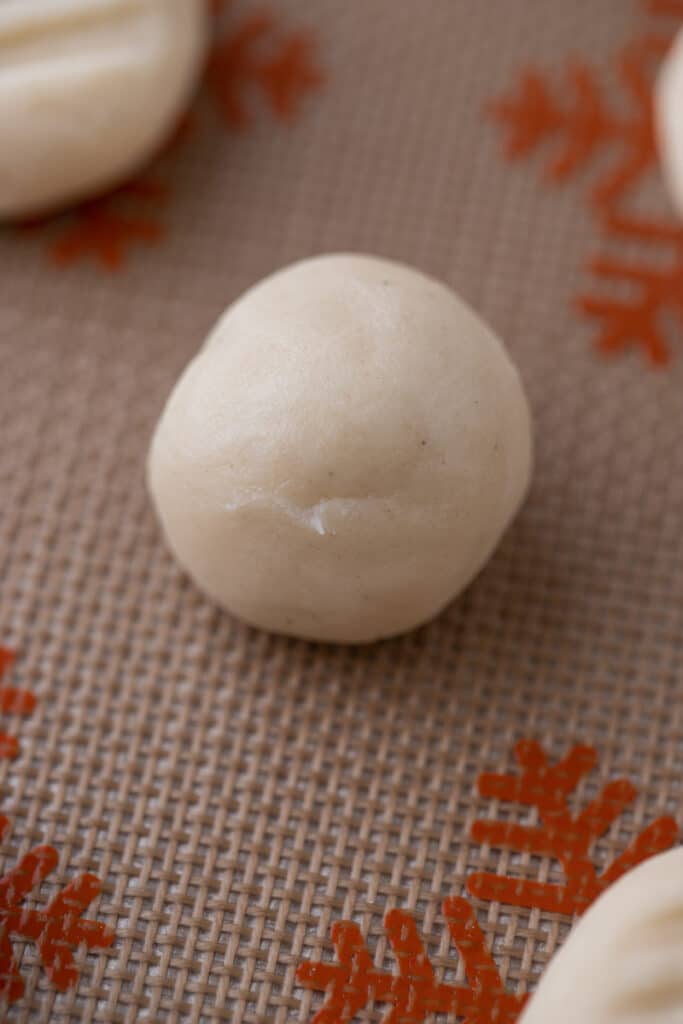
- Take portions of the soft dough and roll them into 1-inch balls, I used a 1 tablespoon measuring spoon to scoop out the dough. Place the cookie dough balls on the prepared baking trays, leaving about 2 inches of space between the cookie balls.
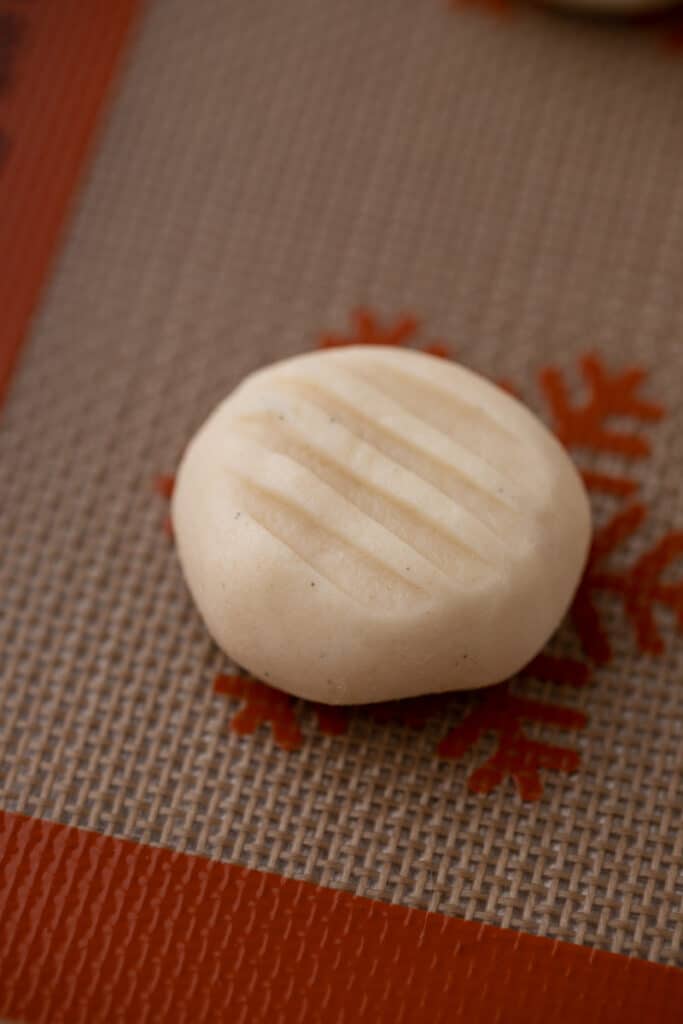
- Press a fork into the center of each cookie then place in the middle rack of the oven and bake. Make sure to not press too much so that they don’t turn out super flat after baking.
- Allow the cookies to cool down on the cookie sheet for 5 minutes before using a thin spatula to transfer them to a wire rack. They will be very soft so be careful.
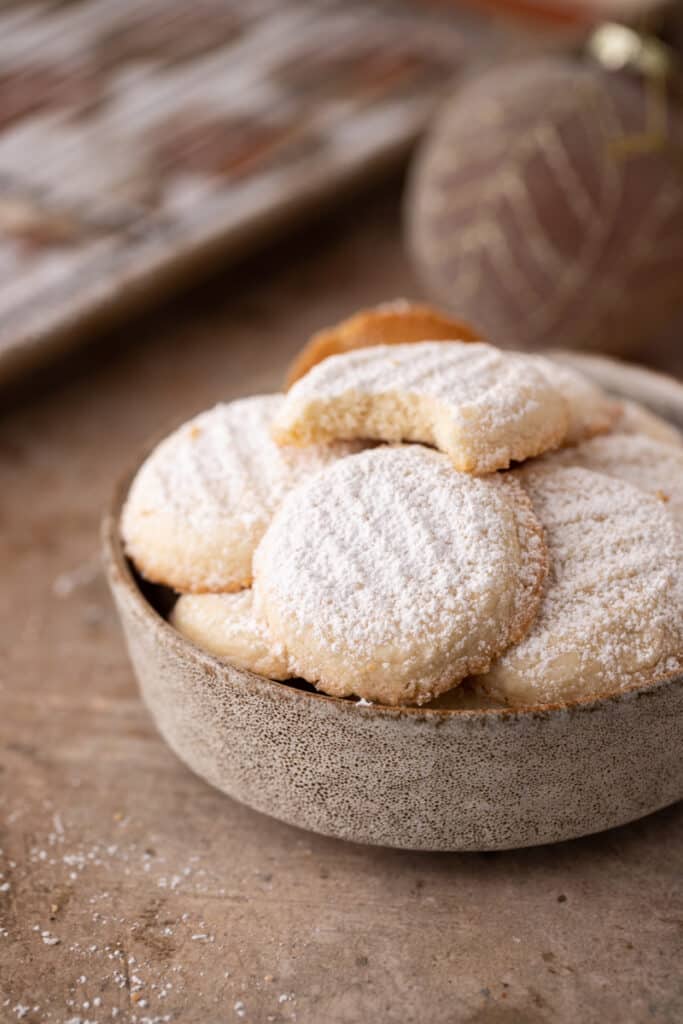
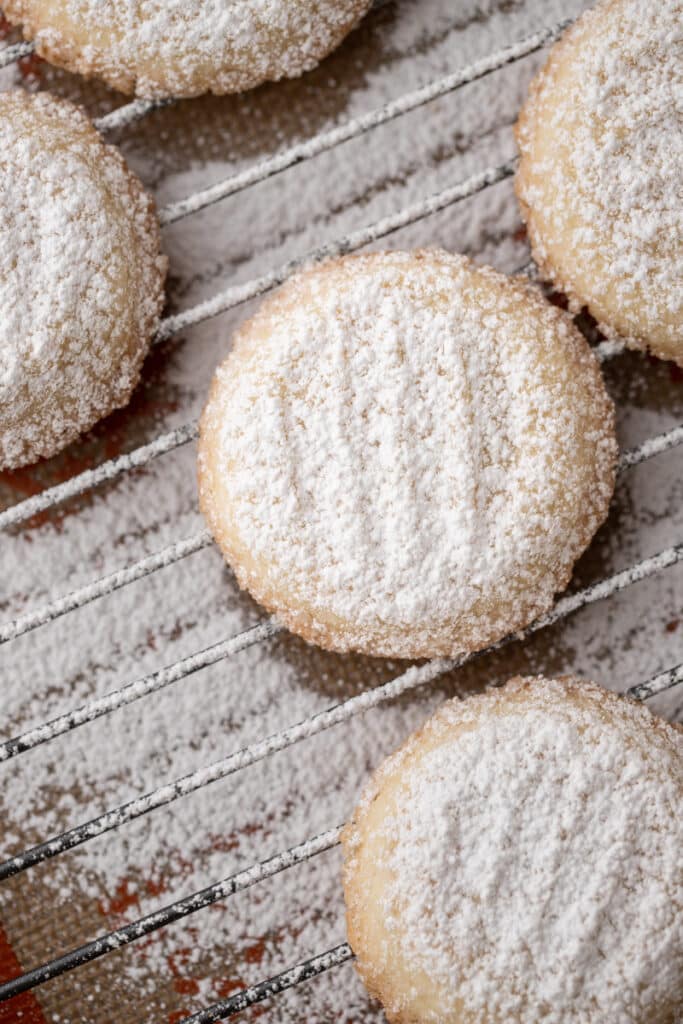
- Dust them with more powdered sugar while they’re warm. If the sugar melts, add another dusting of powdered sugar after they’ve fully cooled to room temperature to give them a pretty snowy look.
Pro Tip:
To make sure the cookie maintains its shape and height while baking, chill the dough in the fridge for 30-60 minutes prior to baking. This will keep the butter intact and solid and help prevent the melting moments cookies from spreading too thin.
Why You Need to Make This Recipe
- Create fun memories with family or friends during the holidays.
- Make and enjoy the softest cookie you’ve ever had in your life.
- It only requires a handful of simple ingredients.
- Enjoy these cookies year-round as you pair them with strawberry jam and afternoon tea!
Frequently asked questions – FAQ
How to Store the Melting Moments Cookies?
To store, just place the cookies in an airtight container and keep them at room temperature for a week. You can also store them in the fridge for longer.
Can I Freeze These Cookies?
Absolutely!
You can also store the finished cookies in an airtight container or a freezer storage bag to keep them fresh and safe from freezer burn for up to 3 months. You might have to dust them with powdered sugar again after thawing them.

Can I Use Frosting/Icing?
Of course!
A nice glaze would be a great addition to these melting moments cookies. You could make a lemon flavored glazed by mixing lemon juice with powdered sugar.
For even more lemon flavor, you could include lemon zest or lemon extract. Just be aware that glazing the cookies may add excess moisture that will be absorbed by the cookies and change the texture, especially if they sit for a couple days.
Can I Freeze Cornstarch Cookie Dough?
Yes! You can absolutely freeze cornstarch cookie dough and is a great way to enjoy it for later use.
You can store it as either one big ball or log or pre-roll it into separate little balls. Just make sure to wrap it tightly in plastic wrap in multiple layers before storing it in the freezer. And definitely thaw it before baking!
The Best Melting Moments Cookies Recipe
Melting moments cookies
Ingredients
- 1 cup butter unsalted, softened
- 2/3 cup powdered sugar
- 1 teaspoon vanilla extract
- 1 & 1/4 cups all-purpose flour
- 3/4 cup cornstarch
- 1/4 teaspoon salt
- Powdered sugar for dusting
Instructions
- Preheat your oven to 350°F. Line baking sheets with parchment paper.
- In a large mixing bowl, cream together the softened butter and powdered sugar until light and fluffy. Add in the vanilla extract and mix again until combined.
- In a separate bowl, whisk together the all-purpose flour, cornstarch, and salt. Slowly start adding the dry ingredients to the butter mixture. Make sure not to overmix so the cookies stay soft.
- Take about 1 tablespoon worth of cookie dough and roll it into 1-inch ball. Place the balls on the prepared baking sheets, leaving about 2 inches of space between each cookie dough ball. Press down very gently with a fork then place in the middle rack of the oven and bake for 10 minutes. (do not flatten the cookies too much when pressing with a fork to keep the cookies from spreading too much.
- Allow the cookies to cool down on the baking sheet for 5 minutes before using a thin spatula to transfer them to a cooling rack. These cookies will be very soft so proceed with caution.
- Dust them with more powdered sugar while they're warm. If the sugar melts, add another dusting of powdered sugar after they're fully cool to give them that snow look.
Nutrition
Nutrition information is automatically calculated, so should only be used as an approximation.

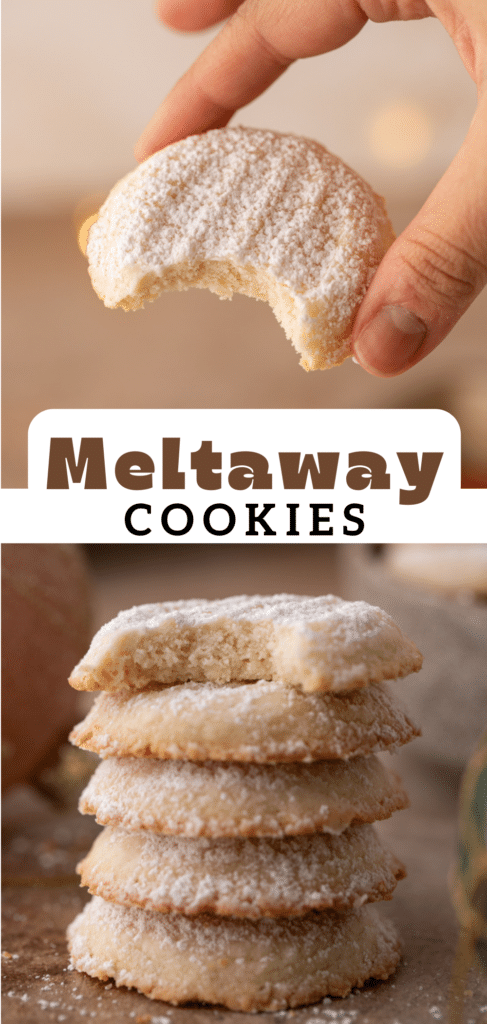
If you enjoyed this melting moments cookies recipe make sure to pin it for later!

Can’t wait to make them. They look delicious and easy to make.