This post may contain affiliate links. Please read our disclosure policy.
This Small Batch Sourdough Bread recipe is perfect for anyone who loves freshly baked bread without the worry of having leftovers. Made with just four ingredients, it delivers all the flavor and texture of artisan-style bread while reducing waste. This recipe is a must- try for sure!
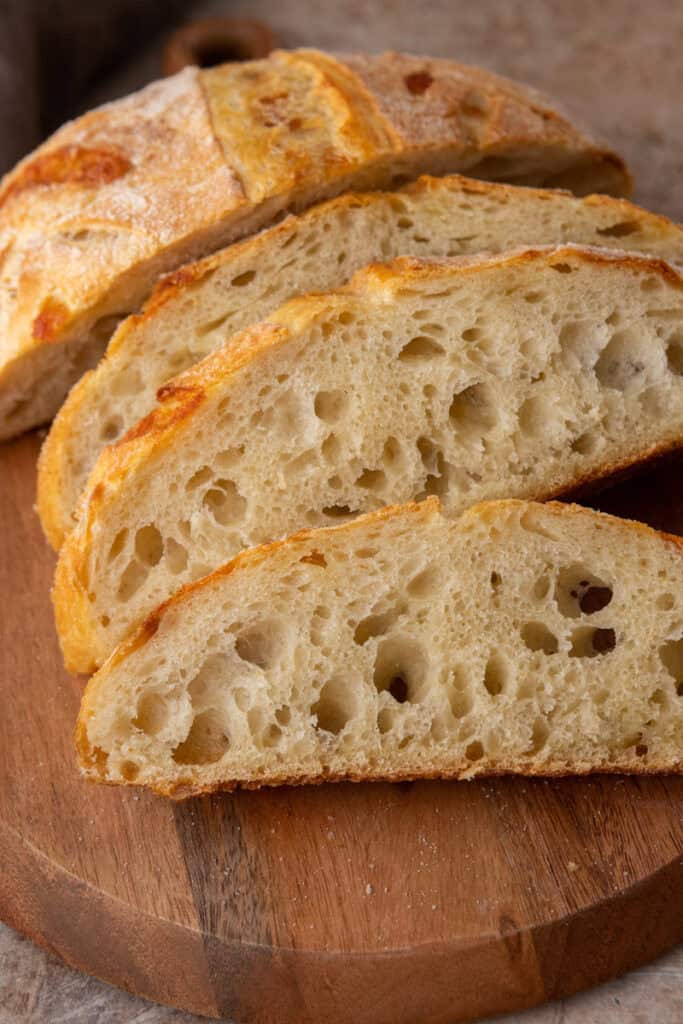
There’s something magical about creating bread from scratch, especially when it’s sourdough. It feels like it plays on our basic human instinct in our brains and helps to keep alive our ancient traditions. Being from Algeria, I even remember my grandma having her own sourdough starter and using it occasionally, as I’m sure many of us here in America probably do as well.
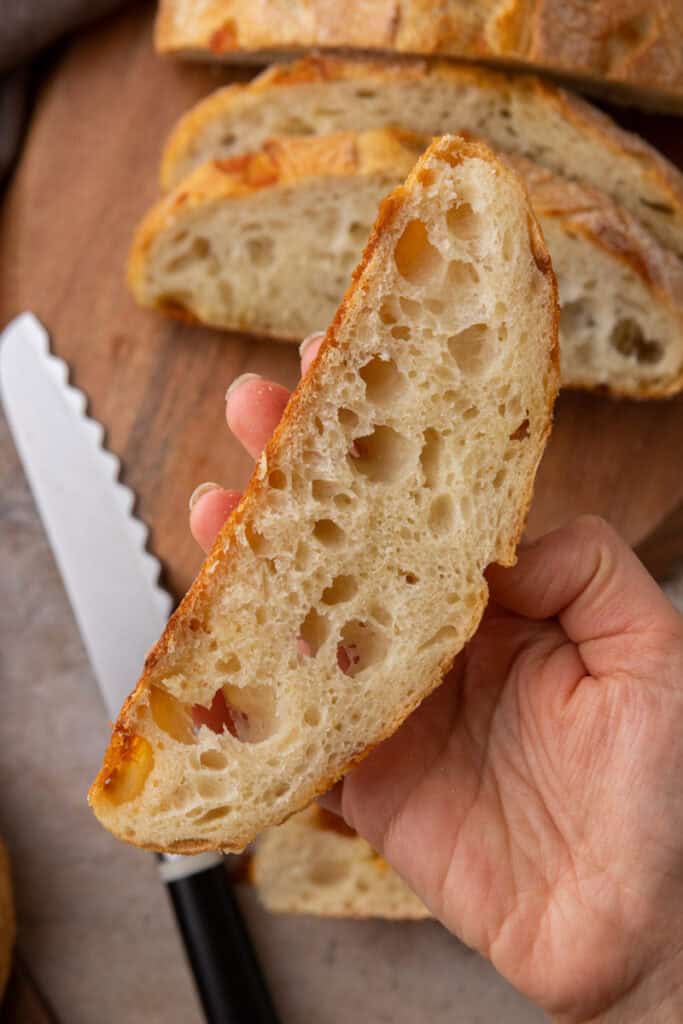
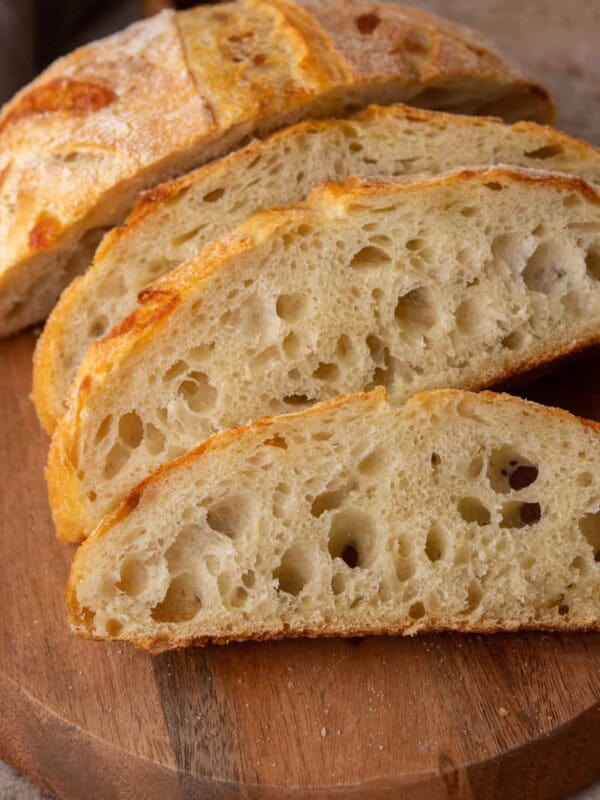
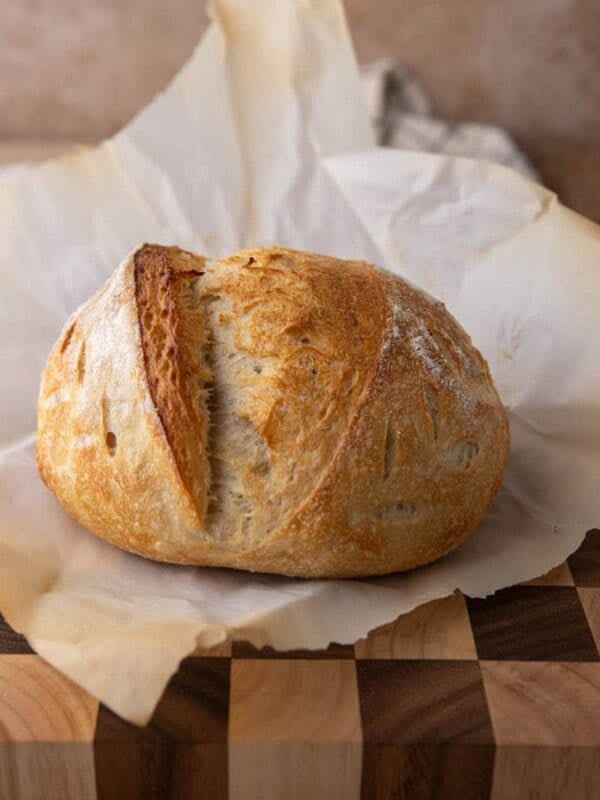
And for good reason! The combination of a crisp, golden crust and a soft, tangy interior makes every bite irresistible. It’s so delicious that no other bread compares to its unique flavor. The best part is that it requires such minimalist ingredients that absolutely anyone can do it. Whether you’re a seasoned baker or new to sourdough, this recipe is manageable, rewarding, and yields just the right amount.
Make it on a weekend morning with some of this French strawberry preserves for a fresh breakfast toast, or bake it in the afternoon to enjoy alongside soups, salads, or hearty meals. Its small size makes it easy to finish, leaving you eager to bake another loaf, yay for practice!! No matter where you are in your sourdough journey, this is a recipe you need in your repertoire. I personally love it with a spread of this garlic herb butter!
Since you are here looking for the best sourdough recipe, check out this Simple Sourdough Starter Recipe for Beginners, this Sourdough Discard Cinnamon Rolls Recipe, or this Sourdough Discard Drop Biscuits Recipe.
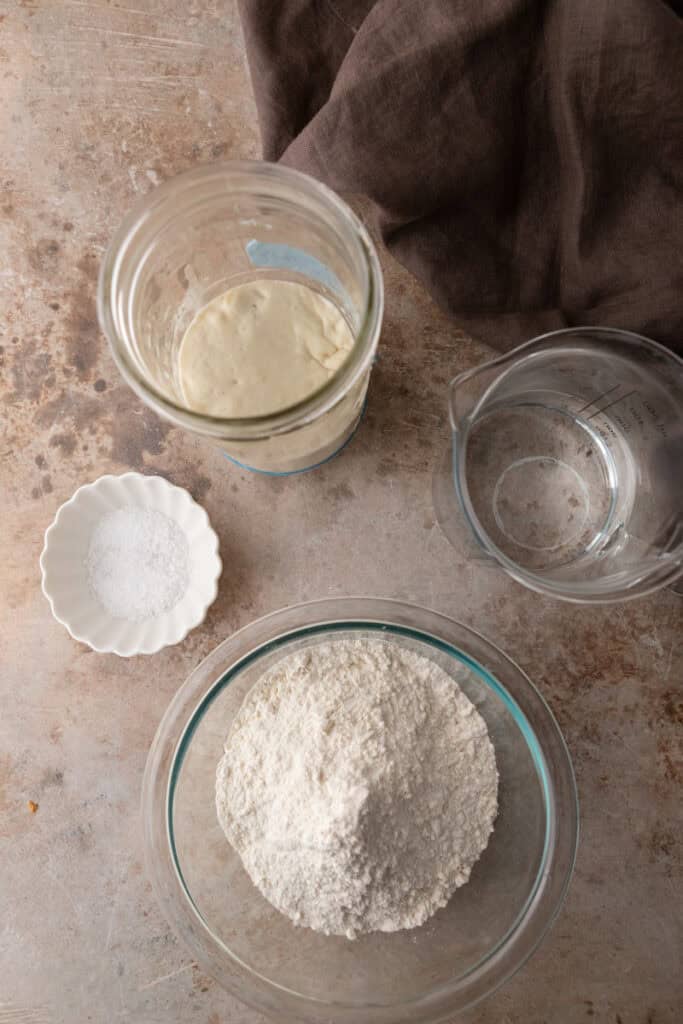
Table of Contents
- Ingredients for this Small batch sourdough bread recipe
- How to make this Small batch sourdough bread recipe
- Tips and Tricks for the Best Results
- Why Make this recipe
- Common sourdough bread fails an dhow to fix them?
- The Best Small Batch Sourdough Bread Recipe
- Small Batch Sourdough Bread Recipe
- If you enjoyed this Small Batch Sourdough Bread Recipe, make sure to pin it for later!
Ingredients for this Small batch sourdough bread recipe
Here are the ingredients you will need to make your small loaves of sourdough. Scroll down to the recipe card at the bottom of the page for the detailed ingredient measurements.
- Flour: is the foundation of the bread which helps provide structure.
- Water: hydrates the flour and starter and transforms them into a soft, pliable dough.
- Salt: enhances flavor and strengthens the dough’s structure.
- Active Sourdough Starter: acts as the leavening agent thanks to the wild yeast, and provides the rise, flavor, and signature sourdough tang from that fermentation process. This is used in place of the traditional commercial yeast in regular breads.
- Cheese(optional): any hard cheese works here.
Make sure to use a kitchen scale for this recipe to get the results as close as mine. Here is the kitchen scale that I use. If you purchase through this link I will make a small commission at no cost to you.
How to make this Small batch sourdough bread recipe
This is how you can make the best sourdough mini loaves. Make sure to scroll down to the recipe card at the end of this post for the full step-by-step instructions!
To prepare your sourdough bread, you’ll first need an active sourdough starter. This step ensures your starter is bubbly, lively, and ready to leaven your dough.
How to Feed Your Sourdough Starter
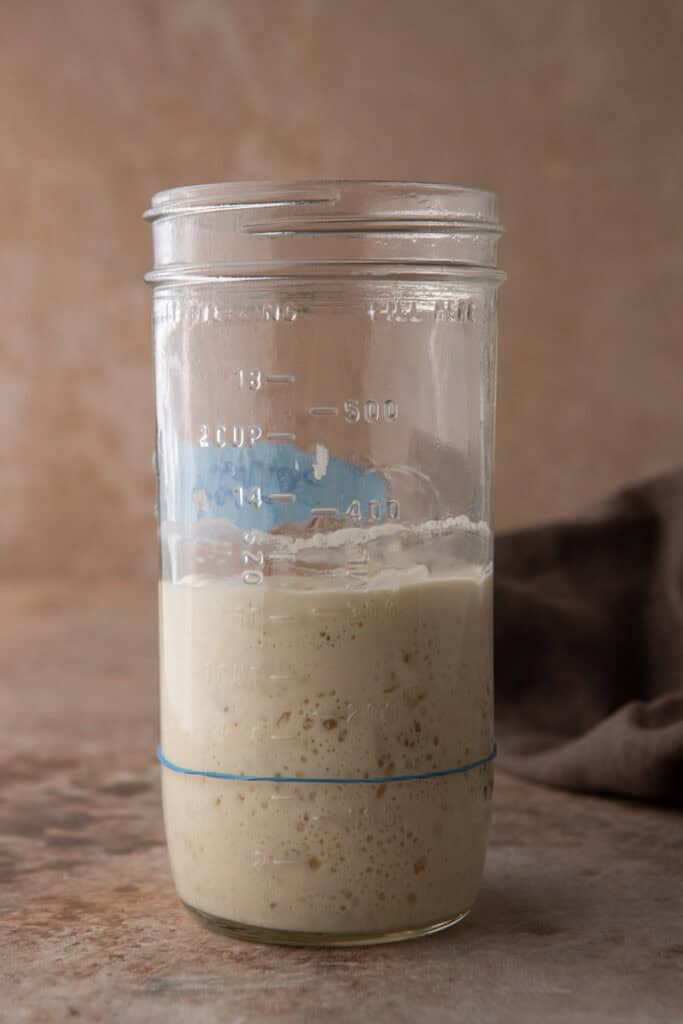
You’ll need 60g of active starter for this recipe. Here’s a quick guide to ensure it’s ready to use:
The Night Before or Morning of Baking:
- Discard all but 20g of your starter.
- Feed it a ratio of 1:2:2 (starter:flour:water) to yield enough for your bread and a bit left over for future use. For example:•20g starter•40g flour•40g water2.
- Mix Thoroughly: Stir until fully combined, ensuring no dry flour remains.
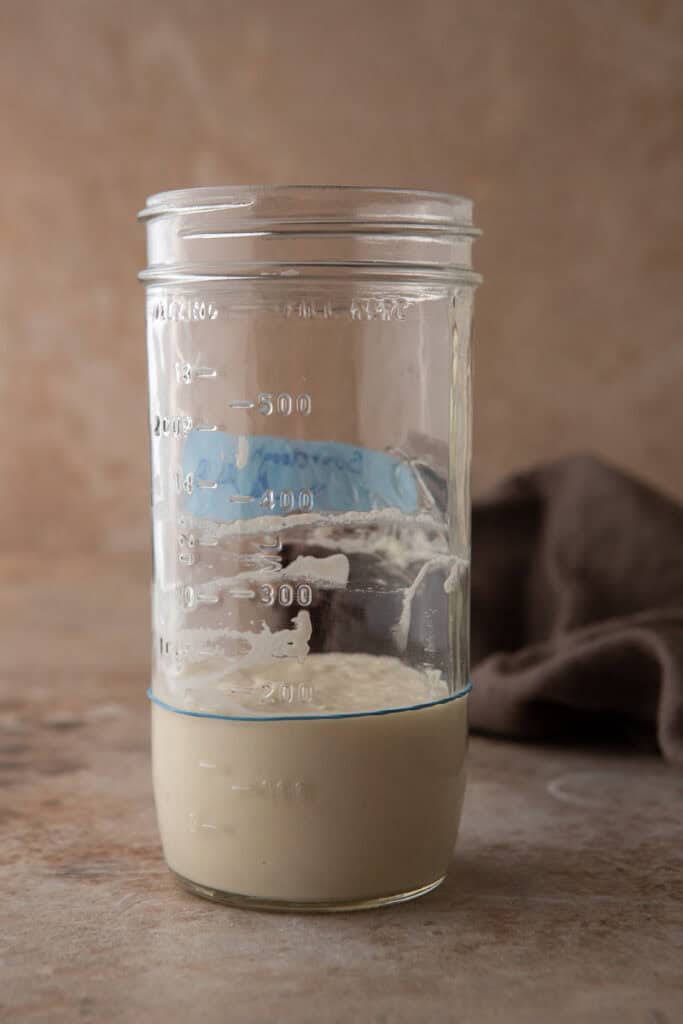
- Wait for Activity: Let the starter sit at room temperature until it becomes bubbly and doubles in volume (4-8 hours, depending on room temperature).
Tips for Success:
- Room Temperature Matters: Warmer rooms speed up fermentation; cooler rooms may require more time
- Use a Clear Jar: This makes it easier to see the rise and bubbles in your starter.
- Perform the Float Test: Drop a small spoonful of starter into water. If it floats, it’s ready to use!
By using precise ratios and feeding your starter properly, you’ll ensure consistent results every time you bake.
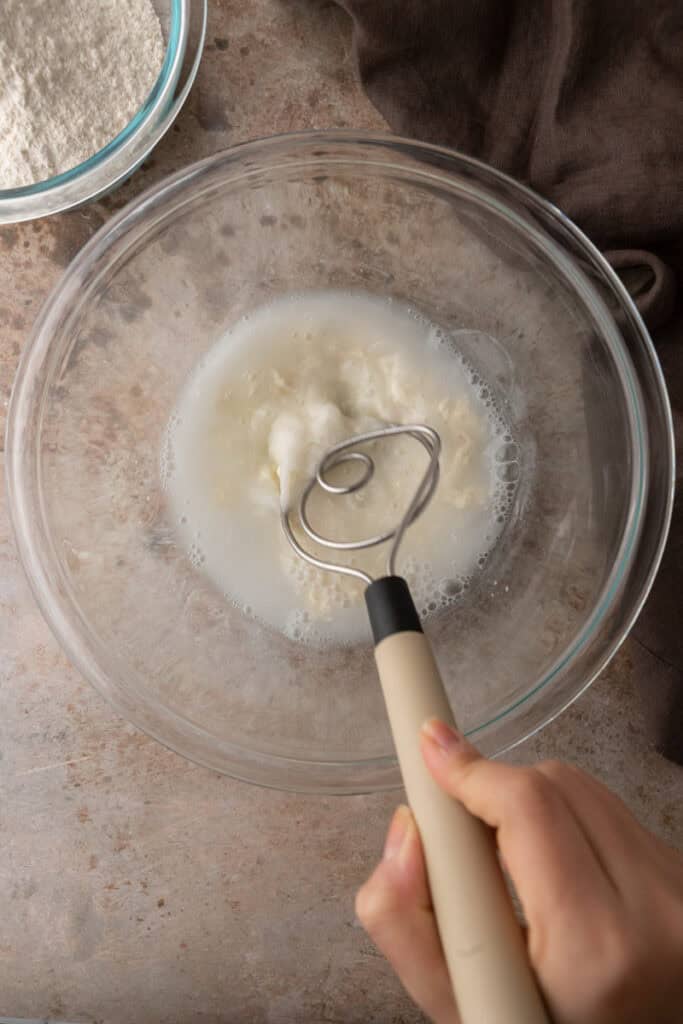
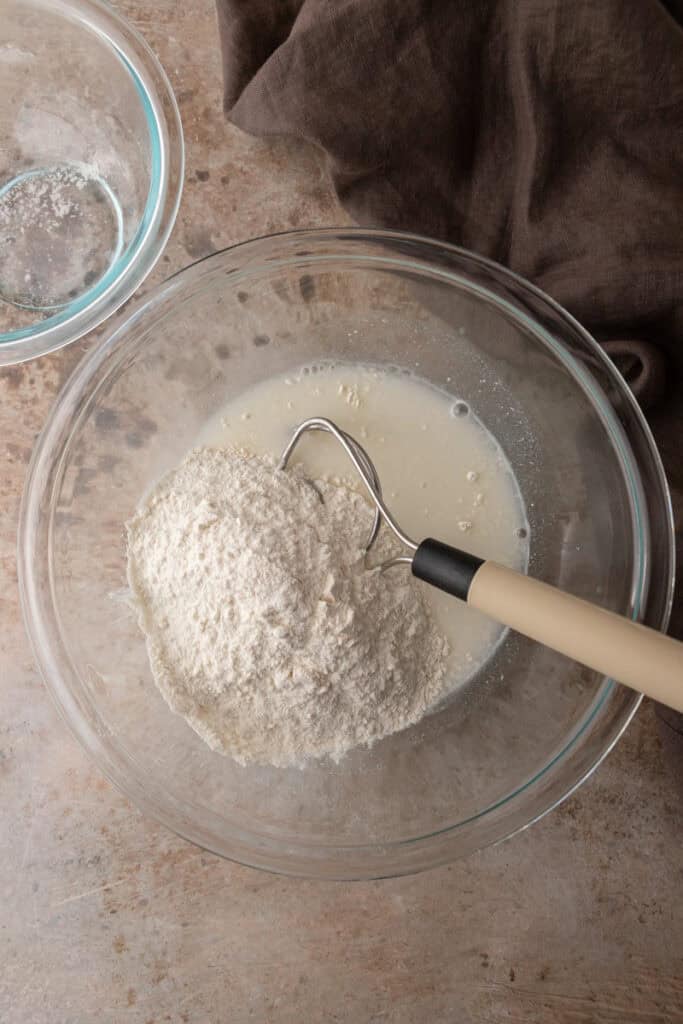
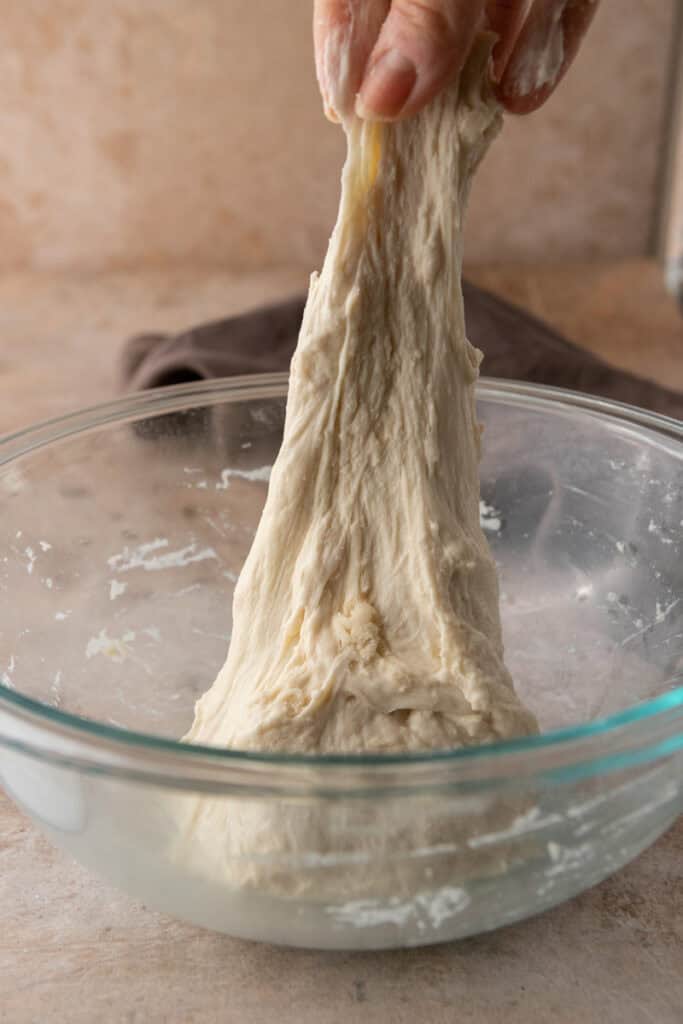
- Prepare the Dough: Combine the water and sourdough starter in a large mixing bowl. Stir until combined. Then add in the unbleached bread flour, and salt and stir until a rough, shaggy dough forms. Cover with a damp tea towel and let the dough rest for 45-60 minutes.
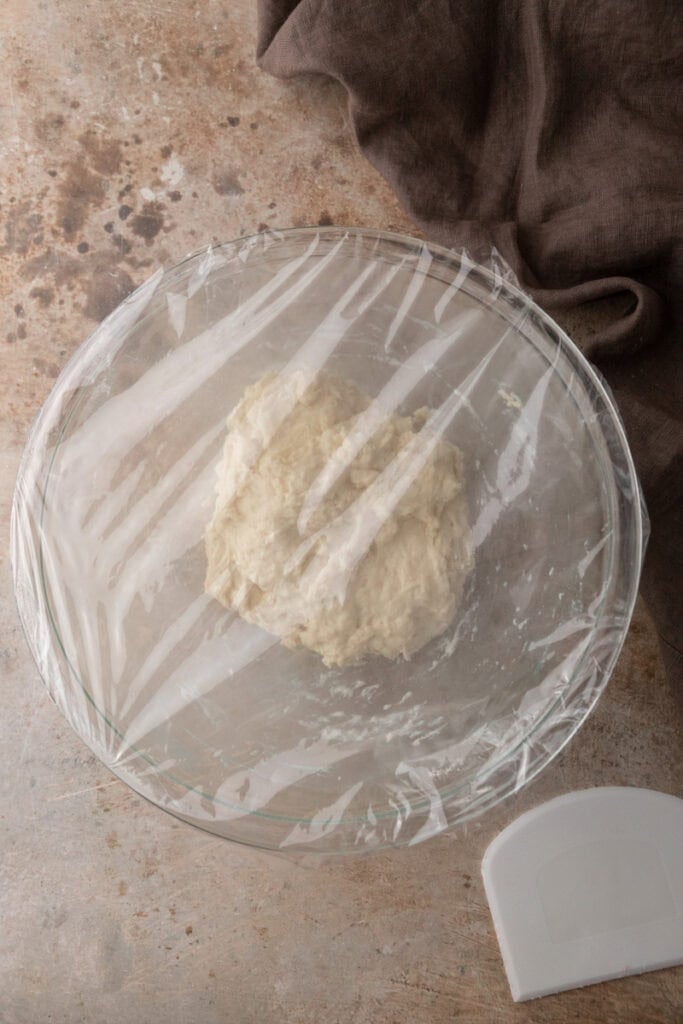
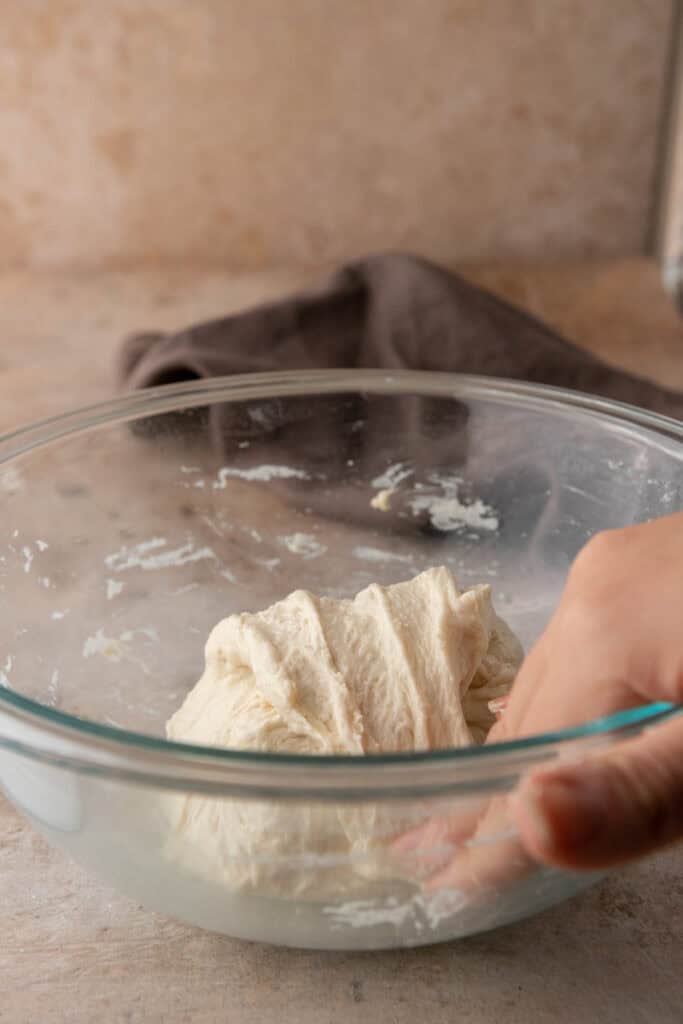
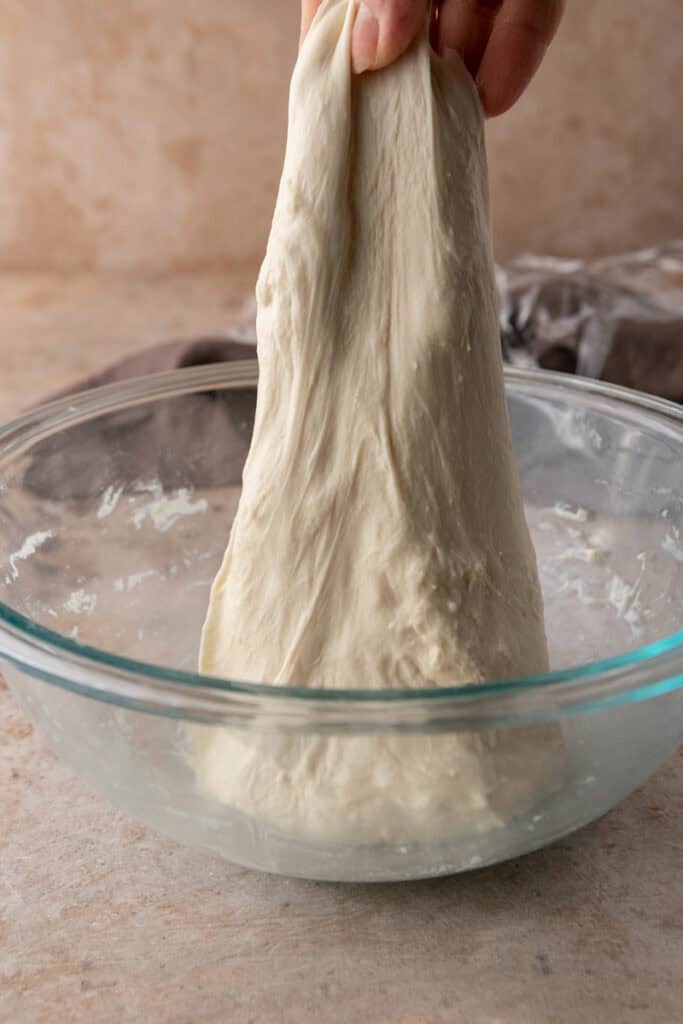
- After that 45-60 minute break, start performing your 3 sets of stretch and folds every 30 minutes during the first hour and a half. Then you will do 3 sets of coil folds every 30 minutes during the next hour and a half. Make sure to cover the dough after each stretch and fold or coil fold with a moist kitchen towel.
The dough will be a little sticky at first but will continue getting smoother the more you work it.
After the final set of coil folds, allow the dough to bulk ferment at room temperature. This should take about 3–4 hours, or until the dough has doubled in size. The dough should feel airy, with bubbles slightly visible on the surface as well as on the bottom of your glass bowl.
Shaping and Cold Proofing Your Sourdough Bread
Shaping and cold-proofing are essential steps in sourdough baking that affect both the texture and flavor of your final loaf. Here’s a detailed breakdown to ensure your bread turns out beautifully every time.
Shaping Your Dough
Shaping is the process of forming your dough into its final shape, such as a round boule or an oval bâtard. This step helps create surface tension, which allows the bread to rise uniformly and hold its shape during baking.
Pre-Shape
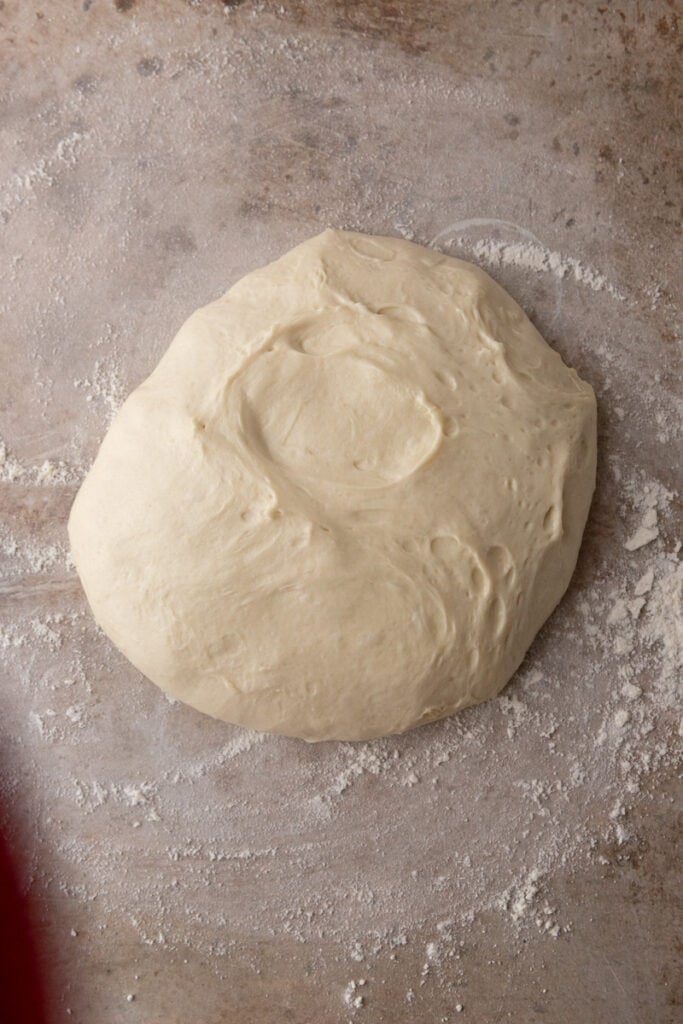
- Gently turn the dough out onto a lightly floured surface.
- Fold the edges of the dough into the center to create a rough ball.
- Flip the dough over so the seam is on the bottom, then let it rest for 10-15 minutes. This resting period allows the dough to relax, making it easier to shape.
Shaping
For a boule:
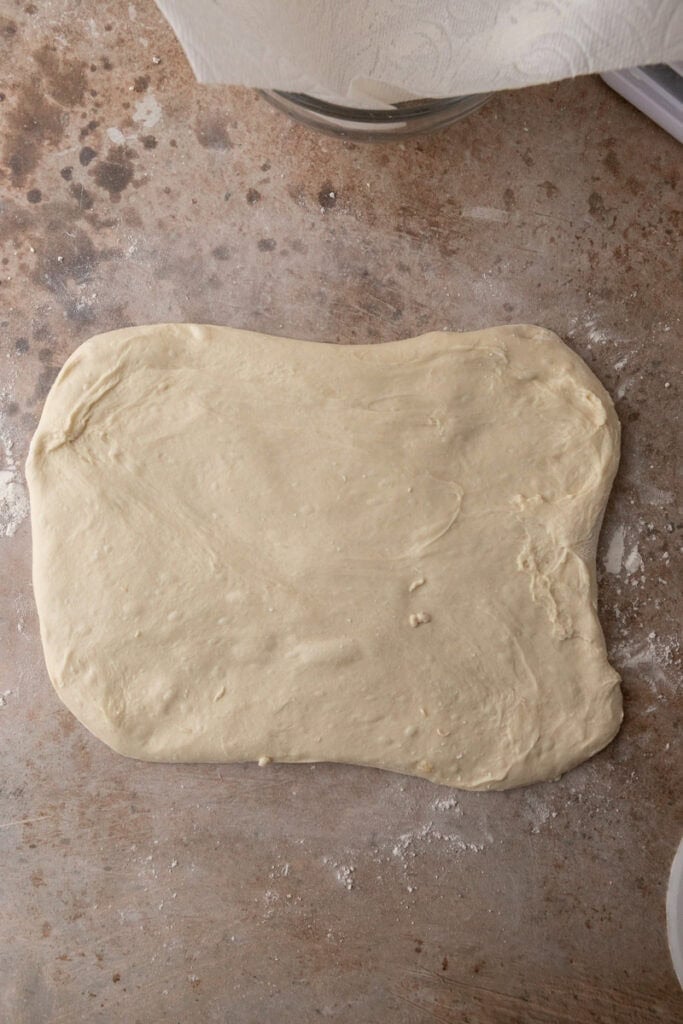
- After the dough has rested, gently flatten it into a rectangle using your hands or a rolling pin.
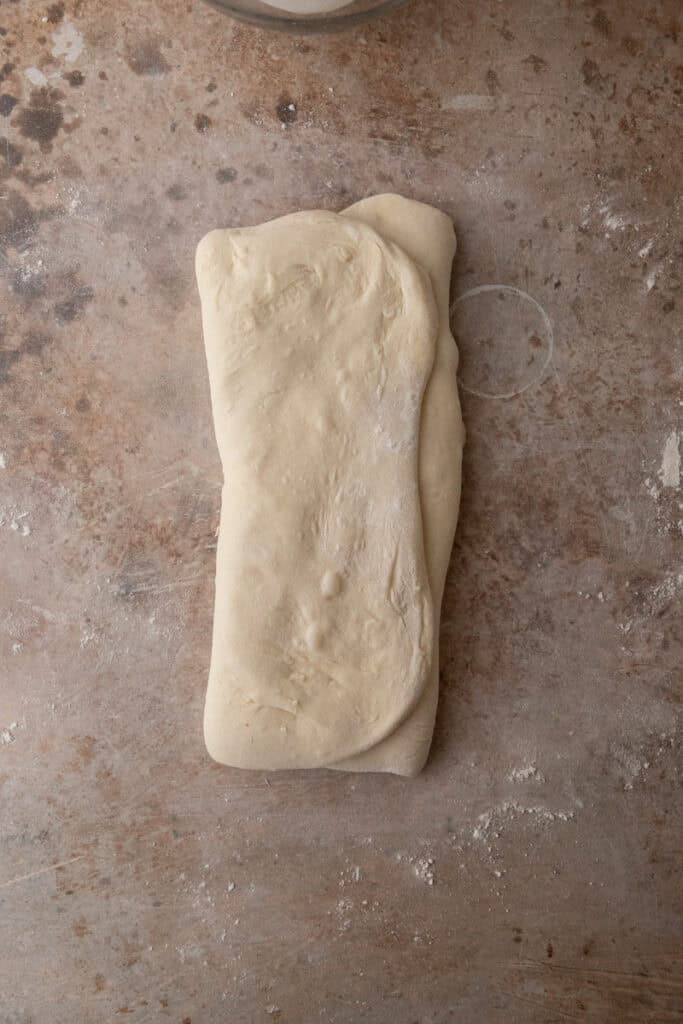
- Fold the dough over itself in three folds, like folding a letter
- Fold the top third of the rectangle down toward the center.
- Fold the bottom third up over the center, covering the first fold.
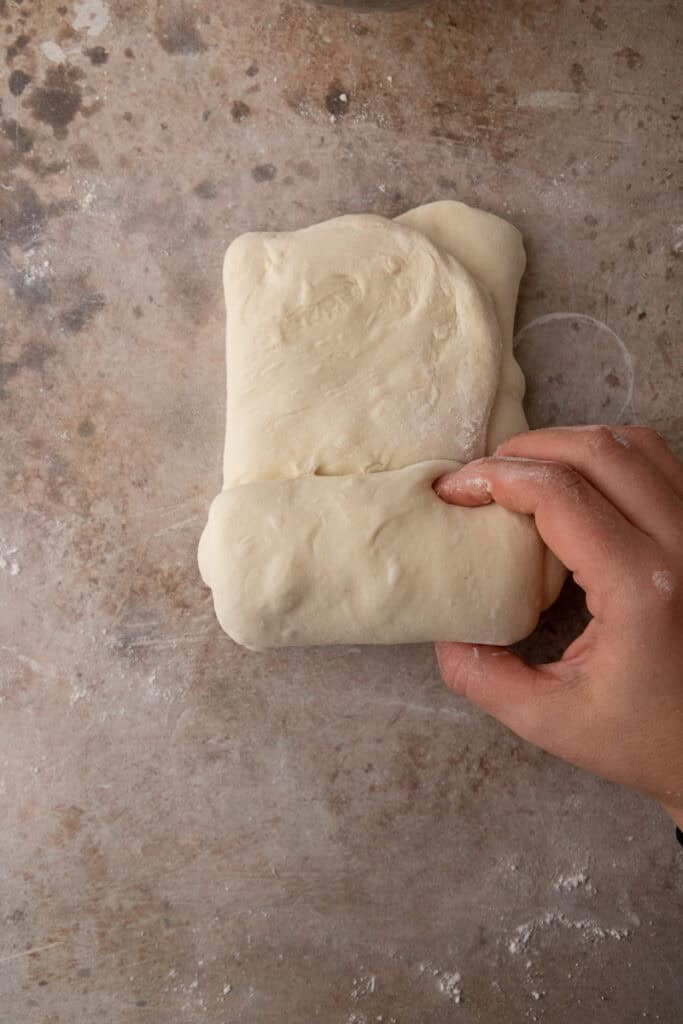
- Starting from the top edge, roll the dough tightly toward the bottom, forming a smooth log shape or boule (depending on your desired final shape).
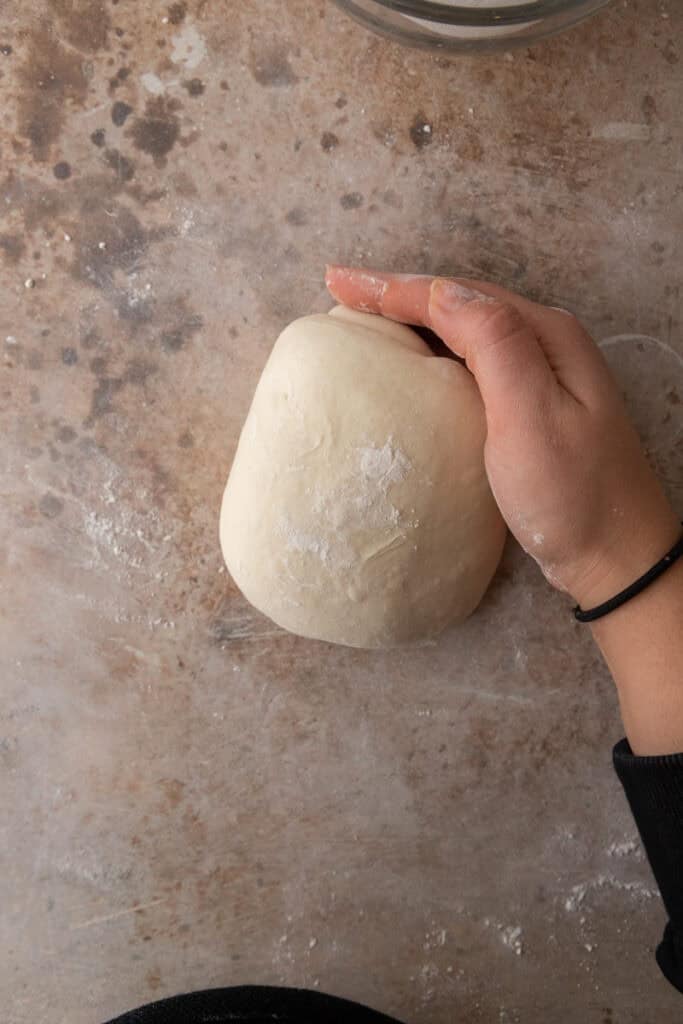
- To form a boule, place the dough seam-side down. Cup your hands around the dough and roll it gently toward you while applying light pressure, moving your hands in a C-shape motion. Rotate the dough slightly and repeat to create a smooth, round shape with tension on the surface.
- Place the shaped boule seam-side down into a floured proofing basket or a bowl lined with a floured kitchen towel.
- Pinch and press the edges together tightly to seal the seam, creating additional surface tension on the dough. Cover with the towel overhang or plastic wrap and place in the fridge overnight.
For a bâtard:
- Flatten the dough slightly, fold the top third down to the center, then fold the bottom third up. Roll the dough into a tight oval shape.
- Transfer to a Proofing Basket or Bowl: Place the shaped dough into a floured proofing basket or a bowl lined with a floured kitchen towel, seam-side up, pinch the edges together to seal the seam. Cover with the towel overhang or plastic wrap and place in the fridge overnight.
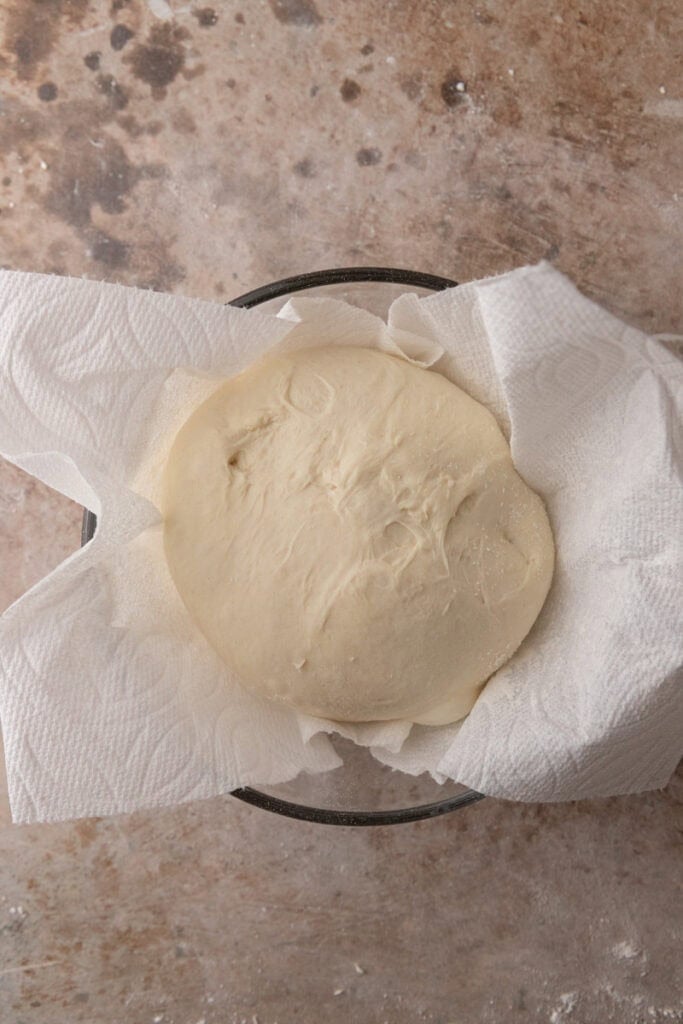
Cold Proofing Your Dough
Cold proofing, also known as retarding, slows down fermentation by refrigerating the dough. This step enhances the bread’s flavor, improves its texture, and makes the dough easier to handle and score before baking
Steps for Cold Proofing:
Refrigerate: Cover the proofing basket or bowl with plastic wrap or a reusable cover to prevent the dough from drying out. Place it in the refrigerator for 8-12 hours, or overnight. You can leave it in the fridge for up to 36 hours!
Why Cold Proofing Works: The extended time allows for the development of complex flavors as the natural yeast and bacteria continue to work slowly. It also firms up the dough, making it easier to score cleanly before baking.
Before Baking: Remove the dough from the refrigerator when the oven is hot and you are ready to bake. Cold dough can go straight into a hot oven, as the temperature difference encourages an oven spring for a taller loaf.
Tips for Shaping and Cold Proofing:
- Flour Your Basket or Towel Generously: To prevent sticking, use a mix of all-purpose flour and rice flour, which is less likely to absorb moisture.
- Pay Attention to Timing: Don’t skip the cold proof, as it significantly impacts the bread’s flavor and structure.
- Use a Dutch Oven: A cold dough bakes best with steam, and a covered Dutch oven creates the perfect environment for a crisp crust.
Mastering these steps will ensure your sourdough bread has a beautifully structured crumb, a flavorful tang, and a golden, crackling crust every time!
Sourdough Bread Baking Time:
- Preheat your oven to 475°F with a Dutch oven inside. Make sure to put it in there while the oven is still cold to make sure that it doesn’t crack.
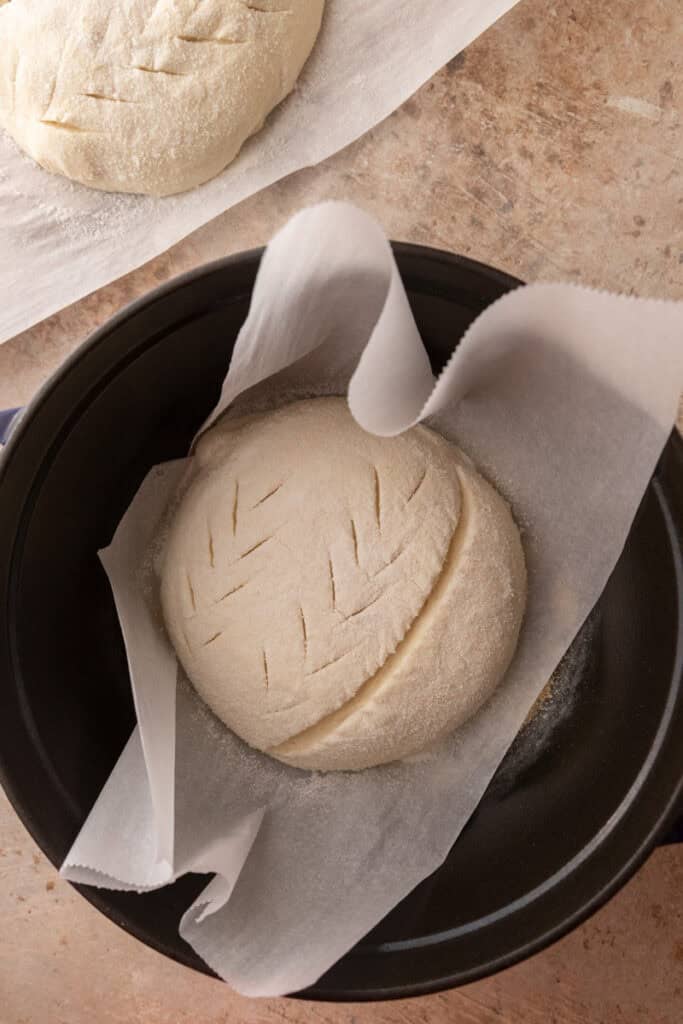
- Remove the cold dough from the refrigerator and transfer dough onto a piece of parchment paper.
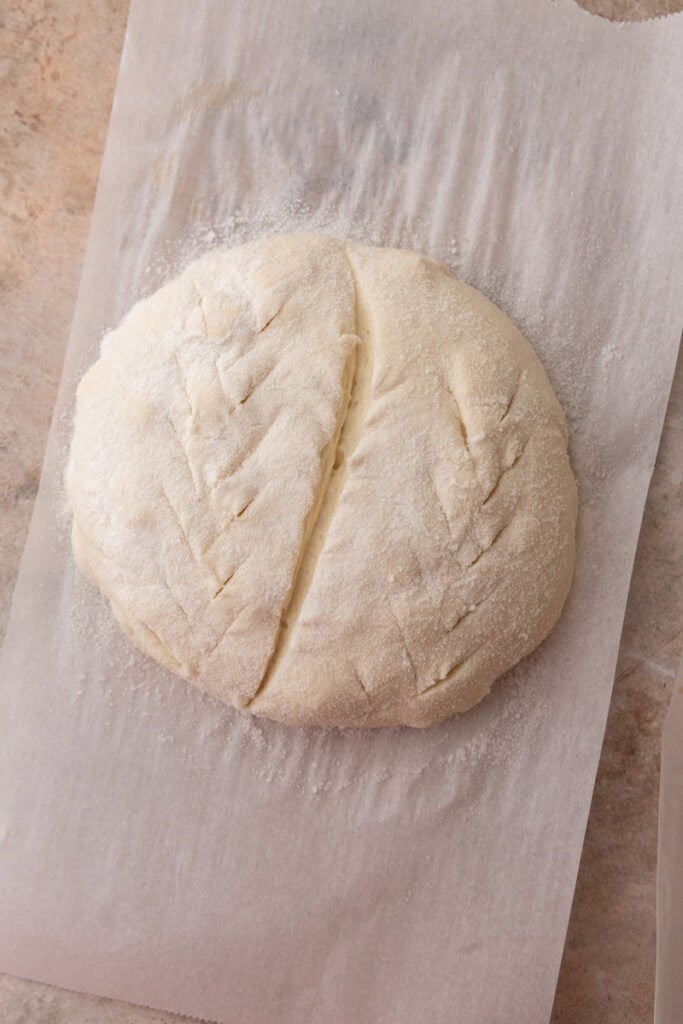
- Score the top of the dough ball with a bread lame, sharp knife, or razor blade.
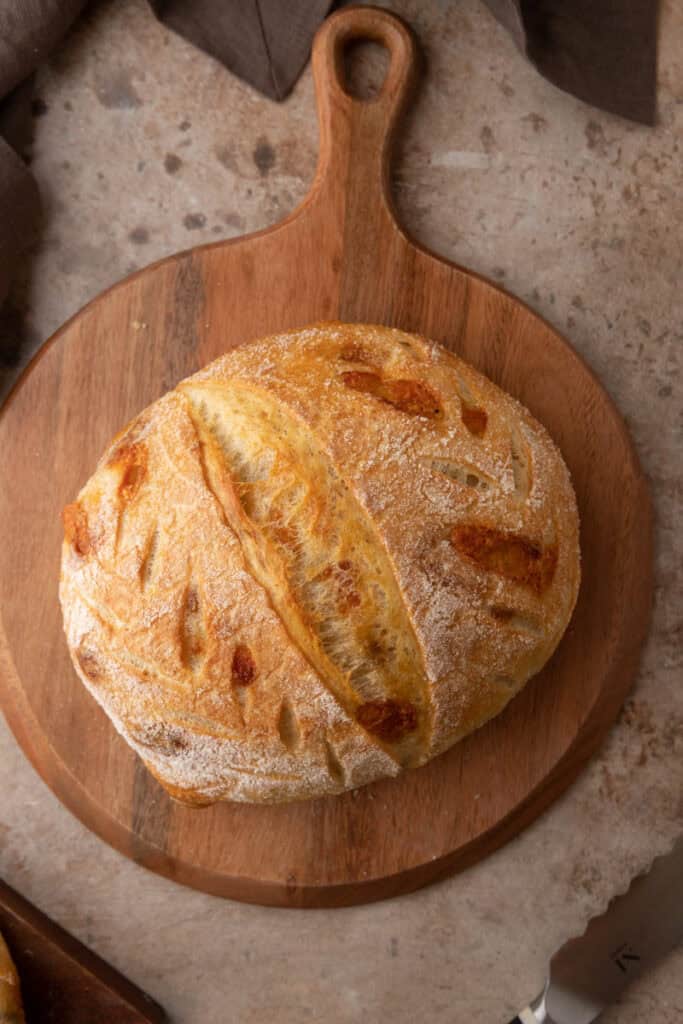
- If using a Dutch oven: Bake with the lid on for 25 minutes, then uncover, lower the heat to 425°F and bake for an additional 10-15 minutes.
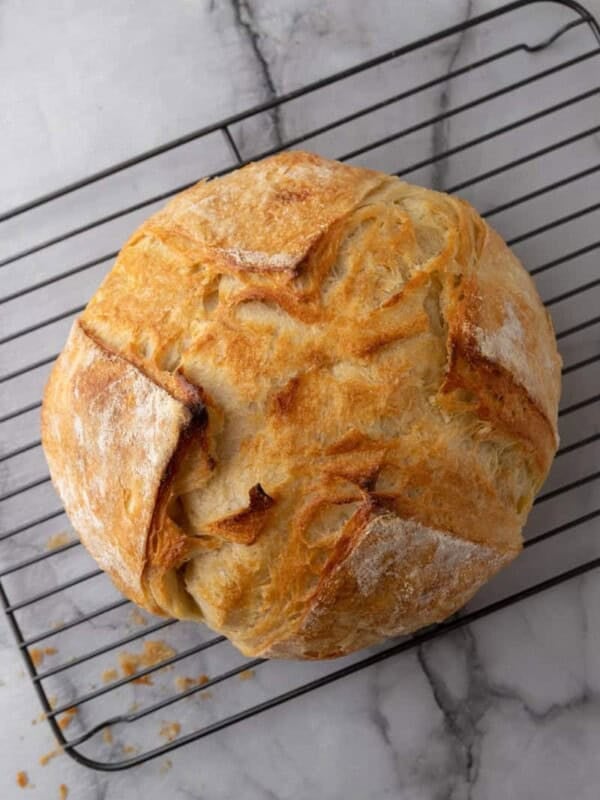
- Transfer the bread carefully to a wire rack to keep the bottom from browning too much.
- Let the bread cool on a wire rack for at least 1 hour before slicing. I cheat and wait about 30 minutes, and to be honest, the bread is still fine!
Tips and Tricks for the Best Results
- Use a Digital Scale: Precision is key in bread making, especially when it comes to sourdough bread.
- Monitor the Room Temperature: Dough rises faster in warmer environments, so depending on how warm or cold your kitchen is, your sourdough loaves will need more or less time to double in size during the bulk fermentation.
- Cold-Proof for flavor: Most sourdough bread recipes will have an overnight proofing period in the fridge to enhance both the taste as well as the texture.
Why Make this recipe

- Less Waste: Small batch = no leftovers, plus it’ll always be fresh!
- Customizable: Add flavors like cheese, seeds, spices, or even Jalapeños for a little kick.
- Perfect for Gifting: Ideal size for sharing during the holidays or special occasions. I made 5 of these and gifted them to friends and family for Christmas and everyone was so happy about that!!
This recipe is designed for busy bakers, eco-conscious home cooks, and bread enthousiasts who want a simple, yet rewarding baking experience. With just four ingredients, you’ll create artisan bread perfect for any occasion!

what types of different flours can I use?
Bread flour is the standard base but there are many others you could try for a fun flavor. You could try whole wheat flour, or spelt, semolina, or rye flour. All of these will give you a hearty texture and different flavor. Avoid using gluten-free flours like cornmeal or rice flour because they won’t have the same texture and elasticity. Also avoid using all-purpose flour because the bleach in it will kill the active starter.
What types of flavors can I add?
This is literally my favorite part! Playing with different flavors is the most delicious way to enjoy sourdough baking time and time again. When adding mix-ins, add them in during the shaping process to not mess with the fermentation and rising. Here are some ideas you could try:
- Cheese: This has been my family’s favorite lately. I slice a block into quarter-inch cubes.
- Nuts: Go fancy and use chopped toasted pecans, walnuts, or pistachios to impress any guest.
- Seeds: Similar to nuts but more broad. You could use pumpkin, sesame, sunflower, or even poppy.
- Spices: Cinnamon or chili powder is a fantastic addition.


My Sourdough bread bottom is too dark, how can I fix it?
The cast iron dutch oven that you will use will get extremely hot, so the bottom can brown a little bit too much if you ask me.
One way I prevent that from happening, is by placing a large baking sheet in the rack right under the dutch oven. This helps keep our bottom golden brown.
Common sourdough bread fails an dhow to fix them?
Flat or Dense Loaf, why It Happens:
- Under-fermented dough (starter not active enough or dough not proofed long enough).
- Over-fermentation, causing the dough to lose its structure.
- Insufficient tension during shaping.
How to Fix It:
- Ensure the sourdough starter is bubbly and passes the float test before using.
- Allow the dough to proof until it passes the poke test.
- Practice creating surface tension during shaping.
Tough Crust, why It Happens:
• Over-baking or baking at too high a temperature without steam.
How to Fix It:
- Use a Dutch oven with the lid on for the first part of baking to create steam.
- Lower the oven temperature slightly if needed.
Sticky Dough That’s Hard to Work With, why It Happens:
- High hydration doughs can be sticky, especially for beginners. This recipe can be a little sticky because it has slightly higher hydration.
- Insufficient kneading or improper flour ratio.
How to Fix It:
- Practice proper stretch and fold techniques to develop gluten.
- Use a plastic bench scraper to help you regain control of the dough when it’s too sticky.
- Lightly flour your hands and work surface, but don’t overdo it.
Uneven Crumb, why It Happens:
- Insufficient stretch and folds during bulk fermentation.
- Over-handling during shaping.
How to Fix It:
- Be consistent with stretch and folds to build strength.
- Handle the dough gently during shaping to avoid degassing it.
Too Sour or Bland Flavor, why It Happens:
- Longer fermentation times create a tangier loaf.
- Shorter fermentation times result in a milder flavor.
How to Fix It:
- For a less sour loaf, proof at room temperature for a shorter time and reduce cold proofing to only 8 hours.
- For tangier bread, extend cold proofing up to 36 hours.
Cracked or Poorly Scored Crust, why It Happens:
- Insufficient surface tension during shaping.
- Improper scoring or scoring too shallowly.
How to Fix It:
- Practice creating surface tension during shaping.
- Use a sharp bread lame or razor to make decisive cuts.
Bread Sticks to the Proofing Basket, why It Happens:
- Insufficient flour in the basket or on the dough.
How to Fix It:
- Use a mix of rice flour and all-purpose flour to dust the basket generously.
- Gently release the dough from the basket before baking.
Pale Crust, why It Happens:
- Insufficient baking time or temperature.
How to Fix It:
- Ensure your oven is preheated to 475°F.
- Remove the lid during the final baking stage to allow the crust to brown.
Overly Dark Bottom Crust, why It Happens:
- Direct heat from the Dutch oven or baking stone.
How to Fix It:
- Place a baking sheet or pizza stone on the rack below the Dutch oven to diffuse heat.
Bread Doesn’t Rise in the Oven (No Oven Spring), why It Happens:
- Over-proofed dough or dough that’s too cold going into the oven.
How to Fix It:
- Proof the dough until it’s puffy but still has structure.
- Bake directly from the fridge for cold-proofed dough to encourage oven spring.

The Best Small Batch Sourdough Bread Recipe

Small Batch Sourdough Bread Recipe
Ingredients
- 250 g unbleached bread flour
- 180 g Water lukewarm
- 5 g Salt
- 60 g Active Sourdough Starter bubbly and doubled in size
Optional Mix-ins: Cheese, seeds, nuts, or spices
Instructions
Prepare Your Sourdough Starter
- Feed Starter- Discard all but 20g of your sourdough starter. Feed it a ratio of 1:2:2 (starter:flour:water). For example: 20g starter, 40g flour, 40g water.
- Let the starter sit at room temperature for 4-8 hours until it doubles in size and is bubbly. Perform the float test to ensure it’s ready.
Make the Dough
- In a large bowl, combine the water and sourdough starter and mix until combines. Add the flour and salt, stirring until a shaggy dough forms.250 g unbleached bread flour, 180 g Water, 5 g Salt, 60 g Active Sourdough Starter
- Cover the bowl with a damp towel and let it rest for 45-60 minutes.
Stretch and fold, and Coil folds
- Perform 3 sets of stretch and folds every 30 minutes over 1.5 hours. The dough will become smoother and less sticky as you work it.
- Follow with 3 sets of coil folds, every 30 minutes for another 1.5 hours. Cover the dough between sets.
Bulk Rise:
- After the final set of coil folds, allow the dough to bulk ferment at room temperature. This should take about 3–4 hours, or until the dough has doubled in size. The dough should feel airy, with bubbles slightly visible on the surface as well as on the bottom of your glass bowl.
Shape the Dough:
- Turn the dough onto a lightly floured surface, fold the edges into the center, and flip to create a loose ball. Rest for 10-15 minutes.
Final Shape:
- After the pre-shaping rest, gently turn the dough onto a lightly floured surface. Handle it carefully to retain the air bubbles developed during fermentation.
- Using your hands or a bench scraper, gently pat and stretch the dough into a rough rectangle. Aim for an even thickness without pressing too hard.
- Take the top edge of the rectangle and fold it down toward the center, pressing lightly to seal the edge. Then, take the bottom edge and fold it upward to overlap the first fold, creating a tri-fold, similar to folding a letter.
- Rotate the dough so the long side is facing you. Begin rolling the dough from the top edge downward, tucking it tightly as you go to create surface tension. As you roll, use the heel of your hands to gently seal the edge with each tuck, ensuring the dough holds its structure.
- To form a boule, place the dough seam-side down. Cup your hands around the dough and roll it gently toward you while applying light pressure, moving your hands in a C-shape motion. Rotate the dough slightly and repeat to create a smooth, round shape with tension on the surface.
- Place the shaped boule seam-side down into a floured proofing basket or a bowl lined with a floured kitchen towel.
- Pinch and press the edges together tightly to seal the seam, creating additional surface tension on the dough. Cover with the towel overhang or plastic wrap and place in the fridge overnight.
Bake the Bread
- Place a Dutch oven in the cold oven and preheat to 475°F for a minimum of 30 minutes but preferably for an hour.
- Remove the dough from the fridge and place it on parchment paper. Dust it with rice flour then, use a sharp knife or bread lame to score the top.
Bake:
- Place the dough into the preheated Dutch oven. Cover and bake for 25 minutes.
- Remove the lid, reduce the heat to 425°F, and bake for another 10-15 minutes until golden brown or until the internal temperature reads 205F-210F.
- Transfer to a wire rack and cool for at least 1 hour before slicing.
Notes
• Monitor room temperature: Warmer rooms speed up fermentation; colder rooms slow it down.
• Cold-proofing enhances flavor and texture, so don’t skip the overnight chilling!
• Use a mix of all-purpose and rice flour to prevent sticking in the proofing basket. Optional Add-ins • Cheese: Add during shaping for melty pockets of flavor.
• Nuts/Seeds: Incorporate toasted pecans, walnuts, or sesame seeds.
• Spices: Try cinnamon or chili powder for a twist. Keep in mind that cinnamon is an anti-fungal which will slow down the rise of your bread. Storage • Short-Term: Store in a paper bag at room temperature for up to 3 days.
• Long-Term: Slice, wrap, and freeze. Toast before serving for best results.
Nutrition
Nutrition information is automatically calculated, so should only be used as an approximation.
If you enjoyed this Small Batch Sourdough Bread Recipe, make sure to pin it for later!




Really enjoyed this recipe. I plan on using this recipe as a base to add other ingredients to (multigrain, pepperoni/cheese). Good instructions, simple recipe. Thanks for posting!
Glad you found it easy to understand. You can add any topping you would like, that is the beauty of it 🙂